Most of these images are stored on small, seemingly simple devices SD (Secure Digital) cards. Whether you're a travel blogger, a wedding photographer, or a parent chronicling your child’s first steps, the loss of photos stored on an SD card can be devastating.
Accidental deletion, formatting errors, virus attacks, and even physical damage to SD cards can wipe out irreplaceable memories. The good news is that in many cases, these images are not gone forever. With the right knowledge and tools, you can recover lost photos from SD cards often without spending a dime.
Chapter 1: SD Card Photo Loss
Before diving into recovery solutions, it's essential to understand the common causes of photo loss on SD cards:
1.1 Accidental Deletion
Mistakenly pressing "Delete" or "Format" is one of the most common causes of photo loss. While it might seem like the files vanish, they typically remain on the SD card until new data overwrites them.
1.2 Formatting Errors
You might format your SD card intentionally or inadvertently. Many devices prompt users to format cards that seem unreadable. Formatting erases file system entries, but often not the actual files—leaving room for recovery.
1.3 File System Corruption
Improper ejection, power failures, or virus attacks can corrupt the SD card’s file system. This makes the card unreadable and the photos inaccessible.
1.4 Physical Damage
Exposure to water, high temperatures, or drops can damage an SD card physically. While recovery from such damage is more difficult, it's not always impossible.
1.5 Malware or Virus Attacks
Some malicious software may hide or delete your files. Sometimes, malware simply alters the file structure, making files appear missing.
Chapter 2: How SD Photo Recovery Works
When a photo is deleted or a card is formatted, the storage device doesn't erase the actual data immediately. Instead, it marks the space as available. As long as new data hasn't overwritten this space, your photos can often be recovered.
2.1 The Role of Recovery Software
Recovery software scans your SD card for traces of deleted or lost files. It reconstructs them if they're still intact and not overwritten. Free tools can be remarkably effective for this purpose.
2.2 Things to Keep in Mind
Stop Using the SD Card Immediately: To prevent overwriting the data.
Avoid Saving Recovery Software to the Card: Always install recovery tools on a separate drive.
Use a Card Reader: For better stability and access during recovery.
Chapter 3: Best Free SD Photo Recovery Software
Drecov Data Recovery
Losing treasured photos from an SD card can be frustrating and heartbreaking—especially when those images captured once-in-a-lifetime moments. Fortunately, Drecov Data Recovery offers a free and user-friendly solution to help you recover deleted or lost photos from SD cards quickly and efficiently.
Whether the loss is due to accidental deletion, formatting, or corruption, Drecov Data Recovery is designed to restore your files without requiring technical expertise. With its intuitive interface, even first-time users can scan, preview, and recover lost images in just a few steps. Simply insert your SD card into a reader, launch Drecov Data Recovery, and begin the recovery process. The software supports a wide range of image formats, including JPG, PNG, BMP, and even RAW files used by professional cameras.
One of the key advantages of Drecov Data Recovery is its free version, which provides essential recovery features without any upfront cost. It uses advanced scanning algorithms to locate recoverable photos even on damaged or partially overwritten cards. Users can preview images before restoring them, ensuring only the desired files are recovered.
Drecov Data Recovery is compatible with both Windows and macOS, making it accessible to a wide range of users. It’s ideal for recovering photos from digital cameras, smartphones, drones, and other devices that use SD, microSD, or SDHC cards.
Chapter 4: Step-by-Step Photo Recovery Process
Follow this general guide to recover your photos safely:
Step 1: Stop Using the Card
Immediately remove the SD card from your device and avoid taking new photos or writing data to it.
Step 2: Connect the Card to Your Computer
Use an external SD card reader for reliable access. Internal slots may not offer the same performance or compatibility.
Step 3: Download and Install Recovery Software
Choose one of the tools mentioned earlier and install it on a drive other than the SD card.
Step 4: Scan the SD Card
Launch the software and select the SD card as the target device. Run a full scan to maximize your chances of recovery.
Step 5: Preview and Recover Files
Most tools let you preview the recoverable images. Select the ones you want and save them to a different storage location.
Chapter 5: Troubleshooting Tips
Sometimes, recovery doesn't go as planned. Here's how to troubleshoot common problems:
5.1 Card Not Recognized
Try a different card reader.
Use a different USB port or computer.
Run CHKDSK (Windows) or Disk Utility (macOS) to fix file system errors.
5.2 Files Are Corrupted After Recovery
If the images are recovered but appear broken:
Try recovering the same files using another tool.
Attempt recovery in a different format (RAW, JPEG).
Use photo repair tools like Stellar Repair or PixRecovery.
5.3 Recovery Software Can’t Find Any Files
Ensure the card hasn’t been overwritten.
Use deep scan or full scan options.
Consider trying a different software.
Chapter 6: Advanced Recovery Options
If free tools fail to recover your photos, here are some advanced alternatives:
6.1 Hex Editor Recovery
Tech-savvy users can use a hex editor to manually reconstruct photo data from the binary code.
6.2 Linux-Based Tools
Linux offers powerful open-source tools like ddrescue for damaged or failing SD cards.
6.3 Professional Data Recovery Services
If your photos are highly valuable and nothing works, professional services with cleanrooms and advanced tools might be your best bet. While not free, some services offer free evaluations and no-recovery-no-fee models.
Chapter 7: Preventing Future Photo Loss
Prevention is always better than cure. Adopt these best practices to avoid losing photos in the future:
7.1 Backup Regularly
Always back up your photos to cloud storage, external hard drives, or both. Automate the process if possible.
7.2 Safely Eject Your SD Card
Never remove the card while your camera or device is still writing data.
7.3 Use High-Quality Cards
Invest in reputable brands like SanDisk, Lexar, or Samsung. Cheaper cards may fail unexpectedly.
7.4 Format in Device
Format your SD card in the camera or device you plan to use it in—not via computer—before using it to ensure compatibility.
7.5 Avoid Using Full Capacity
Leave some space free on your SD card to reduce the risk of file system corruption.
Chapter 8: Myths About Photo Recovery
There’s a lot of misinformation about SD card recovery. Let’s debunk a few myths:
8.1 “Formatted Means Gone Forever”
False. Formatting typically deletes the file allocation table, not the actual files.
8.2 “Free Tools Don’t Work”
Also false. Many free tools are as effective as paid versions for basic recovery.
8.3 “Physically Damaged Cards Are Hopeless”
While harder to recover, professional services can often retrieve data even from damaged cards.
8.4 “You Need to Be a Tech Expert”
Most recovery tools are user-friendly and come with guided interfaces.
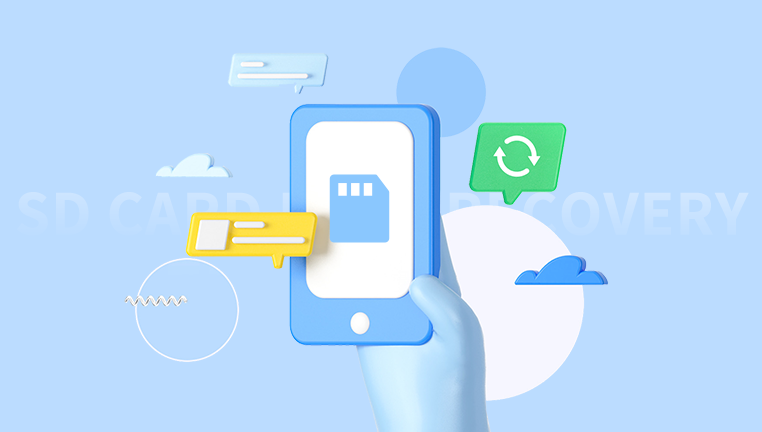
Chapter 9: Mobile-Based Photo Recovery
Sometimes, photos are lost directly on mobile devices using microSD cards. Here’s how to recover them:
Remove the SD card and insert it into a computer using an adapter.
Use the same recovery steps outlined earlier.
Avoid installing mobile recovery apps unless absolutely necessary—they may overwrite lost files.
Chapter 10: Real-World Success Stories
Many users have reported full or partial recovery of cherished photos using free tools. Here are a few real-world outcomes:
A wedding photographer accidentally formatted an SD card and used PhotoRec to recover 95% of the images within an hour.
A traveler’s SD card was corrupted after water exposure. Recuva was able to recover thumbnails and a few full-resolution images.
An amateur videographer used TestDisk to restore an entire lost partition after mistakenly deleting it.
These stories demonstrate that recovery is not only possible but often easier than you might think.