Losing files due to accidental deletion can be a frustrating experience, especially when they are stored on a specific drive like the E drive on your computer. Whether you're using a Windows or macOS system, there are several methods you can try to recover your deleted files. Here's a step-by-step guide on how to recover files accidentally deleted from your computer's E drive.
1. Stop Using the E Drive Immediately
The first and most important step is to stop using the E drive immediately. Any further read/write operations on the drive can potentially overwrite the deleted files, making recovery more difficult or even impossible.
2. Check the Recycle Bin (Windows) or Trash (macOS)
If you're using a Windows computer, check the Recycle Bin first. Deleted files are often moved here before they are permanently erased from the drive.
- Double-click on the Recycle Bin icon on your desktop.
- Browse through the files to find the ones you want to recover.
- Right-click on the files and select "Restore" to return them to their original location on the E drive.
For macOS users, the process is similar:
- Open the Trash application on your dock.
- Search for the files you wish to recover.
- Right-click on the files and select "Put Back" to restore them to their original location on the E drive.
3. Use File Recovery Software
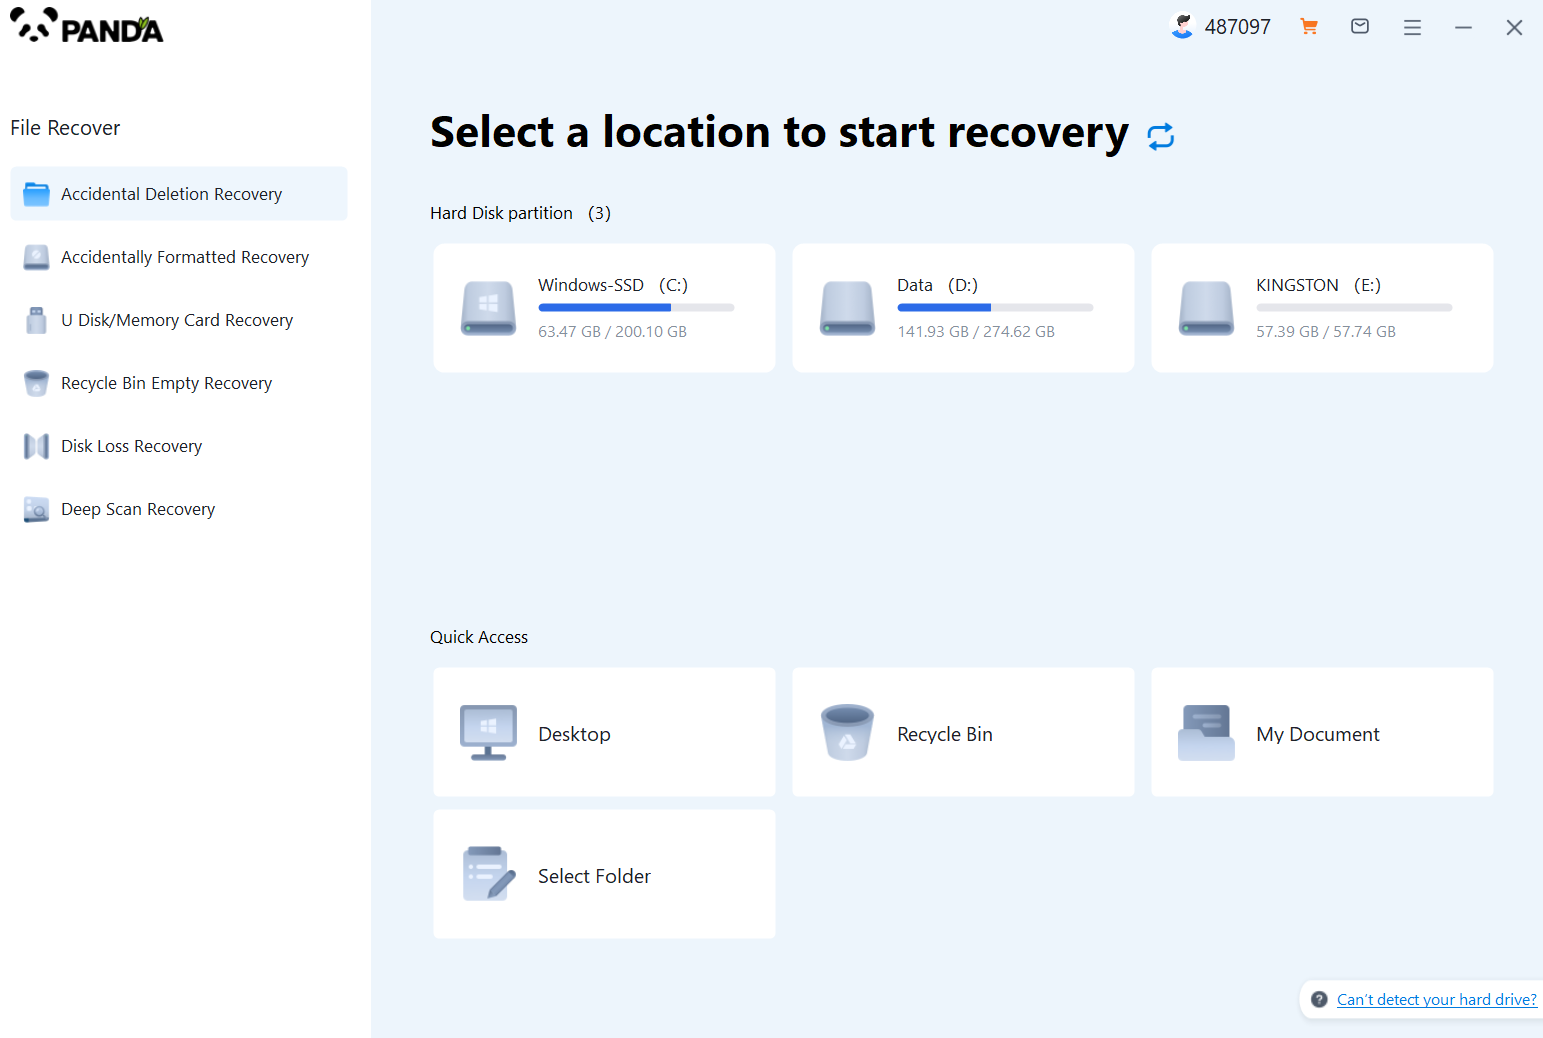
If the files are not in the Recycle Bin or Trash, you can use file recovery software to scan the E drive for deleted files.The following is an example of Panda data recovery.
Panda data recovery Steps:
Step 1: Select the scenario mode

Choose the appropriate recovery mode according to the actual situation, if the document has been deleted for a long time, you can try "Deep Recovery".
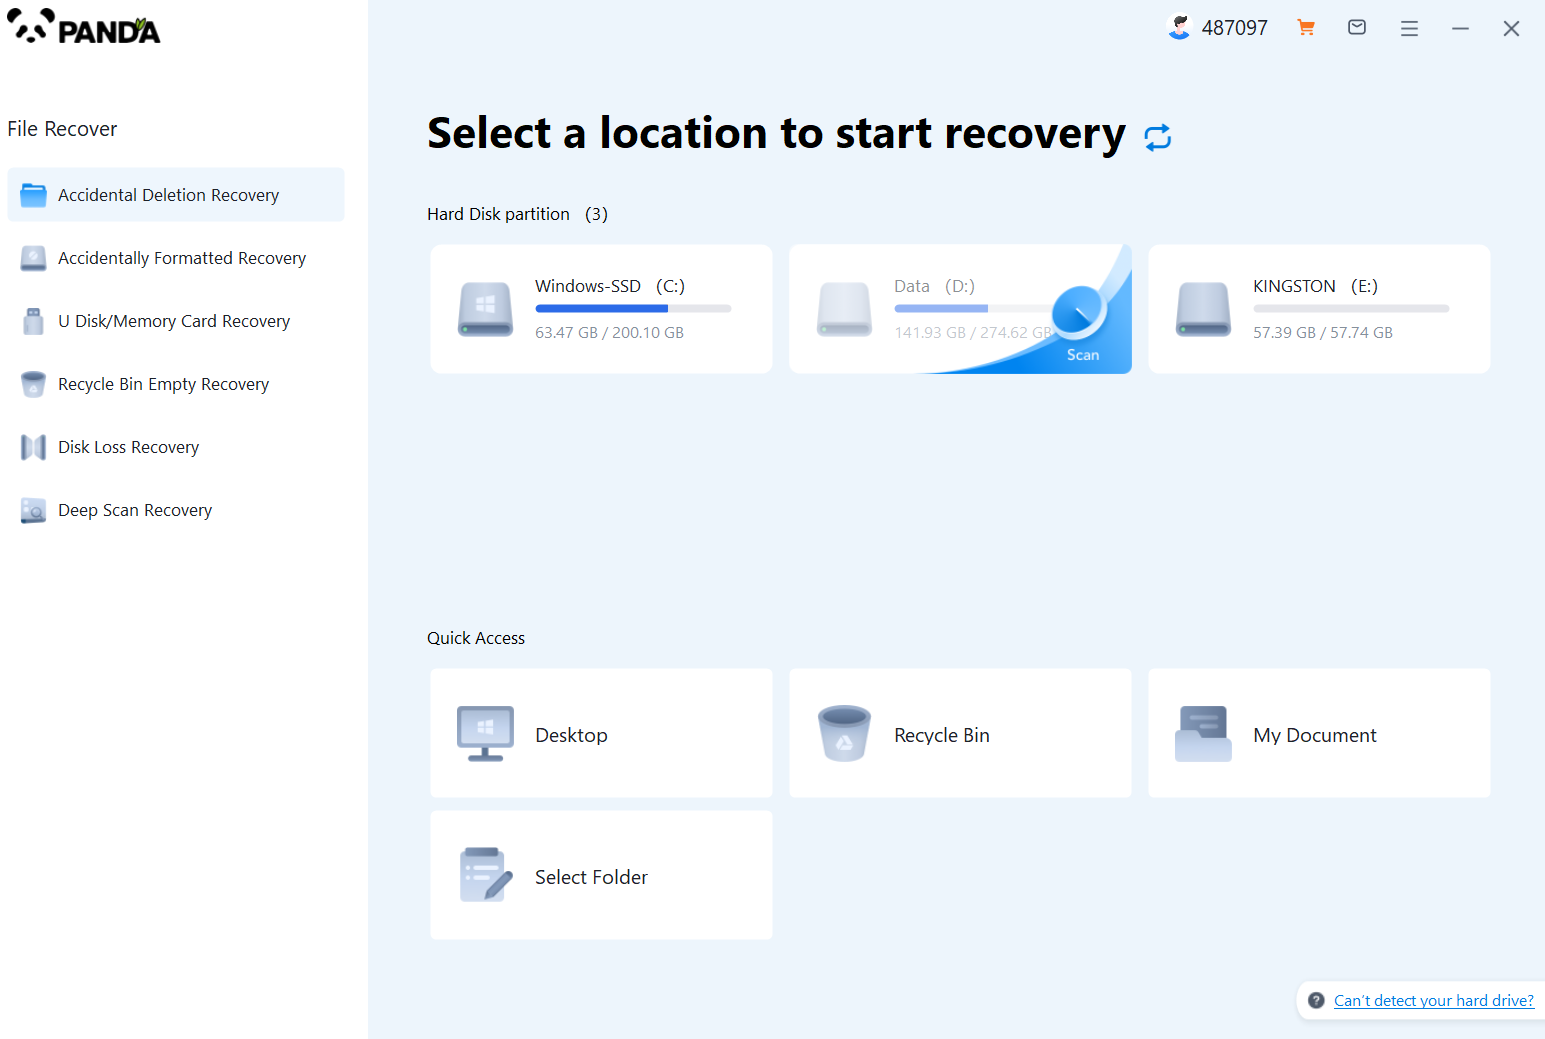
Step 2: Select a location to store your documents

Scan the disk where the document is stored, and try it a few more times if you make the wrong choice or don't remember.
Step 3: Find the documentation

You can search for documents based on their type, or search for them if you remember them.
Step 4: Preview and recover documents

After finding the document, double-click to preview it to make sure it opens normally, and then click to restore.
4. Try Built-In Disk Utility (macOS)
For macOS users, if the file recovery software doesn't work, you can try using the built-in Disk Utility to check for any available diskFirst Aid options.
- Go to Applications > Utilities > Disk Utility.
- Select the E drive from the list on the left.
- Click on the First Aid tab and then Run to check and repair any disk errors.
5. Consider Professional Data Recovery Services
If you're unable to recover the files using the methods above, or if the files are of critical importance, you may want to consider professional data recovery services. These services can often recover files from severely damaged or corrupted drives, but they can be quite expensive.
Final Thoughts
The key to successfully recovering deleted files from your computer's E drive is to act quickly and avoid using the drive for any read/write operations. By following the steps outlined above, you stand a good chance of retrieving your lost files. Remember, regular backups are essential to prevent data loss in the future.


