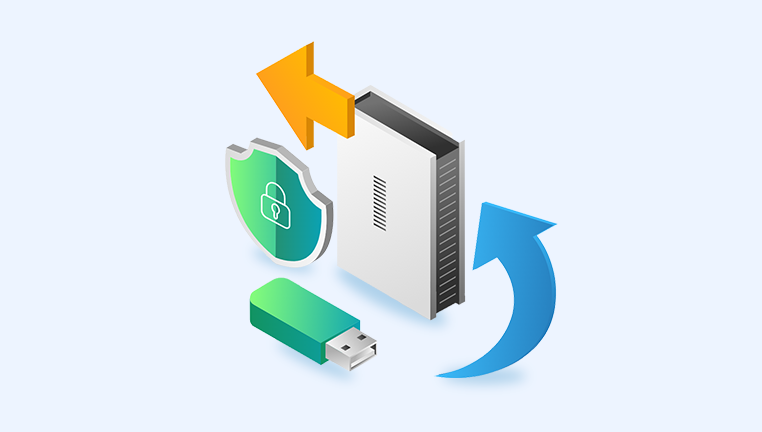
A SanDisk flash drive is a popular choice for data storage due to its reliability and portability. Formatting the drive can help resolve issues, such as corruption, or prepare it for a new purpose. This guide will cover various methods to format a SanDisk flash drive, including using Windows, macOS, and Linux.
1. Understanding Flash Drive Formatting
Formatting a flash drive involves preparing it for use by creating a file system. This process deletes all data on the drive and sets it up for storing new files. Common file systems include:
FAT32: Compatible with most devices, but has a 4GB file size limit.
exFAT: Suitable for larger files and compatible with modern devices.
NTFS: Offers advanced features and is ideal for Windows systems, but less compatible with non-Windows devices.
2. Preparing to Format
Before formatting, ensure that you back up any important data on the flash drive, as formatting will erase all existing content. You can copy the data to another storage device or cloud storage.
3. Formatting Using Windows
Insert the Flash Drive: Plug your SanDisk flash drive into a USB port on your Windows computer.
Open File Explorer: Right-click on the Start button and select File Explorer, or press Win + E.
Locate the Flash Drive: Find the flash drive under This PC or Computer.
Right-Click and Format: Right-click on the flash drive and select Format from the context menu.
Choose Format Options:
Capacity: This will display the total size of the drive.
File System: Choose between FAT32. exFAT, or NTFS. For most purposes, exFAT is recommended for its compatibility and ability to handle larger files.
Allocation Unit Size: You can usually leave this at the default setting.
Volume Label: Enter a name for the drive if desired.
Quick Format: Check this option if you want a faster format that doesn’t check for bad sectors.
Start Formatting: Click Start to begin the formatting process. A warning will appear indicating that all data will be erased. Confirm by clicking OK.
Completion: Wait for the format to complete. Once done, you’ll receive a notification, and the flash drive will be ready for use.
4. Formatting Using macOS
Insert the Flash Drive: Plug the SanDisk flash drive into a USB port on your Mac.
Open Disk Utility: Go to Applications > Utilities > Disk Utility.
Select the Flash Drive: In Disk Utility, find and select your flash drive from the list on the left.
Erase the Drive: Click the Erase button at the top of the window.
Choose Format Options:
Name: Enter a name for the drive.
Format: Choose between MS-DOS (FAT) for FAT32. ExFAT, or Mac OS Extended (Journaled).
Scheme: Select GUID Partition Map if you’re using the drive with a Mac or Master Boot Record for compatibility with Windows.
Start Erasing: Click Erase to start the formatting process. Confirm the action if prompted.
Completion: Wait for the process to finish. The drive will be ready for use once the operation is complete.
5. Formatting Using Linux
Insert the Flash Drive: Plug the SanDisk flash drive into a USB port on your Linux machine.
Open Terminal: Access the terminal by searching for it in your applications menu or pressing Ctrl + Alt + T.
Identify the Drive: Use the command lsblk or sudo fdisk -l to list all storage devices and identify your flash drive (e.g., /dev/sdb).
Unmount the Drive: If the drive is mounted, unmount it using sudo umount /dev/sdX1. replacing sdX1 with your drive's partition identifier.
Format the Drive:
FAT32: Use sudo mkfs.vfat -F 32 /dev/sdX1 to format as FAT32.
exFAT: Use sudo mkfs.exfat /dev/sdX1 to format as exFAT.
NTFS: Use sudo mkfs.ntfs /dev/sdX1 to format as NTFS.
Completion: Wait for the formatting process to complete. The flash drive will be ready for use.
6. Troubleshooting Common Issues
Drive Not Recognized: Check the USB connection and ensure the drive is properly connected. Try using a different USB port or computer.
Formatting Errors: If you encounter errors, verify that the drive is not physically damaged and ensure that it is properly unmounted before formatting.
Incompatibility Issues: If the drive doesn’t work with certain devices, try formatting it with a different file system that is compatible with those devices.