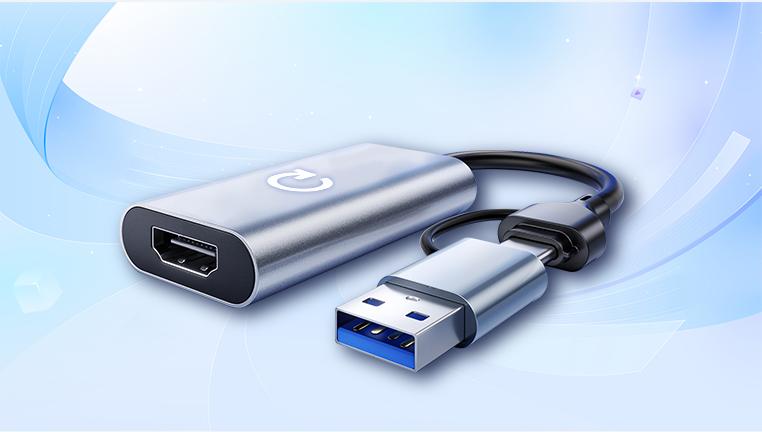
Recovering data from a USB drive that isn't recognized can be a stressful experience, especially when important files are at risk. There are a variety of reasons why your USB drive might not be recognized by your computer, ranging from minor issues like a loose connection to more serious problems like file system corruption or physical damage. Understanding the root cause of the issue is crucial to determining the best way to recover your data.
1. USB Drive Recognition Issues
A USB drive not being recognized typically manifests as the drive not showing up in "My Computer" or "This PC" (on Windows), or not mounting on macOS or Linux. The problem can occur for various reasons, including:
Hardware issues such as a malfunctioning USB port or a faulty cable.
Driver problems where the USB drivers are outdated or corrupted.
File system errors causing the computer to fail to read the drive.
Corrupted or damaged storage media, which may have developed bad sectors or other physical issues.
Incompatible file systems if the drive was formatted on a system that doesn’t support the drive’s format.
No matter the reason, taking the right steps is essential for successfully recovering data.

2. Initial Troubleshooting: Check the Basics
Before diving into complex recovery methods, it’s essential to rule out simple problems that can prevent your USB drive from being recognized.
2.1. Check the USB Port and Cable
Try a different USB port: The USB port on your computer may be malfunctioning. Try connecting the USB drive to another port.
Use a different cable: If your USB drive uses a detachable cable (such as a micro USB or USB-C cable), swap it out to rule out a cable issue.
2.2. Check on Another Computer
Sometimes the issue lies with the specific computer and not the USB drive. Plug your USB drive into another computer or device to check if it’s recognized there. If it is, the issue is likely with your computer, not the drive.
2.3. Restart Your Computer
While it may sound simple, restarting your computer can sometimes resolve USB detection issues caused by temporary glitches in the operating system or drivers.
3. Verify USB Detection in Device Manager (Windows)
If your USB drive still isn’t recognized, the next step is to check if the operating system detects it at all. On Windows, you can use the Device Manager to see whether the USB device is listed and if there are any error messages.
3.1. Open Device Manager
Right-click the Start button and select Device Manager.
Scroll down and expand the Universal Serial Bus Controllers section.
Look for any items marked with a yellow triangle or exclamation mark. These indicate driver issues.
3.2. Update or Reinstall USB Drivers
If there are no obvious errors, you may want to update or reinstall your USB drivers:
Right-click the USB device under Universal Serial Bus Controllers.
Select Update driver or Uninstall device.
If you uninstall the device, restart your computer, and Windows will attempt to reinstall the correct drivers.
4. Use Disk Management (Windows)
Sometimes, the issue is with the drive’s partition or file system, which may be preventing Windows from recognizing the drive properly.
4.1. Open Disk Management
Press Win + X and select Disk Management.
Look for the USB drive in the list of volumes. If it’s visible but not recognized, it may need a drive letter assigned or may require reformatting.
4.2. Assign a Drive Letter
If the drive is visible in Disk Management but doesn’t have a letter assigned, follow these steps:
Right-click the drive and select Change Drive Letter and Paths.
Click Add, then choose a letter from the dropdown list and click OK.
If your USB drive appears as RAW (without a file system), this could indicate a file system error or corruption.
5. Check Disk Utility (Mac)
For Mac users, the process of troubleshooting a USB drive that isn’t recognized is similar but involves the Disk Utility app.
5.1. Open Disk Utility
Go to Applications > Utilities > Disk Utility.
Check if your USB drive appears on the left side. If it does, try selecting it and clicking Mount.
5.2. First Aid
If the drive is visible but not mounting, try using the First Aid tool in Disk Utility to fix disk errors:
Select the USB drive.
Click the First Aid button, and the system will attempt to repair any detected errors.
6. Use Data Recovery Software
If the USB drive is still not recognized or is showing signs of data corruption, it’s time to consider using data recovery software. Data recovery programs can scan your USB drive for lost or deleted files, even if the drive is not fully functional.
6.1. Recommended Data Recovery Tools
Drecov Data Recovery is a powerful, user-friendly data recovery software designed to help users retrieve lost or deleted files from various types of storage media, including hard drives, SSDs, USB drives, and SD cards. Whether files are accidentally deleted, lost due to system crashes, or the drive becomes corrupted, Drecov Data Recovery provides a robust solution to recover essential data with ease.
Key features of Drecov Data Recovery include:
Deep Scan Technology: It scans the storage device thoroughly to identify recoverable files, even if the data has been deleted or the file system is damaged.
Support for Various File Types: The software supports the recovery of a wide range of file formats, including documents, images, videos, and audio files.
File Preview: Users can preview recoverable files before initiating the recovery process, ensuring they retrieve the right data.
Easy-to-Use Interface: Drecov Data Recovery offers an intuitive interface that simplifies the recovery process, making it accessible even for non-technical users.
Compatibility: It works with both Windows and macOS systems, offering flexibility for different users.
7. Using Command Prompt (Windows) for Disk Repair
Windows offers several built-in utilities that can fix issues related to an unrecognized USB drive, including the Check Disk utility.
7.1. Run CHKDSK
To check for and repair file system errors on your USB drive:
Open Command Prompt as an administrator.
Type the following command, replacing “X” with the letter of your USB drive:
bash
chkdsk X: /f
Press Enter and wait for the system to check and repair the file system.
This method can help if the USB drive is being detected but showing errors when attempting to access files.
8. Data Recovery for Physically Damaged USB Drives
If none of the software methods work and the USB drive appears to be physically damaged (e.g., the drive shows signs of burning, makes unusual noises, or is visibly cracked), your best option may be to consult a professional data recovery service.
8.1. What to Expect from a Professional Service
Professional data recovery services use advanced techniques and tools to recover data from physically damaged or severely corrupted drives. They often have the ability to:
Repair damaged sectors or damaged parts of the drive.
Access data even if the USB port or the entire drive is malfunctioning.
Recover data from encrypted or severely corrupted file systems.
These services can be expensive, and depending on the severity of the damage, recovery may not always be 100% successful. However, for critical data, professional recovery might be the best solution.
9. Preventing Future Data Loss
Once you’ve successfully recovered your data, it's a good idea to take steps to prevent future data loss on USB drives. Some best practices include:
Regular backups: Always back up your important files to a secondary location like an external hard drive, cloud storage, or network drive.
Properly eject USB drives: Always eject your USB drive properly before removing it from your computer to avoid file system corruption.
Keep your computer and drivers up to date: Ensure that your operating system and USB drivers are always up to date to prevent compatibility issues.


