We’ll explore the underlying technology of SD cards, the best recovery software, and step-by-step instructions to maximize your chances of success. Whether you're a seasoned photographer or a casual user, this tutorial will equip you with the knowledge to recover those precious memories effectively.
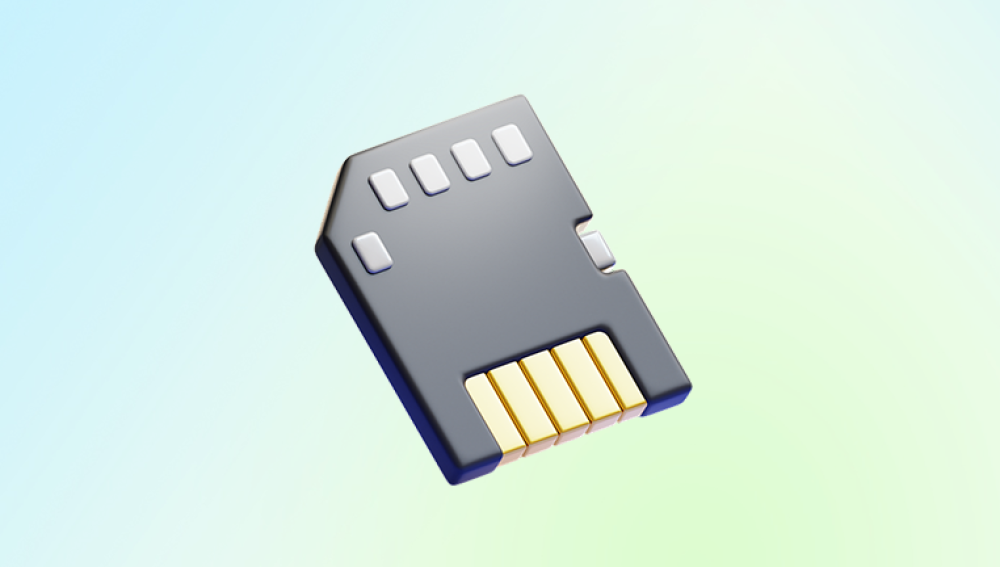
SD cards, or Secure Digital cards, are flash memory cards used for data storage. They come in various types, including SD, SDHC (Secure Digital High Capacity), and SDXC (Secure Digital Extended Capacity), with each offering different storage capacities and speeds. Data on an SD card is organized in a way that allows quick access and retrieval.
When you delete a file from an SD card, the data isn't immediately removed; instead, the operating system marks the space as available for new data. Until that space is overwritten, the deleted files can often be recovered. Understanding this process is crucial, as it emphasizes the importance of not using the card after deletion.

Preparing for Recovery
Before diving into recovery, it's essential to prepare properly. Here’s how to ensure the best chances of retrieving your lost pictures:
Stop Using the SD Card: Immediately cease any further use of the SD card. This prevents new data from overwriting the space where your deleted photos are stored.
Gather Necessary Equipment: You will need a card reader to connect your SD card to a computer. Ensure that you have the right recovery software installed.
Choose a Suitable Computer: Use a computer with sufficient storage to avoid overwriting any deleted data. Make sure it’s free of malware that could compromise the recovery process.
Backup Remaining Data: If there are still files on the SD card that you wish to keep, back them up to another device. This step ensures that even if the recovery process goes awry, you won’t lose other valuable files.
Recovery Software Overview
Several software options are available for recovering deleted photos from an SD card. Here’s a breakdown of some of the most effective recovery tools:
Panda Assistant:
Panda Assistant is a state-of-the-art data recovery software designed to provide users with a reliable solution for retrieving lost or deleted files from various storage devices, including SD cards, external hard drives, and USB drives. Its user-friendly interface ensures that individuals of all skill levels can navigate the recovery process with ease. With advanced scanning algorithms, Panda Assistant can delve deep into the storage medium, identifying and recovering files that may seem irretrievable due to accidental deletions, formatting, or data corruption.
The software supports a wide array of file formats, including photos, videos, documents, and more, making it a versatile tool for any data recovery scenario. One of its standout features is the ability to perform both quick and deep scans, allowing users to choose the best option based on their specific needs. Additionally, Panda Assistant offers a preview feature, enabling users to view recoverable files before finalizing the recovery process, ensuring that they retrieve exactly what they need.
PhotoRec:
Overview: An open-source data recovery tool, PhotoRec is known for its powerful scanning capabilities.
Features: Supports numerous file formats and is effective at recovering lost files from various storage devices.
Cost: Free.
Disk Drill:
Overview: A comprehensive data recovery solution that supports a wide range of devices and file types.
Features: Smart scan technology, data protection features, and a user-friendly interface.
Cost: Free version available; paid versions offer additional features.
EaseUS Data Recovery Wizard:
Overview: This tool provides a professional-grade solution for recovering lost files.
Features: Supports recovery from various storage devices, including SD cards, and allows previewing files before recovery.
Cost: Free version with limited recovery; paid versions offer full functionality.
Stellar Photo Recovery:
Overview: Designed specifically for photo and video recovery, Stellar is a reliable option.
Features: Supports various file formats, offers a preview option, and can recover files from formatted cards.
Cost: Free trial available; paid versions provide full features.
When selecting software, consider your specific needs: ease of use, supported file types, and cost. It’s also helpful to read user reviews and tutorials to ensure the software will meet your expectations.
Step-by-Step Recovery Process
Now, let’s dive into the detailed steps for recovering deleted pictures from your SD card using recovery software.
Step 1: Download and Install Recovery Software
Choose a recovery software from the list above and download it. Follow these steps for installation:
For Windows:
Locate the downloaded file and double-click to run the installer.
Follow the on-screen instructions to complete the installation.
For macOS:
Open the downloaded .dmg file.
Drag the application to your Applications folder.
Step 2: Connect the SD Card to Your Computer
Insert the SD card into a card reader.
Connect the card reader to a USB port on your computer.
Wait for the computer to recognize the SD card. You should see it appear in "My Computer" (Windows) or "Finder" (macOS).
Step 3: Launch the Recovery Software
Open the installed recovery software.
Familiarize yourself with the interface. Most software will present you with options to start a new scan or recover files.
Step 4: Scanning for Deleted Files
Select your SD card from the list of available drives.
Choose the type of scan:
Quick Scan: Ideal for recent deletions; it searches for recoverable files quickly.
Deep Scan: Takes longer but is more thorough. Use this if the quick scan doesn’t yield satisfactory results.
Start the scanning process. This may take some time depending on the size of the card and the scan type chosen.
Step 5: Previewing and Selecting Files for Recovery
Once the scan is complete, you’ll be presented with a list of recoverable files.
Use the filtering options to locate picture files. Most software allows you to sort by file type, making it easier to find images.
Preview files to ensure they are intact. Most recovery software will allow you to view thumbnails of images before recovery.
Step 6: Recovering the Pictures
Select the pictures you wish to recover. If you want to recover all files, there’s often an option to select all.
Click on the recovery button.
Choose a destination folder on your computer to save the recovered files. Important: Do not save them back to the SD card, as this may overwrite other deleted files.
Wait for the recovery process to complete. Afterward, navigate to the destination folder to check your recovered pictures.
Tips for Successful Recovery
To enhance your chances of a successful recovery, consider the following tips:
Act Quickly: The sooner you attempt recovery after deletion, the higher your chances of success. Avoid using the SD card to prevent overwriting data.
Use Reliable Software: Choose reputable recovery software known for effectiveness. User reviews and recommendations can help guide your choice.
Follow Instructions Carefully: Each software has its own unique steps. Ensure you read and follow the instructions provided during the recovery process.
Check Recovered Files: After recovery, verify that the recovered images are intact. Sometimes files may appear recoverable but can be corrupted.
Create Regular Backups: To prevent future data loss, implement a routine for backing up your SD card data. Use cloud storage or external hard drives for added security.
Troubleshooting Common Issues
During the recovery process, you may encounter issues. Here are solutions for common problems:
SD Card Not Recognized: If your computer doesn’t recognize the SD card, check the card reader and connections. Try a different USB port or card reader. If the card is still not recognized, it may be corrupted.
Recovery Software Crashes: If the software crashes during the scanning process, try restarting the program or your computer. Ensure your software is up-to-date, and consider using a different recovery tool if issues persist.
Limited Files Found: If the software finds only a few files, try performing a deep scan instead of a quick scan. Additionally, ensure you are using reliable recovery software.
Files Appear Corrupted: Sometimes, files may recover but be damaged. Try different recovery software, as some tools may be better suited for specific file types.
Retrieving deleted pictures from an SD card can be a straightforward process if you approach it methodically. By understanding how data is stored, selecting the right recovery software, and following the steps outlined in this guide, you can maximize your chances of successful recovery.
Always remember the importance of preventive measures, such as regular backups and careful handling of your SD cards. In today’s digital world, safeguarding your memories is paramount. Armed with this knowledge, you can confidently tackle any future data loss situations and ensure your cherished pictures remain safe and accessible.


