Recovering data from laptop hard drive can be a complex process depending on the nature of data loss and the condition of the hard drive. Here is a step-by-step guide to help you try to recover data from your laptop hard drive. Please note that this guide assumes basic computer knowledge and experience. If you are unfamiliar with these steps or encounter difficulties, it is recommended that you seek professional help from a data recovery expert.
Step 1: Prepare Tools and Equipment
Backup device: Prepare an external hard drive, USB flash drive or cloud storage service to store the recovered data.
Data recovery software: Research and choose a reliable data recovery software program. Make sure to choose a program that is compatible with your operating system and supports the file types you need to recover.
Laptop and accessories: Have your laptop and any necessary cables or adapters ready.
Step 2: Assess the situation
Determine the cause: Determine the cause of data loss. Common causes include accidental deletion, hard drive crash, or virus infection.
Inspect the hard drive: Visually inspect the hard drive for any physical damage, such as cracks or scratches. If there is obvious damage, it may not be safe to attempt data recovery and you should seek professional help.
Step 3: Start your laptop
Safe Mode: If your laptop can boot into the operating system, try booting in Safe Mode to minimize the risk of further data loss.
External case: If your laptop won't boot, you may need to remove the hard drive and connect it to another work computer using an external hard drive case or adapter.
Step 4: Use data recovery software
There are many data recovery software options available, which typically scan the hard drive and attempt to recover deleted or damaged files. When choosing software, make sure to choose a reputable product with high reviews and follow the software's instructions. The following takes the panda data recovery operation as an example.
Steps to recover data from Panda data recovery:
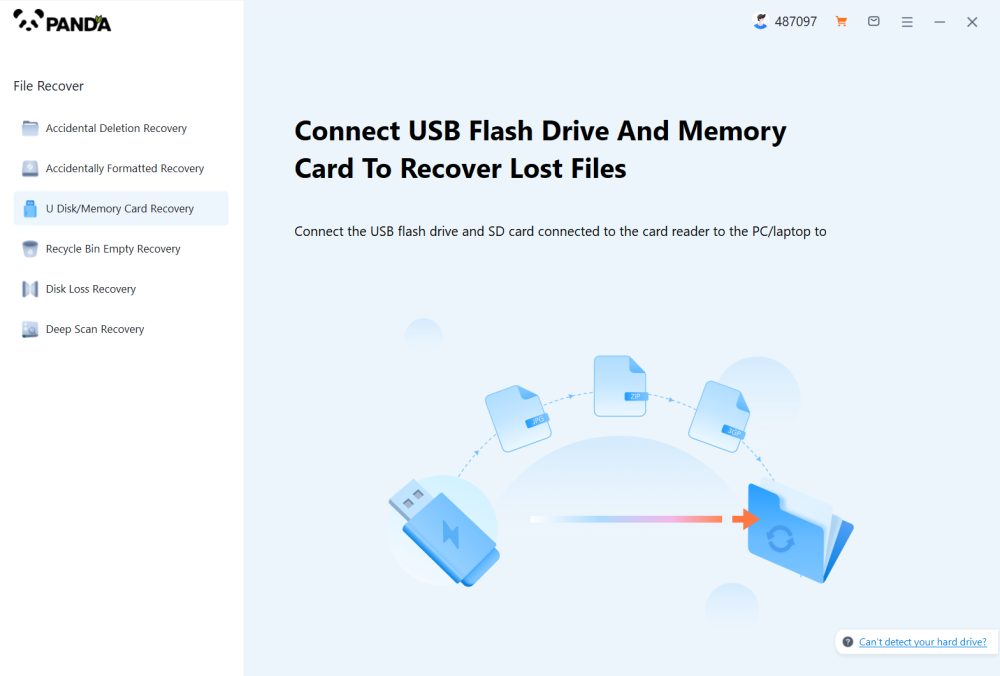
Step 1: Select Hard Drive Damage Recovery

Select the "Hard Drive Corruption Recovery" mode and click on it to proceed to the next step.
Step 2: Select the original data storage location
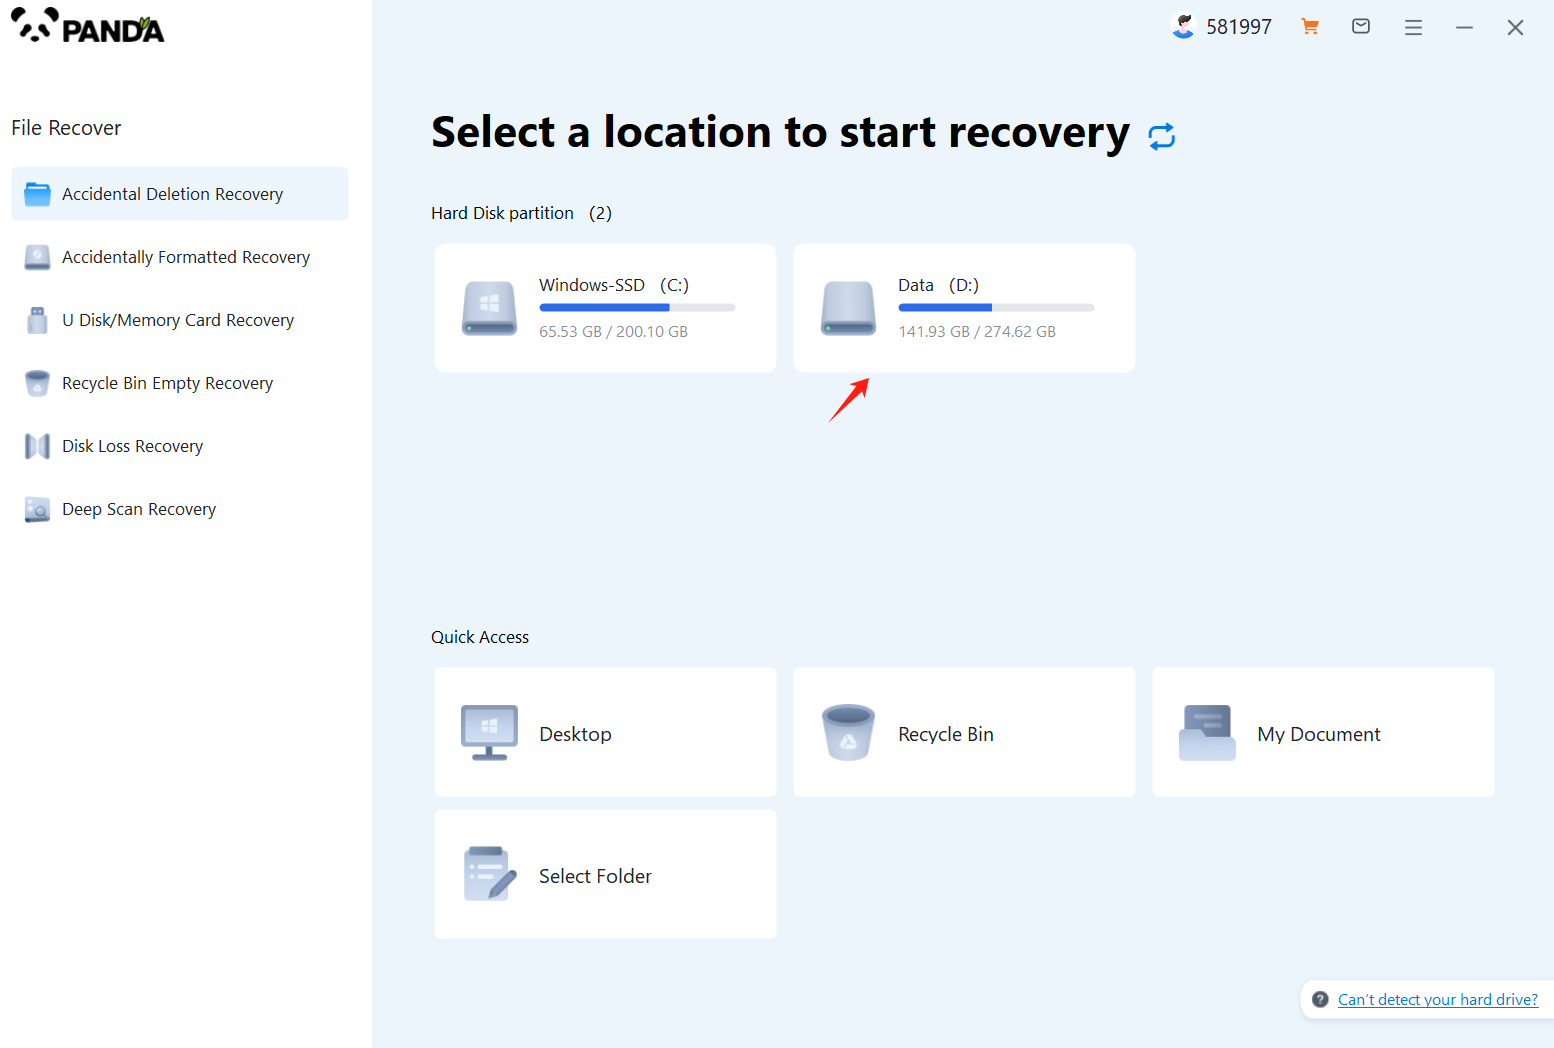
Select the storage location where the data is stored, and then click Start Scan.
Step 3: Scan the file
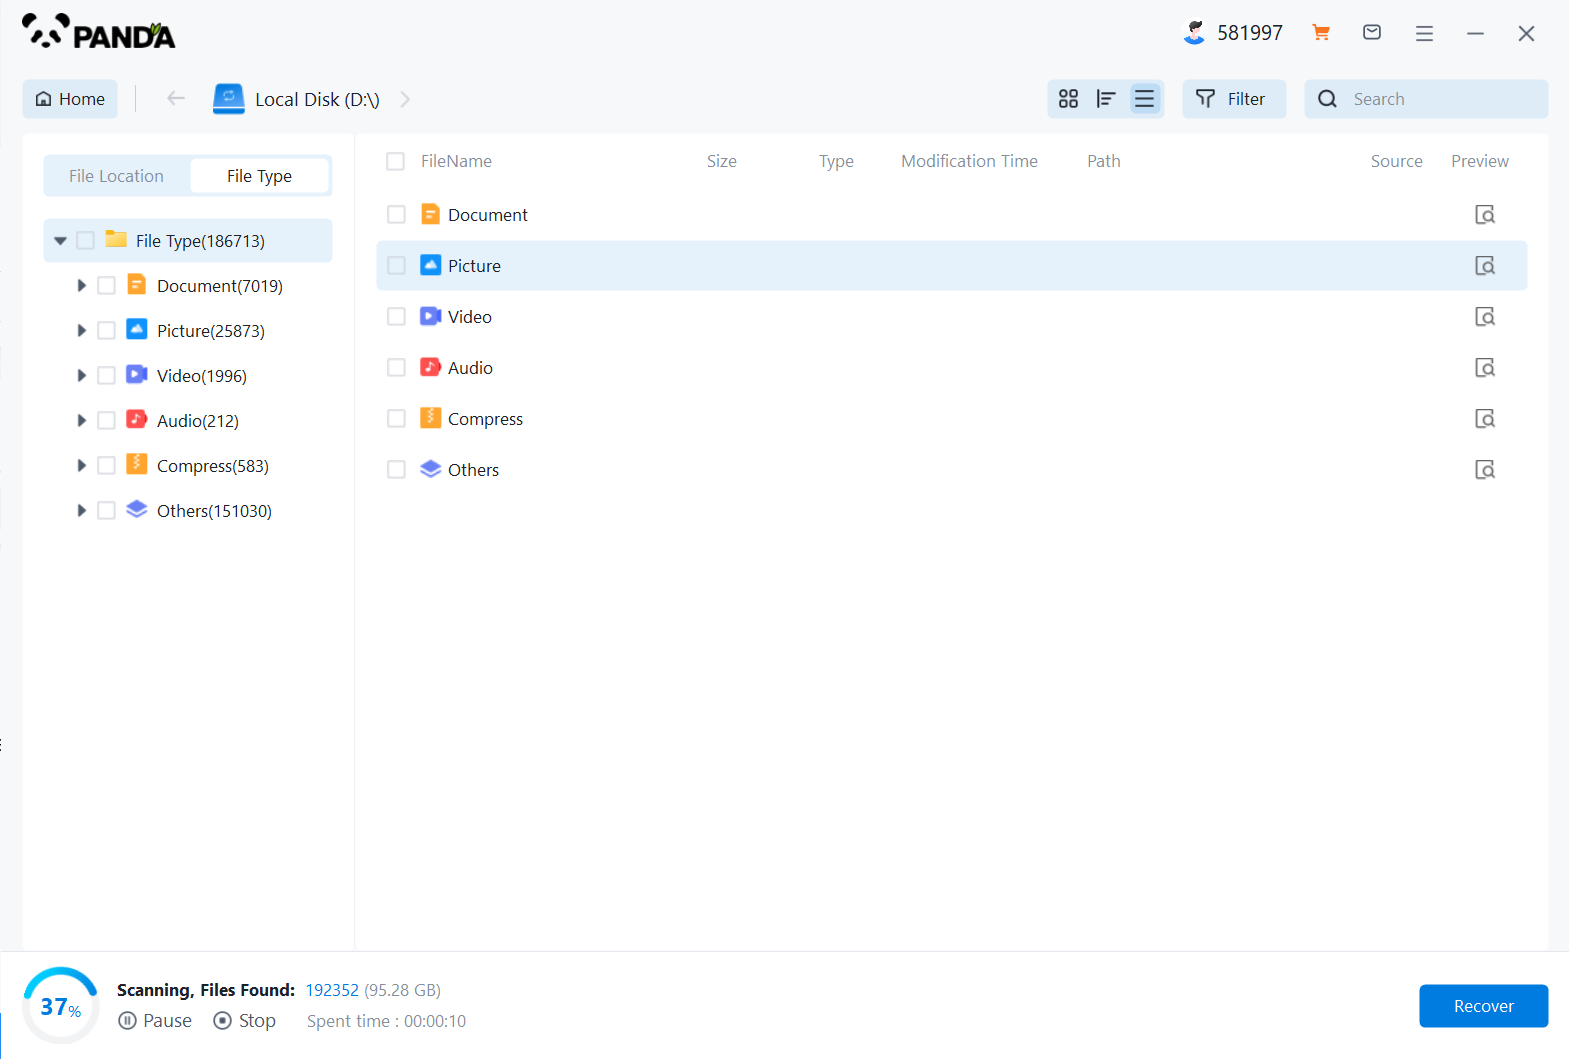
Wait patiently for the file to be scanned, we can also search while scanning, and if we find it in advance, we can also recover it first.
Step 4: Find the file
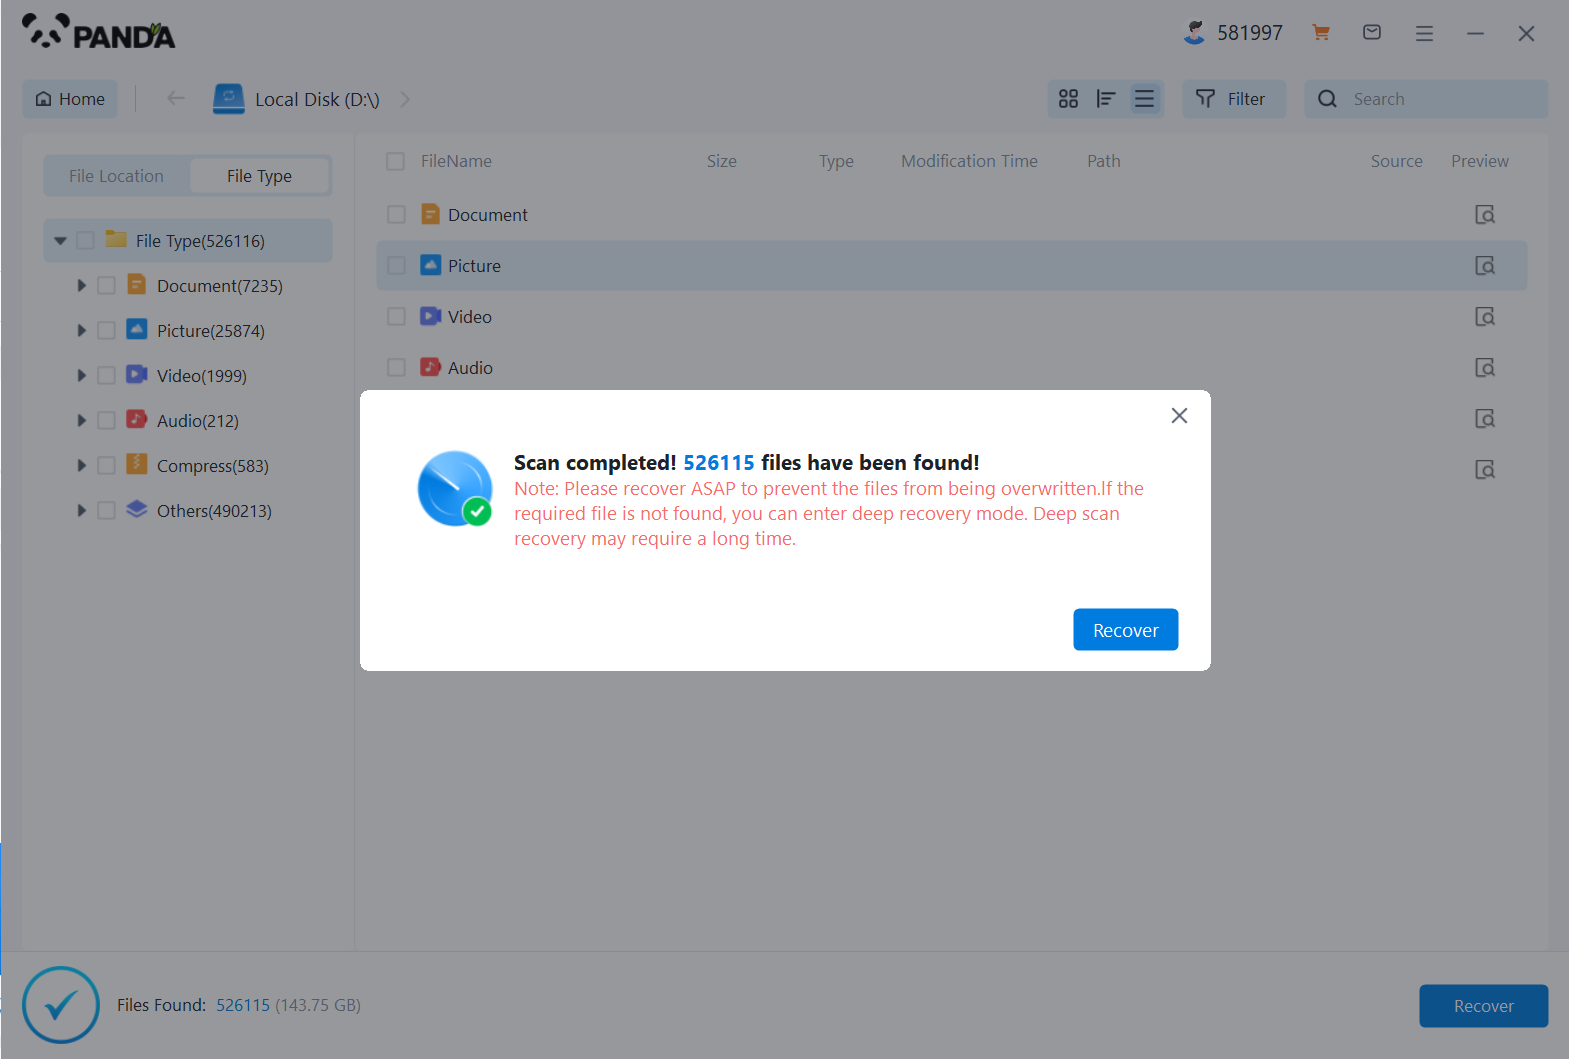
You can search to find the file.
Step 5: Preview the file

Double-click to preview the file.
Step 6: Recover files
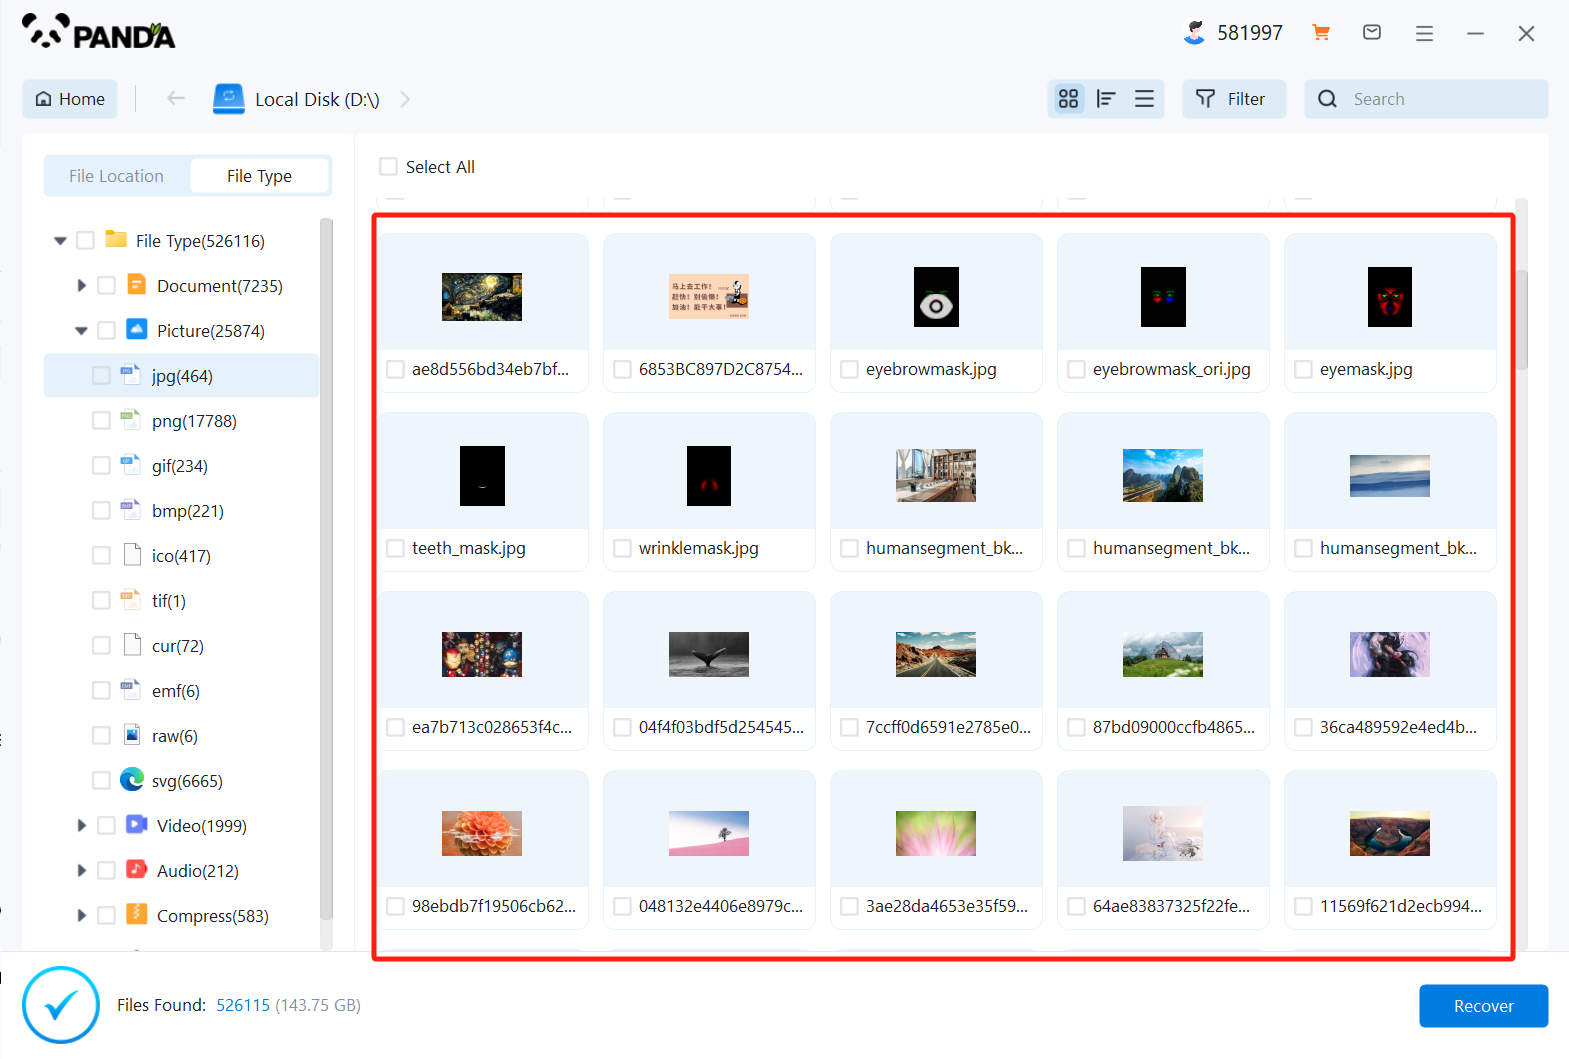
Tick the files you want to recover and click Recover.
Step 5: Verify recovered data
Check files: After the recovery process is complete, verify that the recovered files are complete and functional. Open some files to make sure they can be accessed and used as expected.
Regular backups: To prevent future data loss, establish a regular backup routine using an external hard drive, cloud storage, or other backup solution.
Important notes:
Don’t Panic: Stay calm during the data recovery process and avoid panicking. Panic can lead to making mistakes that further damage your data.
Avoid writing to drive: Minimize any write activity to the affected hard drive to prevent overwriting of remaining data. This includes installing software, creating new files, or modifying existing files.
Seek professional help: If you are stuck or are not confident in your ability to perform the recovery process, seek professional help from a data recovery expert. They have the necessary tools and expertise to handle complex data recovery cases safely and effectively.
Keep in mind that data recovery is not always successful and the chances of success depend on a variety of factors, such as the type of data loss, the condition of the hard drive, and the availability of backup copies. Always have a backup plan to minimize the risk of permanent data loss.


