When you delete a file, your operating system typically removes the file’s reference but doesn’t immediately erase its content from the storage device. The deleted file’s data remains on the disk until overwritten. This opens up possibilities for recovery through built-in tools, third-party software, or professional services.
Section 1: Initial Steps After Deleting Files
The moment you realize a file has been deleted, it’s essential to minimize further activity on the affected storage device. Every new file saved increases the chance that deleted data will be overwritten.
Stop Using the Storage Device:
Avoid saving new files, installing software, or downloading anything to the drive where deletion occurred. If possible, disconnect the device.

Check the Recycle Bin or Trash:
On Windows, deleted files usually go to the Recycle Bin; on macOS, to the Trash. Open these and look for your deleted files.
Right-click and select “Restore” (Windows) or “Put Back” (Mac) to return files to their original locations.
If files are still in the Recycle Bin or Trash, recovery is immediate and easy.
Section 2: Recovering Files Using Built-in Operating System Tools
If files are not in the Recycle Bin or Trash (for example, if you emptied it or used Shift + Delete), use your OS’s recovery or backup tools.
Windows File History and Previous Versions:
If File History is enabled, right-click the folder where the file was stored, then click “Restore previous versions.”
Browse through available backups and restore the required file.
macOS Time Machine:
Connect your Time Machine backup drive.
Open the folder where the deleted file was located.
Enter Time Machine and browse backups by date.
Select the file and click “Restore.”
Section 3: Recovering Deleted Files Using Free Software
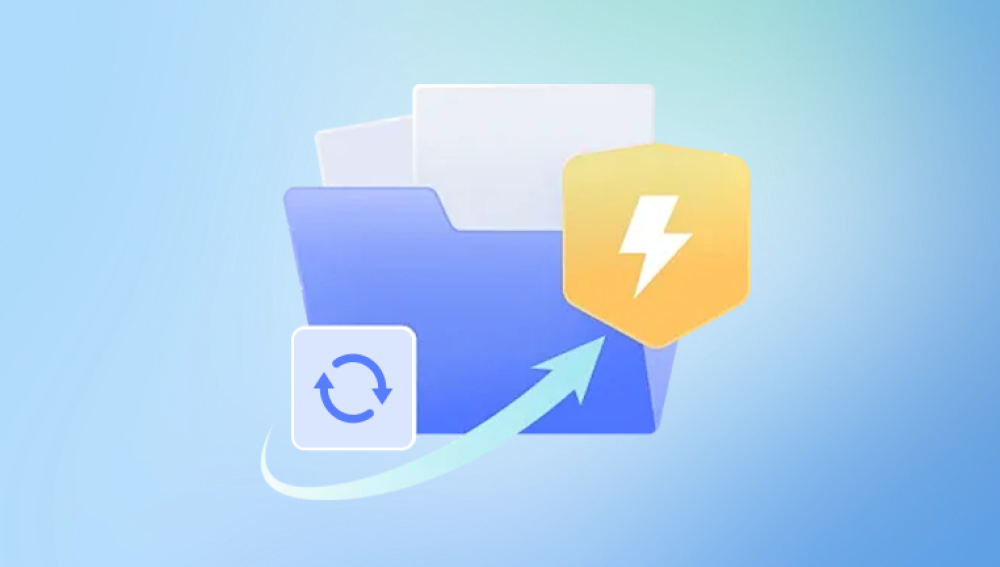
Drecov Data Recovery
Drecov Data Recovery offers two scan modes: quick scan and deep scan. The quick scan mode is ideal for recovering recently deleted files and completes faster, while the deep scan mode thoroughly analyzes the storage device to recover files lost for longer periods or after formatting. Once the scan is complete, the software presents a list of recoverable files, organized by file type or original folder structure.
Users can preview files before recovery to ensure the correct files are selected. After selecting the files to restore, choose a safe location on your computer to save them. Avoid saving recovered files back to the original drive to prevent overwriting other recoverable files.
Supporting a wide range of file formats—including photos, videos, documents, and audio Drecov Data Recovery’s intuitive interface makes it accessible to users of all technical levels. Overall, Drecov Data Recovery is a trustworthy tool that simplifies the process of retrieving deleted files, minimizing data loss effectively and securely.
Section 4: Recovering Files from External Devices and Memory Cards
The same recovery principles apply to USB drives, SD cards, and external hard drives.
Tips:
Ensure the device is properly connected and recognized by your computer.
Use recovery software compatible with the device’s file system (e.g., FAT32. exFAT, NTFS).
For formatted cards or drives, use the “formatted recovery” option in the software.
Section 5: Recovering Deleted Files from Mobile Devices
Android Devices:
Check the “Recently Deleted” or “Trash” folder in Gallery or File Manager apps.
Use recovery apps like DiskDigger or Dr.Fone, noting that root access may be needed for deep recovery.
Connect your device to a PC and use desktop recovery software for more options.
iOS Devices:
Check “Recently Deleted” albums in Photos or Files.
Restore from iCloud or iTunes backups.
Use specialized software such as PhoneRescue or Dr.Fone for iOS.
Section 6: Handling Formatted or Corrupted Drives
Formatting does not always erase data permanently. Recovery tools offer options for formatted drives.
Deep Scans:
Use deep scan or formatted recovery modes to scan for file signatures.
Drive Corruption:
Attempt to repair the file system with tools like CHKDSK (Windows) or Disk Utility (Mac) before recovery.
Avoid reformatting a corrupted drive unless necessary after recovery attempts.
Section 7: Professional Data Recovery Services
If software methods fail or if physical damage occurs (e.g., clicking noises, unrecognized drives), professional recovery services are the next option.
They provide:
Cleanroom environments for hardware repair.
Chip-off recovery for severely damaged drives.
Specialized software and hardware for complex recoveries.
Professional services are costly but often the only solution for serious damage.
Section 8: Tips for Increasing Recovery Success
Stop using the device immediately after file deletion.
Use reputable recovery software or services.
Always recover files to a different drive or partition.
Regularly back up important data to avoid future loss.
Section 9: Preventing Future File Loss
Enable system backup tools like File History or Time Machine.
Use cloud storage for important files.
Maintain good device health with antivirus and safe removal practices.
Be cautious when deleting or formatting files.