File history is a valuable feature that allows users to restore previous versions of files. This can be a lifesaver in many situations such as accidental deletions, overwrites, or when a file has been corrupted.
The Importance of File History
File history serves as a safeguard for our digital data. In a world where data is constantly changing and being updated, having a record of previous versions of files can help us revert to a state that was more suitable for our needs. For example, a writer who accidentally deletes a well - crafted paragraph can use file history to retrieve the earlier version of the document.
It also provides a form of protection against malware or software glitches that might damage files. If a virus infects a file and modifies its content, file history can be used to restore the file to a pre - infected state.

Recovering Files in Windows
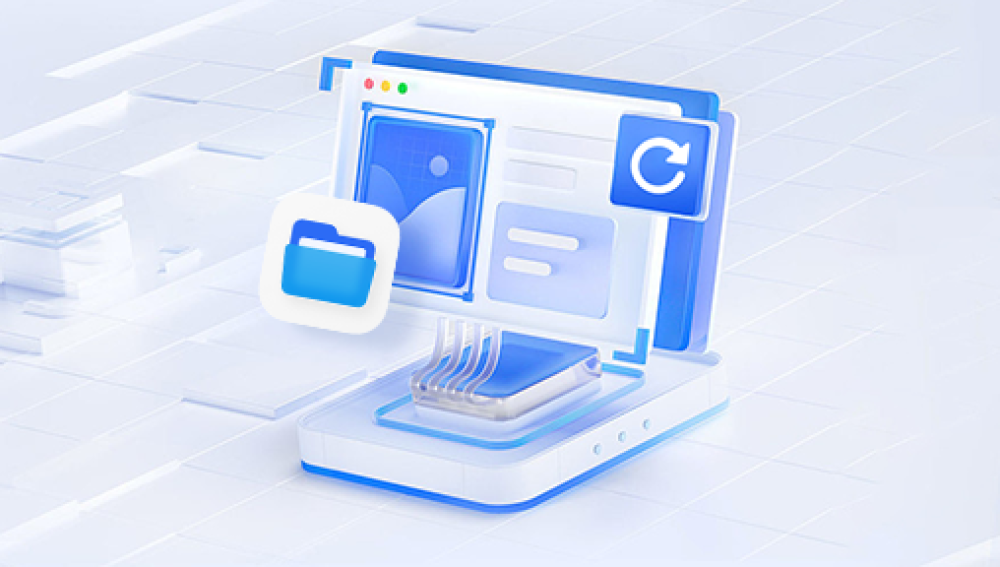
Drecov Data Recovery is a powerful and user-friendly software designed to help individuals and businesses recover lost, deleted, or corrupted data from a variety of storage devices. Whether you accidentally deleted important files, formatted a drive, or encountered system failures, Drecov Data Recovery provides a reliable solution to retrieve your valuable data.
Compatible with multiple platforms, the software supports recovery from hard drives, SSDs, USB flash drives, memory cards, and even mobile devices. Its advanced scanning algorithms can efficiently locate and recover data, including documents, photos, videos, and emails, regardless of the storage medium. The software’s intuitive interface ensures that even users with minimal technical expertise can navigate through the recovery process with ease.
Using File History in Windows
Windows has a built - in File History feature that backs up files to an external drive or a network location. To access file history, first, connect the drive where the file history backups are stored.
Then, open the 'Control Panel' and search for 'File History'. Click on the 'File History' option to open the File History window.
In the File History window, you'll see a list of backed - up folders. Navigate to the folder that contains the file you want to recover.
Once you've located the folder, you can browse through the different versions of the files available. The dates and times of the backups are usually displayed, making it easy to identify the version you need.
To restore a file, simply select the version you want and click on the 'Restore' button. The file will be restored to its original location.
Troubleshooting File History Recovery in Windows
If you can't access the File History drive, make sure it's properly connected and recognized by the computer. You might need to check the device manager for any driver issues.
In some cases, the file history backups may be corrupted. Windows provides tools to check and repair the backup database. You can use the command - prompt utility 'sfc /scannow' to scan for and repair any system file issues that might be affecting the file history backups.
Recovering Files in macOS
Time Machine and File Recovery
macOS uses Time Machine as its file history and backup solution. To recover a file using Time Machine, first, make sure your Time Machine backup drive is connected.
Open the 'Time Machine' application. This can usually be found in the 'Applications' folder.
Once Time Machine is open, you'll see a timeline on the side that shows the different backup points. You can use the arrows or the timeline to navigate to the point in time when the file you want to recover was in a suitable state.
The Finder window in Time Machine will display the contents of your computer as it was at the selected backup point. Navigate to the folder where the file is located and select the file you want to restore.
Click on the 'Restore' button to recover the file. The file will be restored to its original location, or you can choose a different location if you prefer.
Resolving Time Machine Recovery Issues
If Time Machine doesn't recognize the backup drive, you may need to re - select the drive in the Time Machine preferences. Go to 'System Preferences' > 'Time Machine' and click on 'Select Backup Disk' to re - establish the connection.
Sometimes, the backup may be incomplete or corrupted. In such cases, macOS provides a utility to verify and repair the backup. Open the 'Disk Utility' application and select the Time Machine backup drive. Then, click on the 'First Aid' option to run diagnostics and repairs.
Recovering Files in Linux (Using Backup Tools like Rsync and Timeshift)
Rsync and File Recovery
Rsync is a powerful file - synchronization and backup tool in Linux. If you have used Rsync to create backups, recovering a file involves accessing the backup location.
Suppose you have backed up your files to a separate directory or an external drive using Rsync. To recover a file, you need to navigate to the backup location.
You can use the command - line to search for the file in the backup. For example, if you know the approximate name of the file and the backup directory structure, you can use commands like 'find' and 'grep' to locate the file.
Once you've found the file, you can copy it back to its original location using the 'cp' command. For example, if the file you want to recover is in the backup directory '/backup/files' and its original location was '/home/user/documents', you can use the command 'cp /backup/files/filename /home/user/documents' to restore the file.