The Recycle Bin is a digital safety net built into Windows systems, designed to temporarily store deleted files and offer an opportunity for recovery before permanent loss. However, once files are removed from the Recycle Bin whether by manual emptying or through system processes they may seem irretrievably lost.
When you delete a file on Windows, the file isn't actually removed from your storage device immediately. Instead, the space it occupies is marked as available for new data. Until it is overwritten by new files, the original data remains on the drive and is recoverable using specialized tools. This is why acting quickly is critical.
Files emptied from the Recycle Bin no longer appear in the file system, but they still physically exist on your hard drive at least for a while. Windows merely removes the pointer to the file and flags the space as "available." Data recovery methods rely on this temporary state to restore lost information.

Reasons Why Files Get Deleted from the Recycle Bin
Files may be deleted from the Recycle Bin in various ways:
Manual deletion: Users may manually empty the Recycle Bin.
Shift + Delete: Files deleted using this shortcut bypass the Recycle Bin altogether.
Recycle Bin auto-clear: If the Recycle Bin exceeds its storage quota or if Windows Storage Sense is enabled, it may delete old files automatically.
File too large: Some files skip the Recycle Bin if they're too large.
Third-party cleaners: Utilities like CCleaner can empty the Recycle Bin.
Accidental actions: Users might mistakenly empty the Recycle Bin without realizing valuable files are inside.
Regardless of the reason, there’s still a chance of recovery using specific strategies.
Immediate Steps to Take After Deletion
When you realize files are deleted from the Recycle Bin, take the following precautions:
Stop writing data to the drive: Continuing to use your PC might overwrite the deleted files.
Avoid installing new programs: Especially data recovery tools. If necessary, use a different drive or a USB flash drive to run recovery tools.
Do not download large files: Downloads and updates can overwrite sectors where your deleted files are stored.
Note the drive location: Remember where the deleted files were stored. Recovery tools often ask for this.
Time is of the essence. The sooner you act, the better your chances of successful recovery.
Method 1: Use File History (If Enabled)
Windows has a built-in backup feature called File History that can restore earlier versions of files and folders.
Steps to use File History:
Go to the folder where the deleted file was originally located.
Right-click anywhere in the folder and choose Properties.
Click on the Previous Versions tab.
Browse through available backups.
Select the version that contains your deleted file and click Restore.
Note: This only works if File History was previously enabled and the drive was backed up.
Method 2: Restore From Windows Backup
If you have created system image backups or file backups using Windows Backup and Restore, you may retrieve deleted files.
How to restore files from a backup:
Open Control Panel.
Navigate to System and Security > Backup and Restore (Windows 7).
Click Restore my files.
Browse or search for the files you need.
Select and restore them to their original location or a new one.
This is particularly useful for users who periodically back up their systems.
Method 3: Try System Restore (For Associated Data)
System Restore doesn’t recover personal files directly, but it may restore system settings or application data that was removed alongside your files.
To perform a System Restore:
Press Windows + R, type rstrui, and press Enter.
Follow the wizard to choose a restore point prior to the deletion.
Let the system restore and restart.
This method won’t bring back user-created files but may recover things like app configurations or profiles.
Method 4: Use Data Recovery Software
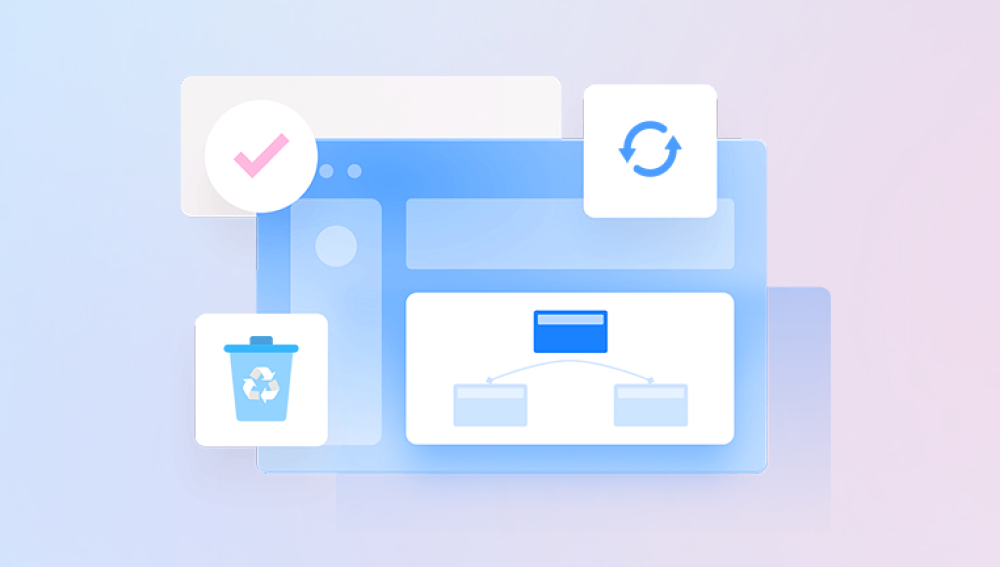
Drecov Data Recovery
Using Drecov Data Recovery is straightforward. After launching the software, you simply select the drive where the deleted file was originally stored. The program then performs a quick scan, followed by a more intensive deep scan if necessary, to detect recoverable files even those deleted from the Recycle Bin. Once the scan is complete, you can preview found items, choose what to restore, and recover them to a secure location.
One of the key strengths of Drecov Data Recovery is its user-friendly interface, making it accessible for both beginners and advanced users. It supports a wide range of file types, including documents, photos, videos, audio, and more. Whether you're dealing with accidental deletion, formatting, or corruption, the software is designed to give you the best chance of recovery.
To maximize your success, avoid using the drive where the file was deleted and perform the recovery as soon as possible. With Drecov Data Recovery, even files emptied from the Recycle Bin aren’t necessarily gone forever.
Method 5: Use the Command Prompt (Advanced)
For tech-savvy users, Command Prompt and native utilities like attrib or chkdsk may uncover hidden or lost files.
To use attrib:
Open Command Prompt as administrator.
Type the command:
attrib -h -r -s /s /d X:\*.*
Replace X: with your drive letter.
Press Enter.
This command removes hidden, read-only, and system attributes from all files, which may help uncover certain deleted or hidden files.
Note: This is not a comprehensive recovery method but can help in specific cases.
Method 6: Recover Using Cloud Storage
If you sync files to OneDrive, Google Drive, Dropbox, or another cloud service, you may find your deleted files there.
For OneDrive:
Log in to your OneDrive account.
Open the Recycle Bin in OneDrive.
Select and restore deleted files.
Cloud services typically keep deleted files for a limited period (15 to 30 days), offering a secondary safety net.
Method 7: Check for Temporary Files
Windows sometimes stores auto-saves and temporary files, especially for documents.
For Microsoft Office documents:
Open the app (e.g., Word).
Go to File > Info > Manage Document > Recover Unsaved Documents.
Browse through the auto-saved files.
Open and save the needed one.
These files may only be available for a limited time, so prompt action is necessary.
Method 8: Use Shadow Copies or Volume Snapshot
Volume Shadow Copy is a hidden feature that may contain snapshots of your files even if they are deleted from the Recycle Bin.
Third-party software like ShadowExplorer can help access these hidden snapshots:
Download and install ShadowExplorer.
Launch the app and select your drive.
Browse to the folder that contained your file.
Right-click on the file and choose Export.
This can be a powerful tool, but success depends on whether Volume Shadow Copy was enabled and active at the time of deletion.
Method 9: Check for Email Attachments or External Sources
In some cases, deleted files may still be retrievable from sources like:
Email attachments (search your inbox and sent folders).
Shared drives or external storage (USBs, network drives).
Colleagues or friends (if the file was shared previously).
Project collaboration platforms like Slack, Teams, or Notion.
While this doesn’t restore the file from your own system, it may help you recover a copy from elsewhere.
Method 10: Engage a Professional Data Recovery Service
If your file is extremely important and the above methods fail, a professional data recovery service may be your best bet. These services operate in clean rooms and use advanced tools to extract data from physically or logically damaged drives.
When to consider professional help:
Your drive is physically damaged.
You've tried multiple recovery attempts without success.
The data is critically important.
Keep in mind these services can be expensive, often ranging from hundreds to thousands of dollars, depending on complexity.
Best Practices to Prevent Permanent File Loss
While recovery is often possible, prevention remains the best solution. Here are some preventive strategies:
Enable File History: Regularly back up important files.
Use cloud sync: Tools like OneDrive and Google Drive provide version history.
Set Recycle Bin size: Increase its storage quota to prevent auto-deletion.
Double-check before emptying: Avoid blind deletions.
Install recovery tools in advance: A pre-installed tool prevents accidental overwrites during emergency recovery.
Use external backups: Store critical data on external hard drives or SSDs.
Losing files from the Recycle Bin can feel like a disaster, but it isn’t the end of the road. Through a combination of system tools, recovery software, cloud services, and in some cases, professional help, there is a good chance of retrieving those valuable files. The key is prompt action—avoid writing new data to the drive, explore all recovery options methodically, and follow through with best practices to prevent future data loss.