Whether you’ve accidentally deleted a photo, an important document, or an entire project folder, the sinking feeling that follows is universal. But don’t panic deleted files are not always gone forever. In many cases, they are recoverable, and depending on how and when the file was deleted, you have a good chance of getting it back.
Section 1: What Happens When You Delete a File?
Logical vs. Physical Deletion
When you delete a file, whether using the Delete key or by emptying the Recycle Bin, the file isn’t immediately erased from your storage drive. Instead, your system:

Removes the reference to the file in the directory.
Marks the space the file occupied as "free".
Leaves the data physically intact until new data overwrites it.
This means the file can often be recovered—if you act quickly and avoid writing new data to the storage device.
Ways Files Are Deleted
Recycle Bin: Temporary storage for deleted files in Windows.
Shift + Delete: Permanently deletes a file, skipping the Recycle Bin.
Command Line Deletion: Files removed via commands are usually unrecoverable via the Recycle Bin.
Formatting: Erases files from the disk’s index, but the data may still be recoverable.
Malware or System Errors: Can lead to file loss, corruption, or hidden data.
Section 2: Immediate Steps After Deletion
If you realize you’ve deleted an important file, do the following immediately:
Stop using the device or storage medium where the file was deleted.
Don’t install new software on the affected drive.
Check the Recycle Bin or Trash folder.
Look for backups (File History, Time Machine, cloud services).
Start recovery as soon as possible—the longer you wait, the lower the success rate.
Section 3: Recovering Deleted Files on Windows
Method 1: Restore from Recycle Bin
Open the Recycle Bin by double-clicking its desktop icon.
Find the deleted file.
Right-click it and choose Restore.
The file is restored to its original location.
Method 2: Restore Previous Versions
Navigate to the folder where the file was located.
Right-click the folder > Properties.
Select the Previous Versions tab.
Choose a version from before the file was deleted.
Click Restore or Open to copy files manually.
Method 3: Use File History
If File History was enabled:
Go to Settings > Update & Security > Backup.
Click More options > Restore files from a current backup.
Browse or search for the file.
Click Restore.
Method 4: Windows File Recovery Tool (Advanced)
Microsoft offers a command-line tool for deep file recovery.
Download Windows File Recovery from the Microsoft Store.
Open Command Prompt as Administrator.
Use this syntax:
bash
CopyEdit
winfr C: D: /extensive /n \Users\YourName\Documents\filename.docx
Replace paths and filenames accordingly.
Section 4: Recovering Deleted Files on Mac
Method 1: Restore from Trash
Open the Trash from the Dock.
Right-click the deleted file.
Click Put Back to restore it to its original folder.
Method 2: Time Machine
If Time Machine backups are enabled:
Connect your Time Machine drive.
Open the folder where the file was last located.
Launch Time Machine (from menu bar or Spotlight).
Scroll through snapshots to find the file.
Click Restore.
Method 3: Use Third-Party Tools
Mac users can use tools like Disk Drill or Stellar Data Recovery to retrieve deleted files that are no longer in Trash.
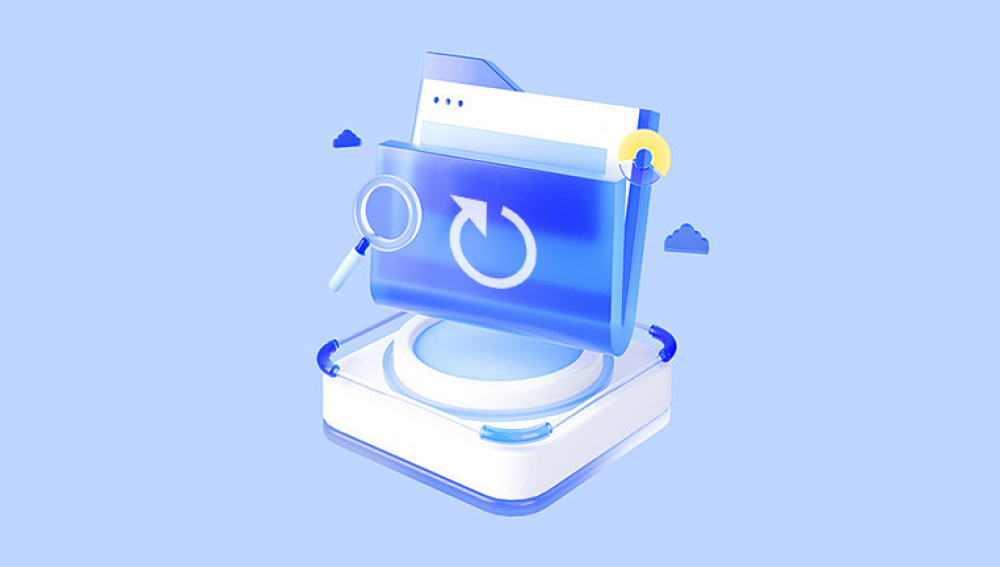
Section 5: Using Third-Party Recovery Software
Drecov Data Recovery
Once a file is deleted, it’s not immediately erased from your hard drive. Instead, the space it occupied is marked as available for new data. This means the file can often be recovered especially if you act quickly. Drecov Data Recovery uses advanced scanning technology to detect and restore these “invisible” files before they’re overwritten.
To get started, download and install Drecov Data Recovery on a different drive than the one where your file was deleted. Open the program and select the drive to scan. The software offers both Quick Scan (for recently deleted files) and Deep Scan (for older or formatted data). Once the scan completes, you’ll see a list of recoverable files, complete with previews.
Select the file(s) you want to recover and choose a safe location to save them. Drecov Data Recovery supports thousands of file types and works with internal drives, external storage, USB sticks, and SD cards.
Section 6: File Recovery from External Drives
Files deleted from USB drives, SD cards, or external HDDs don’t go to the Recycle Bin. Use recovery software to scan the device directly.
Important:
Don’t copy new files onto the device.
Use read-only scanning tools when possible.
Recovery is easier if the device hasn’t been used since deletion.
Section 7: Advanced Recovery for Formatted or Corrupted Drives
When a drive is formatted, only the file index is deleted. Use deep scanning tools like:
TestDisk (open-source, command-line).
R-Studio (professional-grade).
MiniTool Power Data Recovery.
These tools can recover files from:
Raw partitions
Lost or corrupted partitions
Drives with damaged file systems
Section 8: Retrieving Deleted Files from Cloud Storage
OneDrive
Visit onedrive.live.com.
Go to the Recycle Bin.
Select and restore deleted files.
Google Drive
Visit drive.google.com.
Open Trash from the left pane.
Right-click the file > Restore.
Dropbox
Sign in to Dropbox.
Go to Deleted files.
Select and restore the file.
Section 9: When Recovery Tools Fail
Sometimes, software tools cannot retrieve your files, especially if:
The file has been overwritten.
The drive is physically damaged.
You used secure erase or encryption.
In such cases, consider professional data recovery services like:
DriveSavers
Ontrack
Secure Data Recovery
These companies can work with physically damaged or logically corrupt drives in cleanroom labs.
Section 10: Recovering Specific File Types
Photos and Videos
Use tools like Stellar or PhotoRec for lost media.
Photos are often stored in temp folders after deletion.
Office Documents
Check autosave and backup folders:
Word: .asd or .wbk files
Excel: .xlk or autorecover files
Emails
Outlook: Try scanpst.exe to repair PST files.
Gmail/Yahoo: Check trash or backup folders within 30 days.
Section 11: File Recovery Tips and Best Practices
Act Fast: The sooner you try recovery, the better.
Avoid Using the Same Drive: Writing new data may overwrite deleted files.
Use Deep Scan for Old Deletions: Quick scans work best for recent files.
Preview Before Recovery: Confirm file quality before restoring.
Don’t Save to the Source Drive: Always recover to a different location.
Section 12: How to Prevent Data Loss in the Future
Enable Regular Backups
Windows File History
Mac Time Machine
Third-party options: Acronis, Macrium Reflect
Use Cloud Storage
OneDrive, Dropbox, Google Drive automatically back up files.
Create System Restore Points
Protect system configurations and sometimes user files.
Avoid Using Shift + Delete
This skips the Recycle Bin avoid unless you're certain.
Set Up File Versioning
Services like OneDrive and Google Drive keep file versions.
Invest in Backup Drives
Use external HDDs or SSDs for full-system or file backups.
Accidentally deleting a file can be terrifying, but in most cases, recovery is entirely possible. Whether you’re using Windows, Mac, or another platform, there are built-in tools and third-party software solutions that can help you restore lost files—even those deleted from the Recycle Bin, permanently removed, or lost due to formatting.
By acting quickly, avoiding overwriting, and following the steps outlined in this guide, you’ll increase your chances of successful recovery. And once your data is safely back, make prevention a priority by enabling backups, using cloud storage, and maintaining good digital habits.