Digital cameras have revolutionized photography, offering high-resolution images, portability, and instant feedback. Yet, despite their advantages, digital cameras are not immune to data loss. Accidental deletion, formatting, or memory card corruption can lead to the heart-wrenching loss of valuable photos.
How Deletion Works on Digital Cameras
When a photo is deleted from a digital camera, it doesn’t immediately vanish from the memory card. Instead, the camera’s file system marks the space previously occupied by the image as "available" for new data. Until new pictures are taken or data is written over that space, the deleted photo remains recoverable.
This means you must stop using the camera immediately after noticing photos are missing. Continuing to take pictures or format the memory card reduces the likelihood of recovery, as new data may overwrite the deleted files.

Common Causes of Photo Deletion
To better understand how to recover deleted photos, it helps to know how they might be lost. Some of the most common causes include:
Accidental deletion: Pressing the wrong button or selecting “Delete All” instead of a single image.
Formatting the memory card: Reformatting the card without backing up the photos.
File system errors: Errors due to improper ejection, power failures, or software glitches.
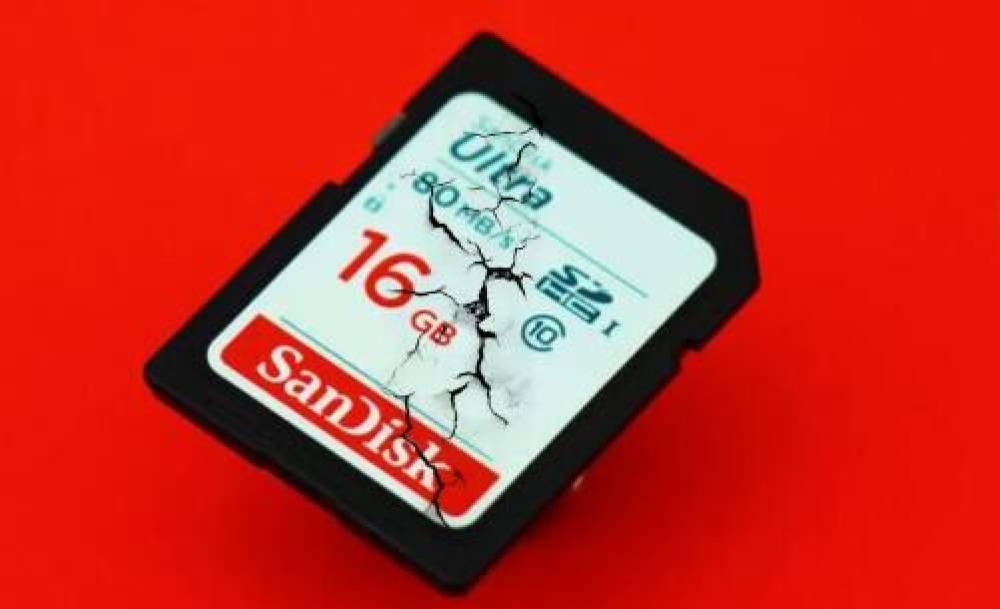
Memory card corruption: A corrupted SD card may render pictures invisible or inaccessible.
Virus or malware attacks: Though rare on cameras, malware can affect the storage when connected to computers.
Transfer interruptions: Disconnecting the camera or card reader during a transfer can lead to loss.
Immediate Steps to Take After Photo Deletion
The actions you take immediately after deletion can significantly impact your recovery success:
Stop using the camera.
Turn off the device and do not take new photos or videos.
Do not format or reformat the card again.
Remove the memory card.
Gently remove the SD card and set it aside in a safe place.
Avoid using in-camera recovery tools.
Some cameras offer “recover” or “undelete” features, but these are often rudimentary and may not be as effective as specialized software.
Prepare a computer for the recovery process.
You will need a card reader and a computer with data recovery software installed.
Best Software for Recovering Deleted Pictures
There are many photo recovery programs available, each offering different features. Below are some widely trusted options:
Drecov Data Recovery
Drecov Data Recovery works seamlessly with SD cards, microSD cards, and internal camera storage. Once you realize that your photos are missing, it's crucial to stop using the camera immediately to avoid overwriting the deleted data. Then, remove the memory card and connect it to your computer using a card reader.
With its user-friendly interface, Drecov Data Recovery guides you through a few simple steps: launch the software, select the connected camera storage, and begin scanning for lost files. The software will perform a deep scan to locate all recoverable pictures, including JPEG, PNG, RAW, and other common photo formats. You can preview the images before recovery, ensuring you retrieve only the files you need.
When selecting software, consider factors such as ease of use, compatibility with your camera's memory card, preview capabilities, and recovery limits on free versions.
Step-by-Step Guide to Recover Deleted Pictures
Follow these steps carefully to recover your deleted photos:
Step 1: Connect the Memory Card to Your Computer
Use a reliable card reader rather than connecting the camera directly. Insert the memory card into the reader and connect it to your computer. Ensure the card appears as a drive (e.g., E:\ or F:\ on Windows, or an external volume on macOS).
Step 2: Install and Launch Data Recovery Software
Download and install your chosen recovery tool. Open the software, and it should detect the memory card as a connected device.
Step 3: Select the Memory Card for Scanning
Choose the correct drive representing the memory card. Double-check the drive letter or volume name to avoid scanning the wrong storage.
Step 4: Initiate a Deep Scan
Most recovery programs offer two options: Quick Scan and Deep Scan. Start with a Quick Scan if available, but for best results, proceed with a Deep Scan. This option scans the memory card thoroughly, increasing the chances of finding lost files.
Step 5: Preview and Select Recoverable Photos
Once the scan completes, the software will display recoverable files. Preview the images to verify quality and relevance. Most programs allow you to select specific photos for recovery rather than restoring everything.
Step 6: Recover and Save Photos
Choose a safe location on your computer’s hard drive (not the original memory card) to save the recovered files. Saving to the same card could overwrite other recoverable data.
Step 7: Backup and Verify
After recovery, check all restored images for completeness and integrity. Create backups on another drive or cloud service to prevent future losses.
Advanced Recovery Options
If standard software fails to retrieve your photos, consider these advanced options:
Using Hex Editors and Manual Recovery
For technically skilled users, tools like WinHex or HxD can manually inspect raw memory card sectors. This approach can be used when recovery software fails due to severe corruption, but it requires a solid understanding of file structures.
Contacting Professional Recovery Services
If your memory card is physically damaged, corrupted beyond software recovery, or contains critical photos (e.g., wedding photography), a professional data recovery service might be your best option. These services use specialized equipment in controlled environments to retrieve data from failed storage media.
Services typically involve:
Initial diagnostics (often free or low-cost).
A quote based on damage severity.
Recovery attempts in a cleanroom lab environment.
Prices can range from $100 to over $1000 depending on complexity, but the success rate is often higher than consumer-level tools.
Common Challenges and How to Overcome Them
Challenge 1: Memory Card Not Detected
If your computer doesn’t recognize the card:
Try a different card reader or USB port.
Use disk management tools to check if the card is listed but not assigned a drive letter.
Use the command prompt (Windows) or Disk Utility (Mac) to attempt mounting the drive.
Challenge 2: Recovered Images Are Corrupted
Corruption can occur if the deleted data was partially overwritten. Solutions include:
Attempting recovery with a different tool.
Using software with repair functions for image files (e.g., Stellar Photo Repair).
Restoring earlier backups if available.
Challenge 3: Recovery Software Cannot Locate Deleted Files
In some cases, particularly if the card was formatted multiple times or new data was written, photos may be unrecoverable. However, trying different tools can still yield results, as each program uses unique algorithms.
Tips to Prevent Future Photo Loss
Recovering deleted pictures can be stressful and time-consuming. Implementing preventive strategies can help avoid data loss in the future:
Tip 1: Regular Backups
Make it a habit to back up photos after every shoot. Use multiple storage methods, including:
External hard drives.
Cloud storage (Google Photos, Dropbox, OneDrive).
Network-attached storage (NAS).
Tip 2: Use Reliable Memory Cards
Invest in high-quality, brand-name SD cards from trusted manufacturers like SanDisk, Lexar, or Samsung. Avoid counterfeit cards, especially when buying online.
Tip 3: Format Cards In-Camera
Always format memory cards using your camera’s built-in function rather than a computer. This ensures the file system is optimized for your device.
Tip 4: Safely Eject and Power Off
Always power off the camera before removing the card and eject memory cards from computers safely to prevent corruption.
Tip 5: Avoid Filling the Card Completely
Leaving some space on the card can prevent errors during write operations and reduces the risk of corruption.
Tip 6: Carry Spare Cards
When shooting important events, use multiple memory cards instead of storing everything on one. If one fails, the rest remain safe.
Special Considerations for RAW Files
Professional photographers often shoot in RAW format for higher quality and flexibility. Recovering RAW images follows the same process, but you must ensure your recovery software supports your camera's RAW file type (e.g., .CR2. .NEF, .ARW). Some programs specialize in RAW recovery and can recover even partially corrupted images.
Recovery from Built-In Camera Storage
Some cameras have internal memory in addition to memory cards. If pictures were stored internally:
Connect the camera directly via USB.
Ensure it is set to the correct mode (usually “Mass Storage” or “PC Connect”).
Run recovery software on the internal storage as you would on a memory card.
Note that internal memory recovery can be more complex and may require drivers or proprietary software.
What to Avoid During Recovery
Certain actions can drastically reduce your chances of successful recovery. Here’s what to avoid:
Taking new photos after deletion.
Formatting the card more than once.
Using unreliable recovery tools or freeware from unknown sources.
Saving recovered files back onto the original card.
Ignoring early warning signs of card failure (e.g., slow performance, frequent errors).
Summary of the Recovery Process
To summarize, here’s a streamlined overview of the recovery process:
Stop using the camera immediately.
Remove the memory card safely.
Connect the card to a computer using a card reader.
Install trusted recovery software.
Run a deep scan and preview recoverable files.
Save recovered pictures to a different location.
Verify and back up the recovered images.
By following these steps, most users can successfully recover deleted photos, especially if the card has not been reused.


