Losing important files on your computer can be a stressful experience. Whether it's a crucial work document, cherished family photos, or other valuable data, the feeling of data loss is frustrating and sometimes terrifying. Fortunately, many lost files can be recovered, even if they seem gone at first.
Accidental Deletion: You might have deleted files by mistake.
Emptying the Recycle Bin: Once emptied, files seem permanently gone.
Formatting: Formatting a drive or partition erases all data.
Virus or Malware Attack: Malicious software can delete or encrypt files.
System Crash or Power Failure: Unexpected shutdowns can corrupt files.
File System Corruption: Errors in the file system prevent access.
Hardware Failure: Faulty hard drives or storage devices cause data loss.
Software Bugs: Faulty software or failed installations can cause data loss.
Knowing why files are lost can help choose the right recovery approach.
Step 1: Check the Recycle Bin
The first place to look for deleted files is the Recycle Bin (Windows) or Trash (Mac).
Windows:
Open the Recycle Bin icon on your desktop.
Search or browse for your lost files.
Right-click and select Restore to recover them to their original location.
Mac:
Open the Trash folder from the Dock.
Locate the files and right-click to Put Back.
If files are found here, recovery is simple. If not, proceed to more advanced steps.
Step 2: Use File History or Previous Versions (Windows)
Windows has built-in backup features that may help.
File History:
Search for "File History" in the Start menu.
If enabled, you can restore previous versions of files or folders.
Navigate to the folder where the lost files were.
Right-click and choose Restore previous versions.
Browse available backups and restore needed files.
System Restore:
While System Restore primarily targets system files, sometimes it can help recover lost or corrupted files by restoring your system to a previous state.
Step 3: Use Time Machine (Mac)
If you use macOS, Time Machine automatically backs up files if enabled.
Connect your Time Machine backup drive.
Open the folder where the file was lost.
Launch Time Machine from the menu bar.
Browse backward in time to find your files.
Select and click Restore.
If backups exist, Time Machine is a reliable way to restore lost data.
Step 4: Check Cloud Backup Services
If you use cloud storage services such as OneDrive, Google Drive, Dropbox, or iCloud, check the online Trash or Deleted Files folders.
Log into your cloud account.
Navigate to the Trash/Deleted section.
Restore files from there if available.
Cloud backups provide an extra layer of data protection and often keep deleted files for 30 days or more.
Step 5: Use File Recovery Software
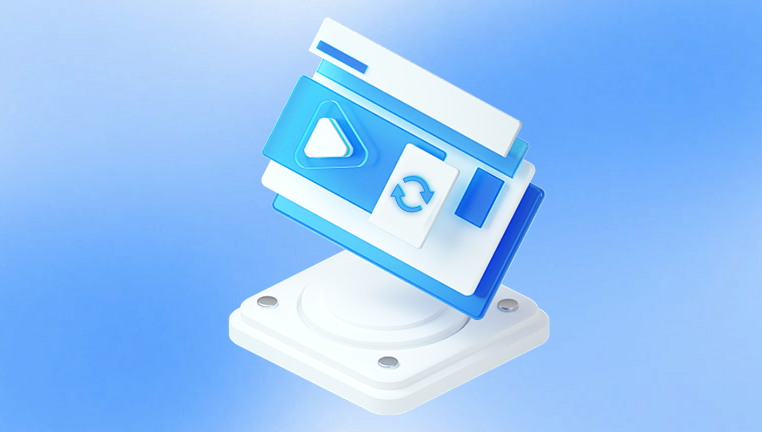
Drecov Data Recovery
Drecov Data Recovery supports a wide range of file types, including documents, photos, videos, music, and archives. This versatility ensures that no matter what kind of data you’ve lost, the software can help you recover it. Its intuitive interface is user-friendly for both beginners and experienced users, allowing you to recover files with just a few clicks.
The software offers two scanning modes: a quick scan to find recently deleted files and a deep scan for more complex cases like formatted drives or corrupted files. This flexibility increases the chances of finding and recovering your lost data, even in challenging situations.
One of the standout features of Drecov Data Recovery is its preview option. Before recovering files, you can view them to ensure you are restoring exactly what you need. This saves time and prevents unnecessary data clutter.
Using Drecov Data Recovery is safe for your computer and storage devices because it works in a non-destructive way, preserving your data while scanning. To maximize recovery success, it’s important to stop using the affected drive immediately after data loss and avoid saving new files to it.
Step 6: Recover Files from Formatted Drives
If you formatted your drive by mistake, recovery is still possible unless overwritten.
Use recovery software’s deep scan mode.
Avoid writing new data to the formatted drive.
Recover files to a different location.
Formatting removes file system pointers but not necessarily the actual data.
Step 7: Recover Files from Corrupted Drives
Sometimes drives become corrupted due to power loss, virus attacks, or hardware issues.
Repairing Corruption Before Recovery
Use CHKDSK (Windows) command:
Open Command Prompt as Administrator.
Run chkdsk X: /f (replace X: with your drive letter).
This fixes file system errors.
On Mac, use Disk Utility > First Aid to repair.
After repair, try to access or recover files using software.
Step 8: Recover Files from External Devices
Files lost on external hard drives, USB drives, or SD cards follow similar recovery steps.
Connect the device properly.
Use recovery software.
Always save recovered files to your computer’s internal drive, not back to the external device until recovery is complete.
Step 9: Use Professional Data Recovery Services
If your hard drive or SSD fails physically (clicking noises, not recognized by computer), software recovery won’t help. In such cases:
Stop using the device immediately.
Contact a professional data recovery service.
They have clean rooms and specialized equipment to retrieve data safely.
Step 10: Preventing Future Data Loss
Recovering files is possible but can be complicated and sometimes costly. Prevention is better.
Tips to Protect Your Data
Regular Backups: Use cloud services or external drives for regular backups.
Enable System Backups: Turn on File History or Time Machine.
Use Antivirus Software: Prevent infections that cause data loss.
Safely Eject Drives: Always use “Safely Remove Hardware” before unplugging USB drives.
Avoid Sudden Shutdowns: Properly shut down your PC to prevent corruption.
Organize Files: Keep important files in known locations for easier backups.