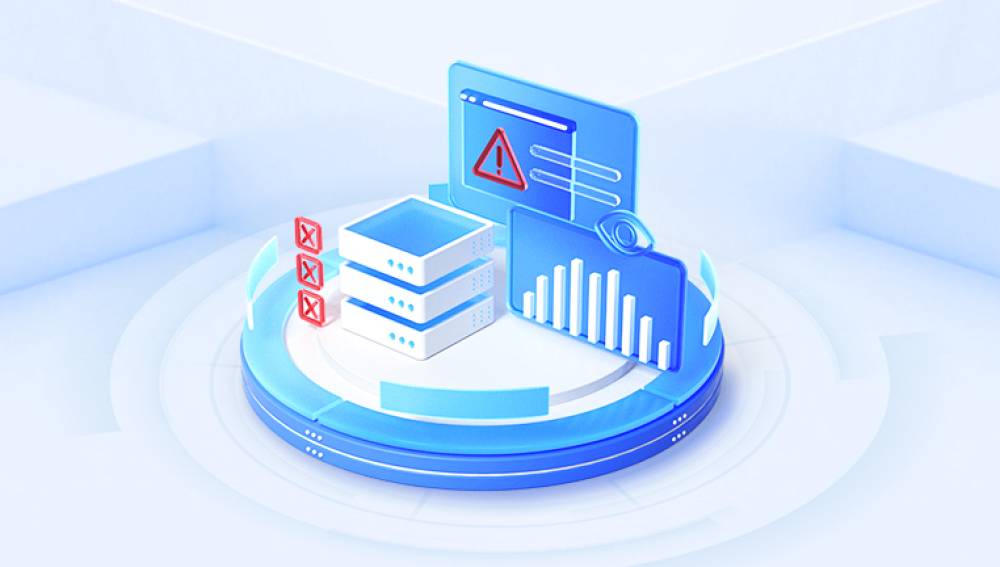
When an external hard drive is not initialized, it means that the operating system cannot access the drive. This often manifests as the drive not appearing in File Explorer (Windows) or Finder (macOS), but it might still be visible in Disk Management or Disk Utility, albeit with an "uninitialized" status.
Common Symptoms
Drive Not Detected: The drive does not appear in File Explorer or Finder.
Disk Management/Disk Utility: The drive shows up as uninitialized or unallocated.
Error Messages: Prompts like "You must initialize a disk before Logical Disk Manager can access it" may appear.
Causes of the Error
Corrupted File System: A corrupted file system can prevent the operating system from recognizing the drive.
Hardware Issues: Physical damage to the drive or faulty connections can lead to initialization problems.
Driver Issues: Outdated or corrupt drivers can interfere with the recognition of the external drive.
Power Supply Problems: Inadequate power supply to the drive can cause it to malfunction.
Partition Table Issues: A damaged or missing partition table can result in the drive appearing uninitialized.
Troubleshooting Steps
Step 1: Check Connections
Reconnect the Drive: Unplug the external hard drive and reconnect it, ensuring a secure connection.
Try Different Ports: Connect the drive to a different USB port on your computer.
Use Another Cable: Replace the USB cable to rule out a faulty connection.
Step 2: Check Disk Management (Windows)
Open Disk Management: Right-click on "This PC" or "My Computer" and select "Manage," then go to "Disk Management."
Identify the Drive: Locate the external hard drive. It may show up as "Unknown" or "Not Initialized."
Step 3: Check Disk Utility (macOS)
Open Disk Utility: Go to "Applications" > "Utilities" > "Disk Utility."
Identify the Drive: Look for the external hard drive in the list of devices. It may be listed as "Uninitialized" or "Unformatted."
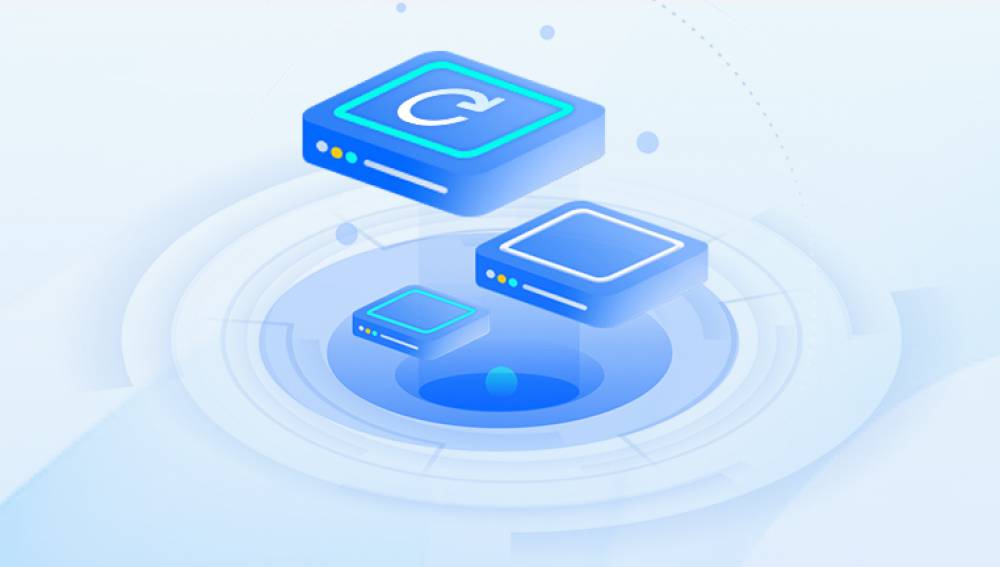
Step 4: Initialize the Drive (Windows)
Right-Click the Drive: In Disk Management, right-click on the uninitialized drive.
Select Initialize Disk: Choose "Initialize Disk" and select the partition style (MBR or GPT).
Create New Volume: Follow the prompts to create a new volume and format the drive.
Step 5: Initialize the Drive (macOS)
Select the Drive: In Disk Utility, select the uninitialized drive.
Click on Erase: Click the "Erase" button and choose the appropriate format (usually macOS Extended or APFS).
Initialize: Follow the prompts to initialize and format the drive.
Step 6: Update Drivers (Windows)
Device Manager: Open Device Manager by right-clicking on "This PC" or "My Computer" and selecting "Manage," then "Device Manager."
Update Driver: Locate the external hard drive under "Disk Drives," right-click it, and select "Update Driver."
Advanced Solutions
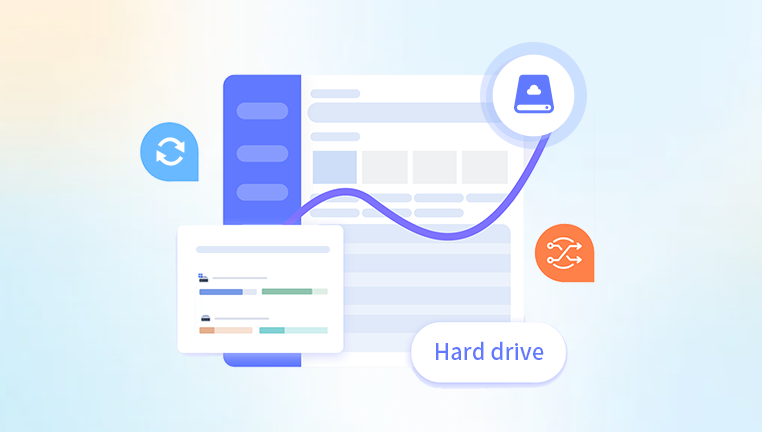
Using Data Recovery Software
If the drive contains important data that you cannot afford to lose, consider using data recovery software before attempting to initialize or format the drive. Some popular options include:
EaseUS Data Recovery Wizard
Recuva
Disk Drill
R-Studio
Professional Data Recovery Services
For critical data, or if the drive has physical damage, professional data recovery services may be necessary. In Adelaide, Boca Raton, or Brooklyn, there are specialized services that can help retrieve your data safely. Always choose a reputable service with good reviews.
Checking for Hardware Issues
Listen for Unusual Noises: Clicking or grinding noises can indicate physical damage.
Test on Another Computer: Connect the drive to a different computer to rule out issues with your current system.
Use a Different Enclosure: If you suspect the drive's enclosure is faulty, try placing the drive in a new enclosure.
Repairing Partition Table
Use Command Prompt (Windows):
Open Command Prompt as Administrator.
Use diskpart to list and select the disk.
Use clean command to clear the partition table (caution: this will delete all data).
Use Third-Party Tools: Software like MiniTool Partition Wizard or AOMEI Partition Assistant can help repair partition tables without data loss.
Preventive Measures
Regular Backups
Regularly back up your data to multiple locations, such as cloud storage or another external drive, to prevent data loss in case of drive failure.
Safe Removal
Always use the "Safely Remove Hardware" option (Windows) or "Eject" (macOS) before disconnecting your external drive to prevent file system corruption.
Power Supply
Ensure your external hard drive has a stable power supply. Avoid using USB hubs that may not provide sufficient power.
Firmware Updates
Keep your external hard drive’s firmware up to date by checking the manufacturer’s website for updates.
Regular Health Checks
Use tools like CrystalDiskInfo (Windows) or DriveDx (macOS) to monitor the health of your external hard drive and detect issues early.