There are numerous reliable methods to retrieve files from a hard drive, whether due to accidental deletion, corruption, formatting, or physical failure. This comprehensive guide walks you through everything you need to know about recovering files from a hard drive.
To successfully recover files from a hard drive, it helps to understand how they store data. A hard disk drive (HDD) or solid-state drive (SSD) stores data in blocks. When you delete a file, the system marks the space as available but doesn’t erase the actual data until it’s overwritten. This creates a window of opportunity to retrieve deleted files, provided you act quickly.
HDDs use spinning platters and magnetic heads, while SSDs use flash memory. HDDs are more susceptible to mechanical failure, while SSDs can be harder to recover data from after deletion due to the TRIM command, which actively clears deleted blocks.
Common Reasons for Data Loss
Before choosing a recovery method, it’s helpful to identify the cause of data loss:
Accidental deletion: Files were removed and bypassed the Recycle Bin.
Formatted drive: The drive was formatted either intentionally or by mistake.
Corruption: Malware, improper shutdowns, or software issues can corrupt files.
Drive not recognized: The system doesn't detect the hard drive.
Mechanical failure: Clicking sounds, overheating, or refusal to spin may indicate physical issues.
Partition loss: The drive’s partitions are missing or inaccessible.
Understanding the underlying issue helps determine whether DIY recovery is viable or if professional help is necessary.
Step 1: Stop Using the Affected Drive
The moment you realize data may be lost, stop using the hard drive. Continued use risks overwriting the deleted data, making recovery more difficult or even impossible. If the affected drive is internal, avoid installing new programs or creating files on it. If it’s external, disconnect it immediately and don’t run file operations.
Step 2: Identify the Type of Drive and Connection
Before beginning recovery, determine whether the drive is:
Internal HDD/SSD: Inside a desktop or laptop.
External HDD/SSD: Connected via USB, Thunderbolt, or eSATA.
Old IDE/PATA drive: May require special adapters.
NVMe or M.2 SSD: Requires compatible motherboard or enclosure.
Understanding your hardware helps in selecting compatible recovery software and tools.
Step 3: Use File History or Backups (If Available)
If you’ve enabled File History or a system backup tool, restoring lost files may be straightforward.
Windows File History:
Open the folder where your lost file was located.
Click on the “Home” tab, then click History.
Browse through available versions of the folder.
Select the file version you want and click Restore.
Backup and Restore (Windows 7):
Go to Control Panel > System and Security > Backup and Restore.
Click Restore my files.
Use the search tool or browse to find files.
Restore to original or a different location.
If you regularly back up to an external drive or cloud service, check those sources first before proceeding to more complex recovery solutions.
Step 4: Use Data Recovery Software
Drecov Data Recovery
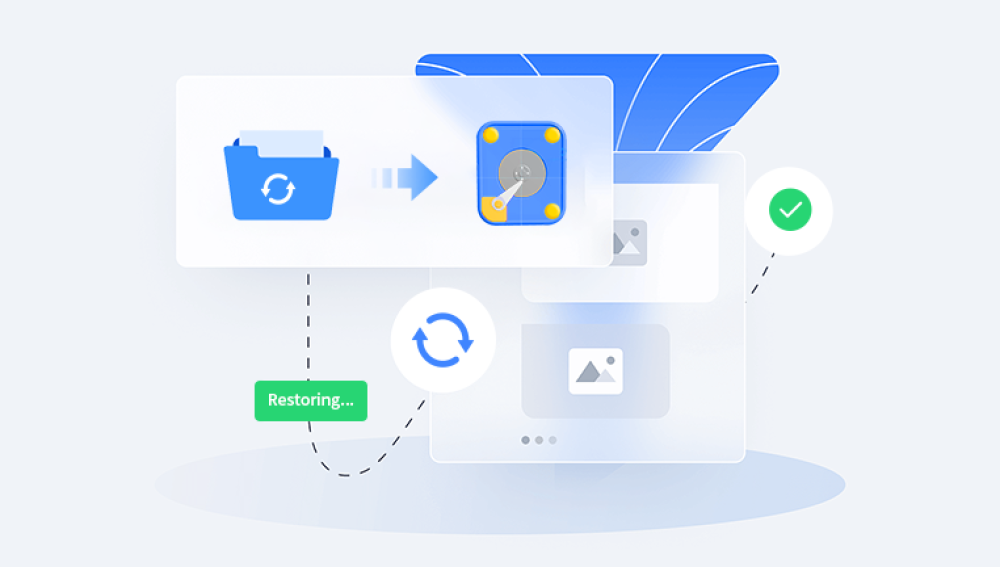
When files go missing from a hard drive whether due to accidental deletion, formatting, corruption, or partition loss—Drecov Data Recovery offers a powerful and user-friendly solution to help retrieve them. The software is designed to scan both internal and external hard drives, identifying recoverable data even when the files no longer appear in File Explorer.
Using Drecov Data Recovery is straightforward. After launching the program, select the hard drive from which you want to recover data. You can then initiate a quick scan for recently deleted files or opt for a deep scan to uncover older or harder-to-find data. The deep scan examines the disk sector by sector, making it especially effective for drives that have been formatted or corrupted.
One of the key advantages of Drecov Data Recovery is its support for various file types and systems. Whether you're looking to recover documents, photos, videos, archives, or even system files, the software provides clear previews and lets you choose exactly which files to restore. It works on drives formatted with NTFS, FAT32, exFAT, and other common file systems.
To maximize the chances of successful recovery, avoid writing new data to the affected hard drive before beginning the recovery process. If possible, install and run Drecov Data Recovery from a different drive to prevent overwriting.
Step 5: Recover Data From a Formatted Drive
Formatting wipes the file system and appears to erase all data, but in many cases, the files remain on the disk. Recovery tools can still retrieve them—especially if it was a quick format rather than a full one.
Avoid writing new data to the formatted drive.
Use software like EaseUS or Stellar, which specialize in formatted drive recovery.
Perform a deep scan to rebuild file structures.
Recover files to another drive.
If the drive was formatted with a different file system (e.g., NTFS to exFAT), recovery is still possible but slightly more complex.
Step 6: Recover Data From a Corrupted Drive
Symptoms of a corrupted drive include:
Windows asking to format the drive before use.
Files and folders that refuse to open.
Strange file names or unreadable content.
Try This First:
Check Disk Utility:
Open Command Prompt as administrator.
Type: chkdsk X: /f (replace X: with your drive letter).
Let it scan and repair file system errors.
Use TestDisk:
A powerful open-source tool that can rebuild corrupted partitions.
Requires some command-line comfort, but effective for deep issues.
Use Recovery Software:
Programs like Disk Drill can scan corrupted drives and extract recoverable files.
Step 7: Recover From a Drive That Isn’t Detected
If your drive doesn’t appear in File Explorer, try the following:
Check Disk Management:
Right-click Start > Disk Management.
Look for your drive—does it show as unallocated or without a drive letter?
Assign a letter or initialize the disk if needed (only if you're certain there's no data to lose).
Try Different Ports or Computers:
Sometimes a USB port or cable is faulty.
Try another computer or adapter.
Update Drivers:
Go to Device Manager > Disk drives.
Right-click and update the driver.
If none of these work, the issue could be hardware-related.
Step 8: Deal With Mechanical or Physical Damage
Signs of physical damage include:
Clicking or grinding noises.
Drive not spinning.
Burning smell or heat.
BIOS doesn’t detect the drive at all.
Do Not attempt recovery yourself. Instead:
Power down the system immediately.
Do not try to open the hard drive enclosure.
Contact a professional data recovery service.
These services have cleanrooms and specialized tools to recover data from physically damaged drives. Prices vary, but for irreplaceable data, it may be worth the investment.
Step 9: Recover Data From External Drives
The recovery process for external drives is largely the same as internal ones. However, here are some extra tips:
Safely eject: Improper ejection can cause data corruption.
Scan for viruses: Malware can sometimes hide or erase files.
Check with other devices: Plug the drive into different computers or operating systems.
Use partition recovery tools: If the partition is missing or corrupted, tools like MiniTool Partition Wizard can help.
External drives are particularly prone to failure from drops, water exposure, or power surges, so handle with care.
Step 10: Recover Data From SSDs
SSDs behave differently from HDDs due to the TRIM command, which clears deleted data quickly to enhance performance. This makes recovery more challenging.
Tips for SSD Recovery:
Disable TRIM (if you suspect data loss just happened):
Open Command Prompt and type: fsutil behavior set DisableDeleteNotify 1
Avoid using the SSD.
Use SSD-compatible recovery tools like Disk Drill or Stellar.
Act fast: SSDs erase data blocks quickly, so time is critical.
If TRIM has run, recovery may not be possible through software.
Additional Tools and Commands
Windows Previous Versions: Right-click a folder and go to "Restore previous versions" to retrieve earlier versions of files.
PowerShell: Advanced users can use scripts to recover file structures.
Linux Live CD: Boot from Linux to access a damaged Windows drive.
Prevent Future Data Loss
Data loss is often preventable. Here are some best practices:
Back up regularly: Use cloud services, external drives, or network-attached storage (NAS).
Enable File History: On Windows, this provides automatic backup of personal files.
Create disk images: Tools like Macrium Reflect or Clonezilla can clone drives.
Invest in surge protectors: Prevent power-related failures.
Be cautious with system updates and partitioning tools.
When to Call a Professional
DIY recovery is suitable in many cases, but call a professional if:
The drive shows mechanical symptoms.
Recovery software doesn’t detect the drive.
You need business-critical or irreplaceable data.
You tried and failed at recovery already.
Look for companies with cleanroom certification, customer reviews, and no-recovery-no-fee policies.
Recovering files from a hard drive is a task that varies in difficulty based on the cause and severity of data loss. From simple accidental deletions to severe mechanical failures, there’s a wide range of tools and approaches available. While basic recovery software works in many scenarios, deeper issues may require professional intervention.