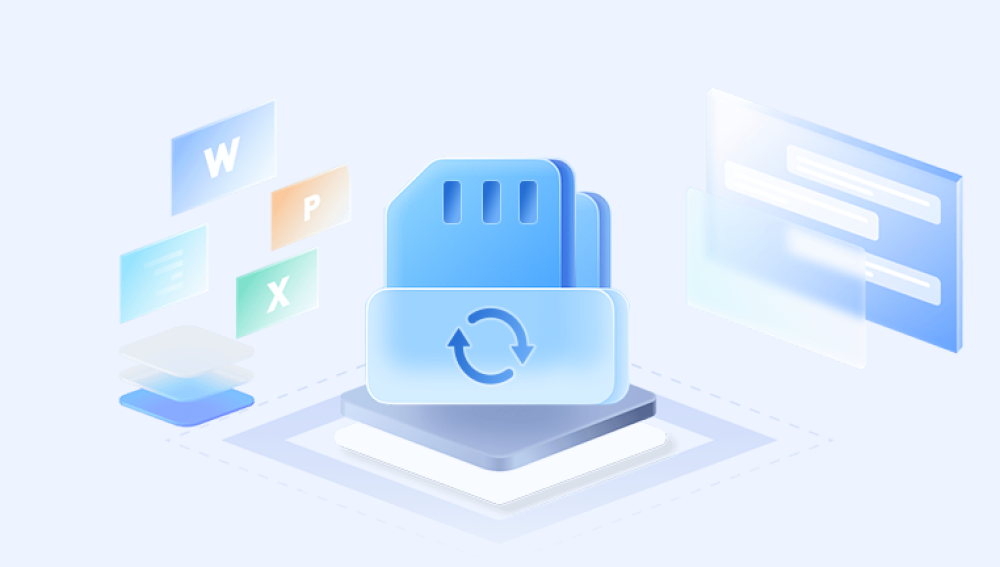
Formatting an SD card is an essential process that can enhance its performance, clear data, and prepare it for new uses. Whether you’re looking to free up space, fix errors, or prepare the card for a new device, reformatting is the ultimate solution.
SD Card Formatting
Formatting a storage device like an SD card involves erasing all data and setting up a file system that allows the operating system to read and write data effectively. The process not only clears old data but can also resolve issues such as corruption or compatibility with different devices.
Key File Systems
FAT32:
Best for compatibility with a wide range of devices, including cameras and gaming consoles.
Maximum file size limit of 4GB.
exFAT:
Suitable for larger files and modern devices.
No file size limit, making it ideal for HD videos and large images.
NTFS:
Mainly used in Windows systems.
Not typically recommended for SD cards unless used in specific applications.
Preparing to Format
Before you begin the formatting process, it's crucial to prepare your SD card and ensure that important data is backed up.

Backup Important Data:
Copy files to a computer or another storage device.
Use data recovery tools if necessary to retrieve files before formatting.
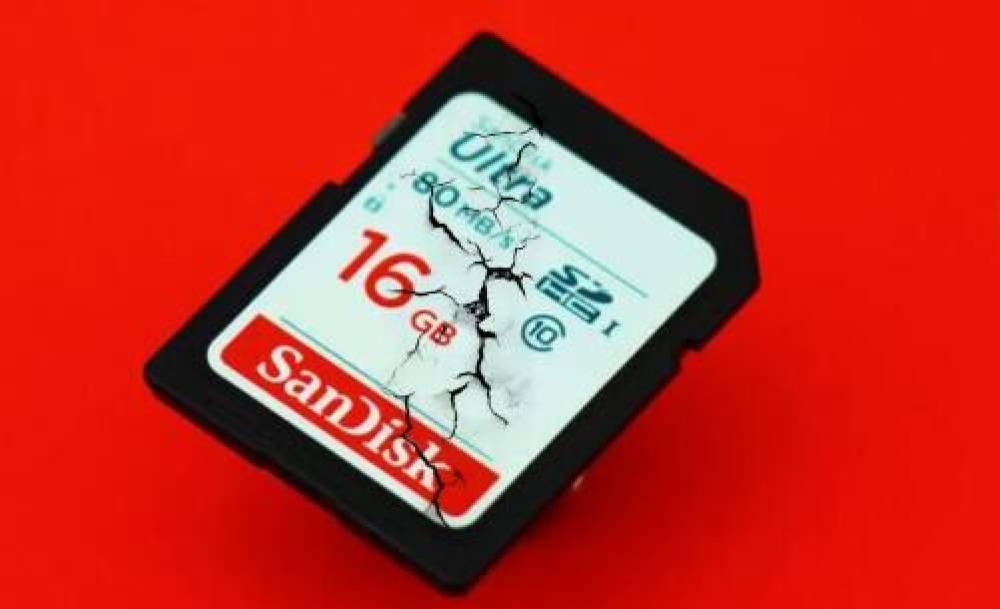
Check SD Card Health:
Use software like SD Memory Card Formatter to assess the card’s condition.
Ensure it is free of physical damage and can be read by your device.
Methods to Reformat SanDisk SD Card
Here, we’ll explore multiple methods to format your SanDisk SD card across different platforms.
1. Using Windows
Step-by-Step Guide:
Insert the SD Card:
Use an SD card slot or an external card reader.
Open File Explorer:
Press Windows + E to open File Explorer.
Locate the SD Card:
In the left sidebar, find your SD card under “This PC.”
Right-Click and Format:
Right-click on the SD card icon and select "Format."
Choose Format Options:
File System: Select FAT32 or exFAT based on your needs.
Allocation Unit Size: Leave as default for general use.
Volume Label: Optionally name your card.
Quick Format: Check this box for a faster format; uncheck for a full format.
Start the Format:
Click “Start” and confirm the warning about data loss.
Completion:
Once done, a message will appear. Click “OK” and safely eject your SD card.
2. Using Mac
Step-by-Step Guide:
Insert the SD Card:
Use the built-in slot or an external reader.
Open Disk Utility:
Go to Applications > Utilities > Disk Utility.
Select the SD Card:
In the sidebar, find your SD card.
Erase the Card:
Click on the “Erase” button at the top.
Choose Format Options:
Format: Select MS-DOS (FAT) for FAT32 or ExFAT for larger files.
Name: Assign a name to the card.
Confirm Erasure:
Click “Erase” and wait for the process to finish.
Completion:
After formatting, click “Done” and eject the card.
3. Using Camera or Device
If your SD card is used in a camera or other device, you can format it directly through the device’s settings.
Step-by-Step Guide:
Insert the SD Card:
Make sure it’s properly seated in the device.
Access Settings Menu:
Navigate to the settings (refer to your device’s manual for specifics).
Locate Format Option:
Look for options related to storage or memory management.
Confirm Formatting:
Follow prompts to confirm and begin formatting.
4. Using SD Card Formatter Tool
The SD Association provides a specialized tool for formatting SD cards that can be more effective than standard OS formatting options.
Step-by-Step Guide:
Download the Tool:
Visit the SD Association website to download the SD Memory Card Formatter.
Install and Run the Tool:
Follow installation instructions.
Select Your SD Card:
Launch the tool and choose your SD card from the list.
Choose Formatting Options:
Select “Quick Format” or “Overwrite Format” (the latter is more thorough).
Start Formatting:
Click “Format” and confirm any prompts.
Completion:
Wait for the process to finish, then safely eject your SD card.
Post-Formatting Steps
After formatting your SD card, there are a few essential steps to follow:
Safely Eject the SD Card:
Always eject the card properly to avoid data corruption.
Verify the Format:
Check the properties of the SD card to confirm it is formatted correctly.
Reinsert and Test:
Insert the card back into your device and ensure it recognizes the format.
Troubleshooting Common Issues
Despite the straightforward process, you may encounter some common issues during or after formatting.
1. SD Card Not Recognized
Check Connection: Ensure the card is properly inserted.
Try a Different Device: Test the card in another device or reader.
Update Drivers: For PC users, ensure that your USB or card reader drivers are up to date.
2. Error Messages During Formatting
Check for Lock: Ensure the card is not write-protected (look for a physical switch).
Use Disk Utility or SD Formatter: These tools can handle issues that Windows or Mac may not.
3. Recovering Data if Formatting Fails
Use data recovery software like Recuva or Disk Drill to attempt recovery before formatting again.