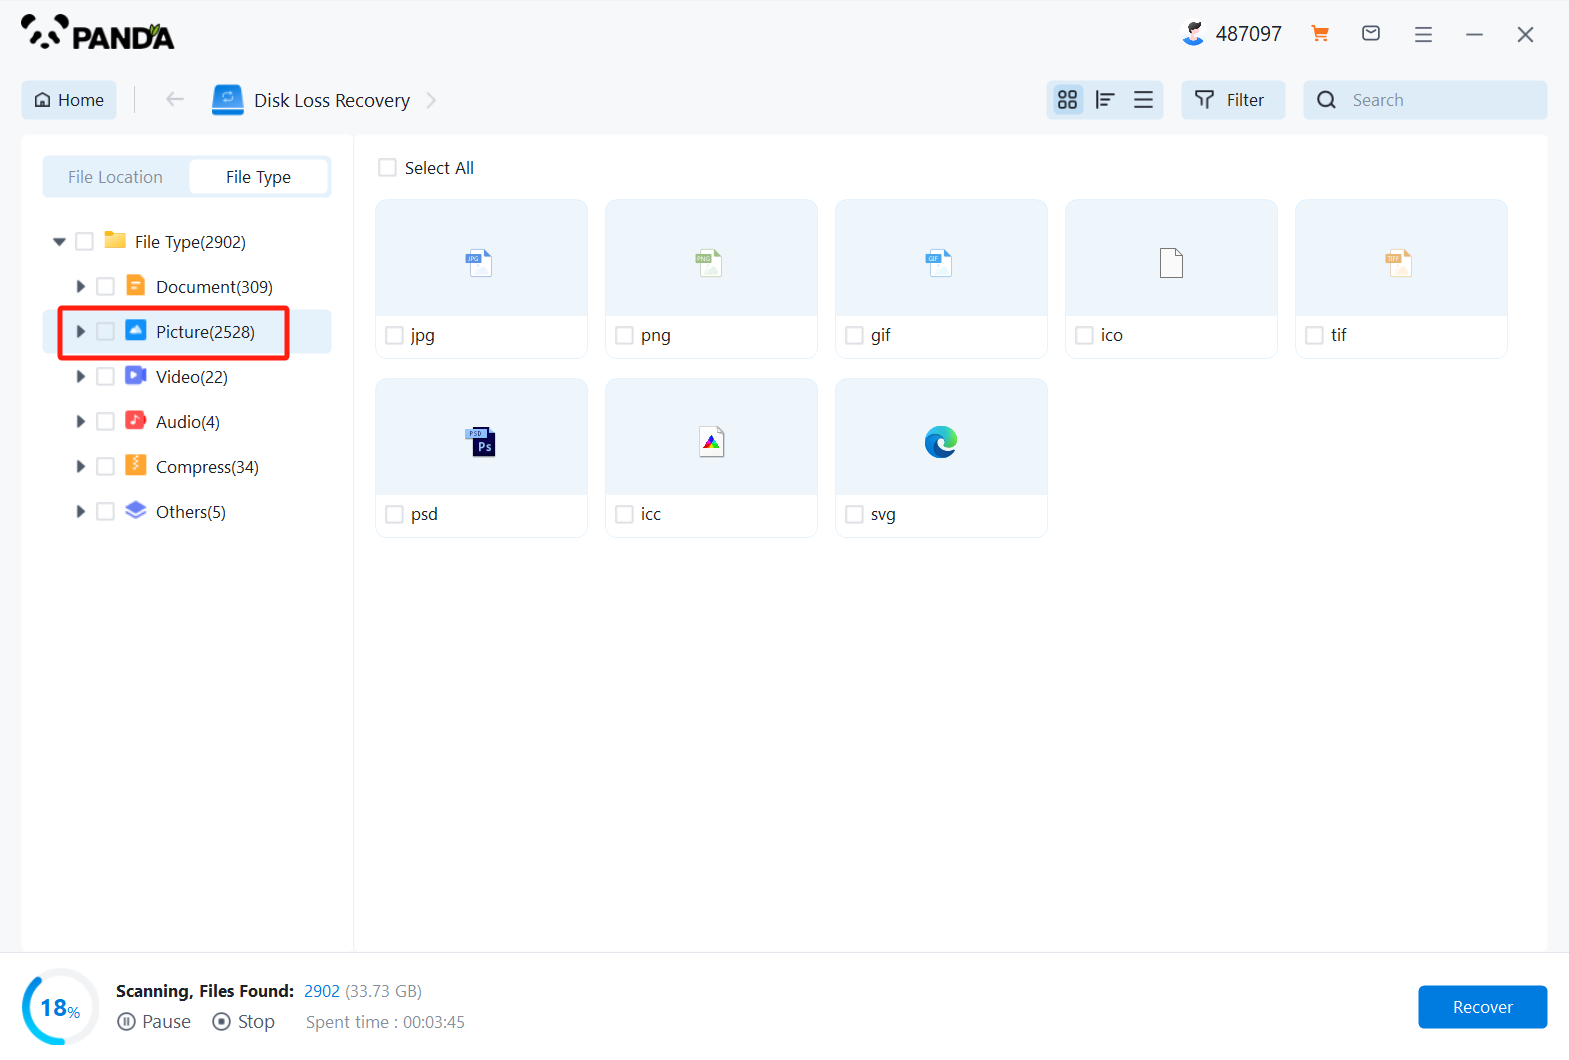
To understand how file recovery works,it's essential to know what happens when you delete a file:
Initial Deletion:When you move a file to the Trash,macOS doesn't delete the file immediately.Instead,it moves the file to a hidden directory where it remains until the Trash is emptied.
Emptying the Trash:When you empty the Trash,macOS removes the file's reference from the directory structure,making it appear deleted.However,the actual data remains on the storage device until it is overwritten by new data.

Immediate Steps to Take
If you accidentally emptied your Trash,immediate action is crucial to maximize the chances of recovery:
Stop Using the Mac:To prevent the data from being overwritten,stop using your Mac immediately.Avoid downloading new files,installing software,or creating new data.
Disconnect External Drives:If the deleted files were on an external drive,disconnect it to prevent further use and potential overwriting.
Built-in macOS Options
Before resorting to third-party software,consider checking some built-in macOS options that might help:
Time Machine Backup:If you regularly back up your Mac using Time Machine,you can restore deleted files from your backups.Connect your Time Machine drive,open the Time Machine application,and navigate to the date before the files were deleted to restore them.
iCloud Drive:If you use iCloud Drive to store your documents and files,check your iCloud Drive for any deleted files.iCloud Drive retains deleted files for 30 days.
Third-Party Data Recovery Software
Several third-party data recovery tools are available that can help recover files from an emptied Trash on a Mac.Here are some of the most popular and effective options:
Disk Drill:
Overview:Disk Drill is a powerful data recovery tool that supports a wide range of file types and storage devices.It offers a user-friendly interface and advanced recovery algorithms.
Features:Disk Drill can recover files from internal and external drives,including hard drives,SSDs,USB flash drives,and memory cards.It also includes features like data protection and drive backup.
Steps to Use:
Download and install Disk Drill from the official website.
Open the application and select the drive from which you want to recover files.
Click on the"Recover"button to start scanning for deleted files.
Once the scan is complete,preview the recoverable files and select the ones you want to restore.
Click"Recover"again to restore the selected files to a safe location.
EaseUS Data Recovery Wizard:
Overview:EaseUS Data Recovery Wizard is another popular choice for data recovery on macOS.It offers a simple interface and effective recovery capabilities.
Features:EaseUS supports recovery from various storage devices and file systems.It can recover files lost due to accidental deletion,formatting,partition loss,and more.
Steps to Use:
Download and install EaseUS Data Recovery Wizard.
Launch the application and select the location where the files were originally stored.
Click on the"Scan"button to start the scanning process.
Review the list of recoverable files and select the ones you want to recover.
Click"Recover"to save the selected files to a different location.
Stellar Data Recovery:
Overview:Stellar Data Recovery is known for its reliability and comprehensive recovery options.It supports a wide range of file types and storage devices.
Features:Stellar can recover data from internal and external drives,optical media,and even lost or deleted partitions.It also provides a preview feature to view recoverable files before restoring them.
Steps to Use:
Download and install Stellar Data Recovery.
Open the application and choose the type of data you want to recover(e.g.,documents,photos,videos).
Select the drive or location where the files were stored and click"Scan".
After the scan is complete,preview the recoverable files and choose the ones you want to restore.
Click"Recover"to save the files to a secure location.
Command-Line Options
For advanced users comfortable with the command line,macOS provides some command-line utilities that can aid in data recovery:
TestDisk:
Overview:TestDisk is a free and open-source data recovery utility that can recover lost partitions and make non-booting disks bootable again.It also includes PhotoRec,a companion tool for recovering files.
Features:TestDisk can recover deleted partitions and repair corrupted file systems.PhotoRec can recover various file types,including documents,archives,and multimedia files.
Steps to Use:
Download and install TestDisk from the official website.
Open the Terminal and navigate to the TestDisk directory.
Run TestDisk by typing sudo./testdisk and follow the on-screen instructions to select the drive and scan for recoverable partitions.
For file recovery,use PhotoRec by running sudo./photorec and selecting the drive and file types to scan.
Professional Data Recovery Services
If the above methods do not work or the data is extremely critical,you may consider professional data recovery services.These services have specialized equipment and expertise to recover data from severely damaged or corrupted drives.Some reputable services include:
DriveSavers:Known for their high success rates and experience in data recovery from various storage devices.
Ontrack Data Recovery:Offers comprehensive data recovery solutions,including for SSDs,hard drives,and RAID systems.
Seagate Recovery Services:Provides recovery services for Seagate and non-Seagate drives with advanced recovery techniques.
Preventative Measures
To avoid future data loss,consider these preventative measures:
Regular Backups:Use Time Machine or other backup solutions to regularly back up your data to an external drive or cloud service.
File Recovery Software:Keep reliable file recovery software installed on your Mac for quick access in case of accidental deletions.
Data Protection Features:Use features like Disk Drill’s data protection to safeguard your files from accidental deletion.
File Management Practices:Develop good file management practices,such as organizing important files and avoiding unnecessary deletions.


