Few things are more frustrating than realizing you’ve accidentally overwritten a Word file. You might have saved a new document using the same name as an older one or mistakenly hit "Save" when you meant to "Save As." Whatever the cause, the outcome is the same: a previous version of your Word file appears to be gone. But there’s good news. Overwriting doesn’t always mean permanent loss. In many cases, you can recover earlier versions of a file with the right approach.
The original file data may be partially or entirely replaced, depending on how the save operation was handled. Overwriting is common in Microsoft Word when users hit Ctrl + S without realizing they’re modifying the only copy of a document.

Method 1: Check for Previous Versions in Windows
Windows has a built-in feature called "File History" that allows users to revert to earlier versions of files. If File History or System Restore was enabled before the file was overwritten, you might be able to restore a previous version.
Steps:
Right-click on the overwritten file.
Select Properties.
Navigate to the Previous Versions tab.
You’ll see a list of available previous versions. Select the version you want to recover.
Click Restore or Open to preview it.
Save the file to a new location to prevent another overwrite.
This method only works if File History or Windows Backup was enabled before the file was modified. If it wasn’t, move on to alternative methods.
Method 2: Use Microsoft Word’s Version History (Office 365)
If you use Microsoft 365 and saved your file to OneDrive or SharePoint, you’re in luck. These platforms automatically save different versions of a document, allowing you to restore a previous version even after overwriting.
Steps:
Open the document in Microsoft Word.
Click File > Info.
Click Version History.
Browse through the list of previous versions.
Click Open Version to preview a copy.
Click Restore to revert or Save As to create a copy.
OneDrive typically stores up to 500 versions of a file, giving you ample opportunity to retrieve your work.
Method 3: Restore from Temporary Files
Word automatically saves temporary copies of documents while you work on them. These files, known as AutoRecover files, are often a lifeline if you overwrite or accidentally close a document.
How to Access AutoRecover Files:
Open Word.
Click File > Info > Manage Document > Recover Unsaved Documents.
Browse the list for an earlier version of your file.
Open the file and save it under a new name.
You can also manually search for temporary files:
Navigate to: C:\Users\[YourUsername]\AppData\Local\Microsoft\Office\UnsavedFiles
Look for files ending in .asd or .wbk
Open these files in Word and save them if they contain the content you need
Method 4: Check for Backup Copies Created by Word
If you have the “Always create backup copy” option enabled in Word, a .wbk file is automatically saved when you first save a document. This backup file often contains the version before your most recent save.
How to Enable This Feature for the Future:
Open Word.
Go to File > Options > Advanced.
Scroll down to Save.
Check Always create backup copy.
To find a backup copy:
Go to the folder where your document is saved.
Look for a file named Backup of [your document name].wbk.
Open it in Word and save it under a new name.
Method 5: Use System Restore
System Restore doesn’t specifically recover individual files, but it can revert your system—including documents—to a previous state. This may help if your overwrite occurred due to a software update or system malfunction.
Steps:
Press Windows + R, type rstrui, and press Enter.
Choose a restore point from before the file was overwritten.
Complete the system restore process.
After rebooting, check the folder where your file was stored.
Use this method with caution. It can uninstall recent software or drivers.
Method 6: Check Email Attachments or Cloud Sync
If you emailed the document or used cloud services like Google Drive, Dropbox, or OneDrive, earlier copies may still exist online.
For Email:
Search your inbox for the file name or keywords.
Open any email with the file as an attachment.
Download and save the file.
For Cloud Storage:
Log into the cloud account.
Use the version history or “Restore Previous Version” option.
Recover the document and save it locally.
Cloud storage services often keep backups even after overwrites or deletions, offering another layer of safety.
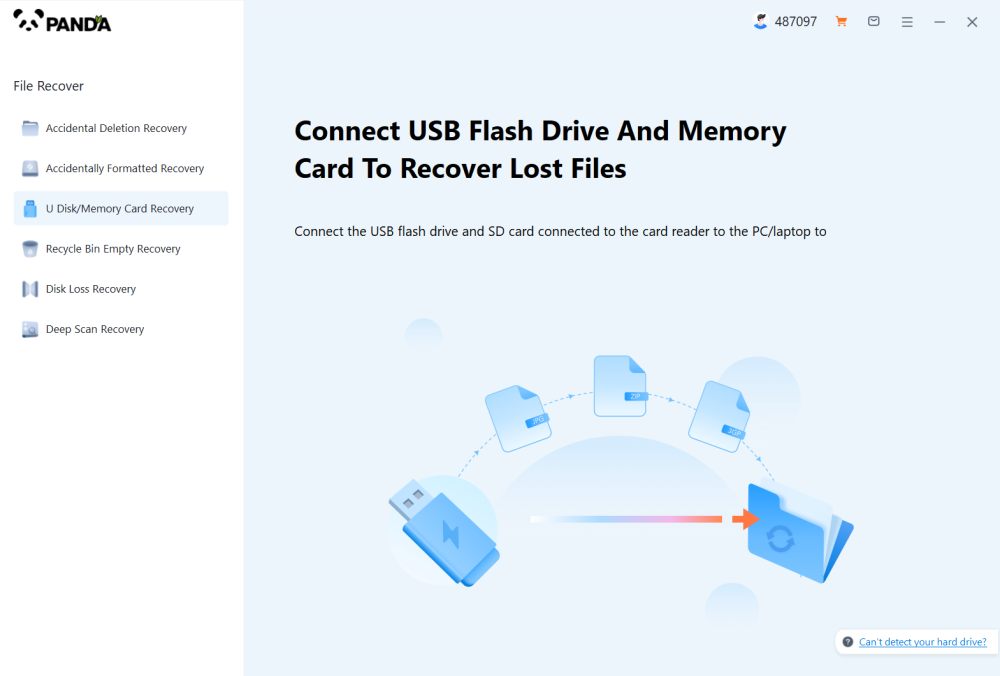
Method 7: Use Data Recovery Software
Drecov Data Recovery
Overwriting a Word document can feel like a devastating mistake, especially when it replaces hours of hard work. Fortunately, Drecov Data Recovery offers a simple and effective solution to help restore previous versions of overwritten files.
When a file is overwritten, the original content isn’t always completely lost. Drecov Data Recovery can often retrieve traces of the earlier version if it hasn't been fully replaced on the storage device. The software scans your hard drive for residual data and lets you recover previously saved versions of the document.
To begin, download and install Drecov Data Recovery on a separate drive from where the file was saved. Open the software and choose the drive that contained the Word document. Use the “Deep Scan” feature for overwritten files, as this performs a comprehensive analysis of the drive.
Once the scan completes, use the search or filter options to locate Word files (.doc or .docx). Preview any file that resembles the one you need. If an earlier version is found, select it and click “Recover.” Make sure to save the recovered document to a new location to prevent additional overwrites.
Method 8: Restore from Time Machine (Mac Users)
For Mac users, Time Machine is an effective way to recover overwritten Word documents—if it was set up before the file was modified.
Steps:
Open the folder containing the overwritten file.
Click the Time Machine icon in the menu bar.
Use the arrows or timeline to navigate to a previous version.
Select the file and click Restore.
Time Machine works similarly to Windows File History but is exclusive to macOS.
Preventing Overwrites in the Future
While recovery is possible, prevention is better. A few smart habits can save you from ever needing to restore an overwritten file again.
Best Practices:
Use “Save As”: When editing a document, use “Save As” to create a new copy and preserve the original.
Enable AutoSave: Especially if working in OneDrive or SharePoint, AutoSave creates continuous backups.
Turn On Word Backup Settings: Enable automatic backups within Word settings.
Use Version Control: Add version numbers to file names (e.g., “Report_v1.docx”) to keep track of changes.
Backup Regularly: Use cloud services or external drives to store regular backups of important files.
Use Document Management Tools: For critical documents, consider using systems like Git (for code) or Notion, which offer internal version tracking.
When Recovery Isn’t Possible
Unfortunately, some overwritten files may be completely lost, especially if the system has saved multiple times over the same space. In such cases, no tool or backup will retrieve the lost version. However, future losses can be mitigated with routine backup habits and by understanding how file systems operate.
If your overwritten file was particularly critical—such as legal documents, contracts, or original research—it may be worth contacting a professional data recovery service. They use advanced hardware and forensic tools to retrieve data that is otherwise inaccessible to standard software.
Overwriting a Word file can feel like an irreversible mistake, but with the right tools and strategies, recovery is often possible. Microsoft Word and Windows both offer built-in solutions like Version History, File History, AutoRecover, and backup files. Cloud services like OneDrive and Dropbox provide even more safety nets through automatic versioning and trash folders. For more complex cases, specialized recovery software and professional services can offer another chance at retrieving lost content.