Losing files on a hard drive can be a daunting experience. Whether due to accidental deletion, hardware failure, corruption, or malware attacks, the loss of important documents, photos, videos, and other data can cause significant disruption. The good news is that in many cases, lost files can be recovered with the right knowledge and tools.
Accidental Deletion: Files deleted intentionally or by mistake, often bypassing the Recycle Bin.
Formatting: The drive or partition is formatted, erasing the file system references.
File System Corruption: Damage to the NTFS or FAT32 file system can cause files to disappear.
Bad Sectors: Physical damage on parts of the drive where data is stored.
Virus or Malware Infection: Malicious software deleting or encrypting files.
System Crashes or Power Failures: Unexpected shutdowns causing file corruption.
Drive Failure: Mechanical or electronic failures leading to inaccessible data.
Human Errors: Misuse of partitioning software, unsafe ejection of drives, or improper shutdowns.
Each cause influences the recovery method and success rate, so understanding what happened can guide your approach.
Step 1: Stop Using the Hard Drive Immediately
When files are lost, the first and most important step is to stop using the hard drive immediately. Continuing to write data to the drive risks overwriting the sectors where your lost files are stored, making recovery impossible.
If the lost files were on the system drive (usually C:), avoid saving new files or installing software on that drive. Instead, use a separate computer or external drive for recovery operations.
Step 2: Check the Recycle Bin
The simplest recovery option is checking the Recycle Bin:
Open the Recycle Bin on your desktop.
Browse or search for your lost files.
Right-click and choose Restore to return them to their original locations.
If the files were deleted normally and not permanently erased (e.g., using Shift + Delete), they may still be in the Recycle Bin.
Step 3: Use File History or Backup to Restore Files
Windows 10 and 11 provide built-in backup tools like File History or Backup and Restore (Windows 7).
Using File History:
Connect your backup drive.
Open Settings > Update & Security > Backup.
Click Restore files from a current backup.
Browse through backup versions and restore the lost files.
If you have previously configured File History or other backup tools, restoring your files from backup is the safest and fastest recovery method.
Step 4: Use Previous Versions (Shadow Copies)
Windows automatically creates Shadow Copies — snapshots of files and folders at certain points.
Right-click the folder where your lost file was located.
Select Properties > Previous Versions tab.
Choose a previous version and click Restore or Open.
This method depends on System Protection being enabled before data loss.
Step 5: Scan with Windows File Recovery Tool
Microsoft offers a free Windows File Recovery command-line tool that works well for NTFS, FAT, exFAT, and ReFS file systems.
How to Use Windows File Recovery:
Download from the Microsoft Store.
Open Command Prompt as Administrator.
Use this syntax:
bash
CopyEdit
winfr source-drive: destination-folder /switches
Example for recovering DOCX files from C: drive to D:\Recovery:
bash
CopyEdit
winfr C: D:\Recovery /regular /n *.docx
Choose between modes: Regular for recently deleted files, Segment for formatted drives, or Signature for severely corrupted drives.
This tool requires some command-line knowledge but is effective for various scenarios.
Step 6: Use Third-Party Data Recovery Software
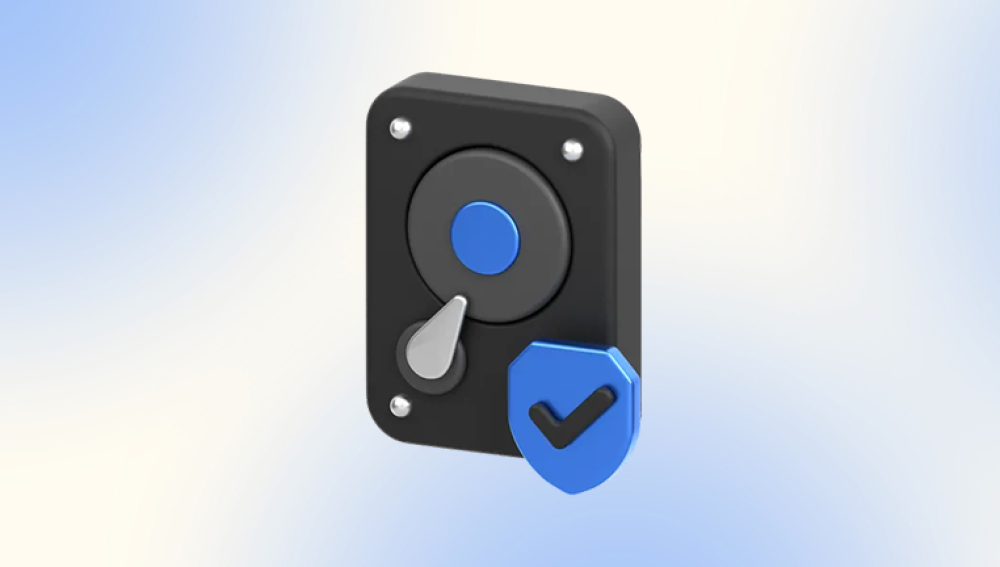
Drecov Data Recovery
Drecov Data Recovery supports a wide range of file types, including documents, images, videos, and more. It works seamlessly with both internal and external hard drives, making it ideal for recovering data from desktops, laptops, or portable storage devices.
The software features both quick scan and deep scan modes. The quick scan identifies recently deleted files, while the deep scan thoroughly examines the hard drive to locate files that were lost due to formatting, partition loss, or severe damage. Its intuitive interface ensures even beginners can navigate the recovery process with confidence.
One of Drecov Data Recovery’s standout features is the file preview option. This allows you to view files before recovery, so you can selectively restore only what you need. Additionally, the tool is designed to avoid overwriting existing data, maximizing your chances of successful recovery.
To begin, simply download and install Drecov Data Recovery on a different drive than the one you wish to recover from. Run the program, select your hard drive, scan for lost files, preview the results, and recover your data safely.
Step 7: Recover Data from Formatted or Corrupted Drives
Recovering data after formatting or corruption is more complex but often possible with deep scans.
Use deep or signature scan modes in recovery software.
Avoid formatting the drive multiple times.
If the drive is corrupted, tools like CHKDSK can sometimes repair file system errors, but running CHKDSK before recovery may overwrite recoverable data — use it cautiously.
For severely corrupted or physically damaged drives, professional recovery services may be necessary.
Step 8: Handling Physical Drive Failures
If your hard drive is making clicking noises, not detected by the system, or showing SMART errors, it might be physically damaged.
What to Do:
Stop using the drive immediately.
Avoid opening the drive yourself.
Contact professional data recovery services specializing in hardware repair.
These services often have cleanroom labs and specialized equipment.
Attempting DIY recovery on physically damaged drives can cause permanent data loss.
Step 9: Prevent Future Data Loss
Once your files are recovered or if you want to avoid future loss, implement strong backup and safety habits:
Regular Backups: Use File History, cloud services (OneDrive, Google Drive), or external drives.
Use Antivirus Software: Protect against malware.
Safely Eject Drives: Avoid data corruption.
Avoid Sudden Shutdowns: Use proper shutdowns.
Monitor Drive Health: Use tools like CrystalDiskInfo.
Organize Files: Reduce accidental deletions.
Troubleshooting Common Recovery Problems
Recovery software finds no files: Try deep or signature scan modes.
Recovered files are corrupted: May be partially overwritten — try multiple tools or professional services.
Drive not recognized: Check cables, ports, or try on a different PC.
System freezes during recovery: Ensure no background heavy processes; try safe mode.