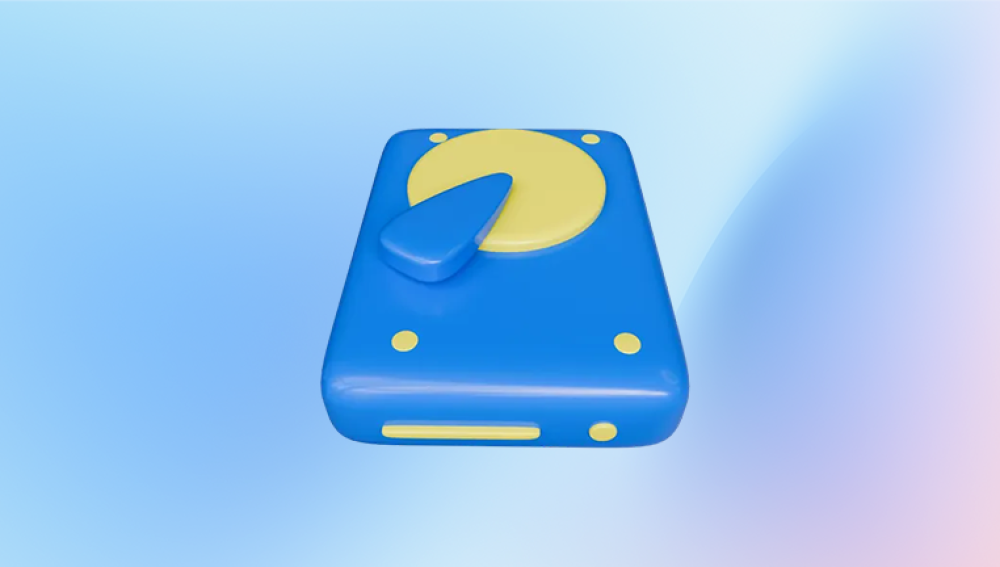
External hard drives are essential for storing large amounts of data, but they are also fragile devices that can be easily damaged if dropped. When an external hard drive is dropped, the impact can cause physical damage to the drive's internal components, leading to data loss or complete failure. However, in some cases, it is possible to repair the drive and recover the data.
1. Assess the Damage
Before attempting any repairs, it’s important to assess the extent of the damage. Dropping an external hard drive can cause both physical and logical damage. Here’s how to evaluate the situation:
1.1. Check for Physical Damage
Inspect the Exterior: Look for cracks, dents, or other signs of physical damage to the casing.
Listen for Unusual Noises: If the drive makes clicking, grinding, or buzzing noises when powered on, it may indicate internal damage to the read/write heads or platters.
Check the Connection Ports: Ensure the USB or other connection ports are not bent or broken.

1.2. Test the Drive
Connect the Drive: Plug the external hard drive into your computer using the appropriate cable.
Check for Recognition: See if the drive is recognized by your operating system. If it appears in File Explorer (Windows) or Finder (Mac), the damage may be minimal.
Listen for Sounds: If the drive spins up but is not recognized, it could indicate logical damage or a firmware issue.
1.3. Determine the Type of Damage
Physical Damage: If the drive is not spinning, making unusual noises, or has visible damage, it likely has physical damage.
Logical Damage: If the drive is recognized but you cannot access the files, the file system or partition table may be corrupted.
2. Stop Using the Drive Immediately
If you suspect the drive is damaged, stop using it immediately. Continued use can worsen the damage and make data recovery more difficult. Unplug the drive and avoid powering it on until you’re ready to attempt repairs or recovery.
3. Attempt Basic Repairs
If the damage appears to be minor, you can try some basic repairs before seeking professional help.
3.1. Replace the Enclosure
Why: The external hard drive’s enclosure (the outer casing) may be damaged, but the internal drive itself could still be functional.
How:
Open the enclosure carefully using a screwdriver or pry tool.
Remove the internal hard drive.
Connect the internal drive to another enclosure or directly to your computer using a SATA-to-USB adapter.
Test the drive to see if it works.
3.2. Check the Cable and Ports
Why: A damaged cable or port can prevent the drive from being recognized.
How:
Try using a different USB cable.
Connect the drive to another USB port on your computer.
Test the drive on another computer to rule out issues with your system.
3.3. Update or Reinstall Drivers
Why: Outdated or corrupted drivers can cause connectivity issues.
How:
On Windows:
Open Device Manager.
Locate the external drive under "Disk Drives."
Right-click and select "Update Driver" or "Uninstall Device" (then restart your computer to reinstall the driver).
On Mac:
Open Disk Utility.
Check if the drive appears in the list. If it does, try running First Aid to repair any logical errors.
4. Recover Data from the Drive
If the drive is recognized but you cannot access your files, the data may still be recoverable. Here’s how to attempt data recovery:
4.1. Use Data Recovery Software
Drecov Data Recovery is a powerful and reliable solution designed to help users recover lost, deleted, or corrupted files from various storage devices. Whether you’ve accidentally deleted important documents, lost photos due to formatting, or encountered data corruption, Drecov Data Recovery provides an efficient way to retrieve your files with ease.
With support for multiple file types, including documents, images, videos, and audio files, Drecov Data Recovery ensures comprehensive data restoration. It is compatible with a wide range of storage devices, including hard drives, SSDs, USB flash drives, SD cards, and external storage units. The software is equipped with advanced scanning algorithms that can locate and restore lost data even from damaged or inaccessible partitions.
Drecov Data Recovery offers two primary scanning modes: Quick Scan and Deep Scan. The Quick Scan is ideal for retrieving recently deleted files, while the Deep Scan thoroughly searches for lost data in more complex scenarios, such as formatted drives or corrupted storage media. The user-friendly interface makes the recovery process simple, allowing even non-technical users to navigate and restore their data effortlessly.
Security and reliability are key features of Drecov Data Recovery. It performs read-only operations, ensuring that no additional damage is done to your storage device during recovery. Additionally, the software provides a preview option, allowing users to view recoverable files before proceeding with restoration.
4.2. Clone the Drive
Why: If the drive is failing, cloning it can create a copy of the data before attempting repairs.
How:
Use cloning software like Clonezilla or ddrescue.
Connect both the damaged drive and a healthy drive to your computer.
Follow the software instructions to clone the damaged drive to the healthy one.
5. Seek Professional Help
If the drive has severe physical damage or you are unable to recover the data yourself, it’s time to consult a professional data recovery service.
5.1. When to Seek Professional Help
The drive is not recognized by any computer.
The drive makes unusual noises (clicking, grinding, etc.).
You are unable to recover data using software.
The drive has visible physical damage.
5.2. Choosing a Data Recovery Service
Look for Reputable Providers: Choose a company with good reviews and experience in handling physical drive damage.
Ask About Cleanroom Facilities: Reputable services use cleanrooms to open and repair drives without exposing them to dust or contaminants.
Get a Quote: Most services offer a free evaluation and quote. Be prepared for potentially high costs, especially for severe damage.
6. Prevent Future Damage
Once you’ve repaired or recovered data from your external hard drive, take steps to prevent future damage:
6.1. Handle with Care
Always handle your external hard drive gently and avoid dropping it.
Store the drive in a protective case when not in use.
6.2. Use a Surge Protector
Protect your drive from power surges by using a surge protector.
6.3. Backup Your Data
Regularly back up your data to another drive or cloud storage to minimize the impact of future failures.
6.4. Avoid Extreme Conditions
Keep the drive away from extreme temperatures, humidity, and magnetic fields.
7. Common Mistakes to Avoid
When dealing with a dropped external hard drive, avoid these common mistakes:
Powering On the Drive Repeatedly: This can cause further damage.
Opening the Drive Yourself: Opening the drive outside a cleanroom can expose it to dust and contaminants.
Ignoring Warning Signs: Unusual noises or failure to recognize the drive should not be ignored.
Repairing an external hard drive after it has been dropped can be challenging, but it’s not always impossible. By assessing the damage, attempting basic repairs, and using data recovery tools, you may be able to recover your data.


