Losing precious pictures due to accidental deletion can be a frustrating experience. Whether it's a cherished family photo, a memorable vacation snapshot, or an important work-related image, the feeling of losing these irreplaceable memories can be overwhelming. However, all hope is not lost. With the right tools and techniques, you can often recover accidentally deleted pictures. In this article, we'll explore several methods to help you get back your lost images.
1. Check the Recycle Bin (or Trash)
The first and simplest step in recovering deleted pictures is to check the Recycle Bin (on Windows) or Trash (on macOS). When you delete a file from your computer, it's not immediately removed from your hard drive; instead, it's moved to the Recycle Bin or Trash. Here's how to restore deleted pictures from these locations:
- Windows (Recycle Bin):
- Open the Recycle Bin by double-clicking its icon on your desktop.
- Locate the deleted pictures you want to recover. You can use the search bar at the top to filter by file type or name.
- Right-click on the selected pictures and choose "Restore" from the context menu. This will move the pictures back to their original locations.
- macOS (Trash):
- Open the Trash by clicking its icon in the Dock or navigating to it in the Finder (Finder > Go > Trash).
- Find the deleted pictures you wish to recover. You can use the search bar in the upper-right corner to search for specific files.
- Right-click (or Control-click) on the selected pictures and choose "Put Back" from the contextual menu. Alternatively, you can drag and drop them out of the Trash onto your desktop or another folder.
2. Use File History (Windows) or Time Machine (macOS)
If you've enabled File History on Windows or Time Machine on macOS, you can use these backup features to restore deleted pictures.
- Windows (File History):
- Open the Control Panel and search for "File History."
- Click "Restore personal files" and follow the prompts to select the drive and location where your deleted pictures were stored.
- Use the timeline on the right to navigate to the date when the pictures were deleted.
- Select the pictures you want to restore and click the green "Restore" button.
- macOS (Time Machine):
- Connect your Time Machine backup drive if it's not already connected.
- Open Time Machine by clicking its icon in the menu bar or navigating to System Preferences > Time Machine.
- Click "Enter Time Machine" to browse through your backups.
- Use the timeline interface to navigate to the date when the pictures were deleted.
- Find the deleted pictures and select them. Click "Restore" to bring them back to their original location.
3. Utilize Data Recovery Software
If the pictures are not in the Recycle Bin/Trash or you don't have a backup, you can use data recovery software to scan your hard drive for deleted files. These tools can find traces of deleted pictures and help you restore them.The following takes the panda data recovery operation as an example.
Panda data recovery Steps:
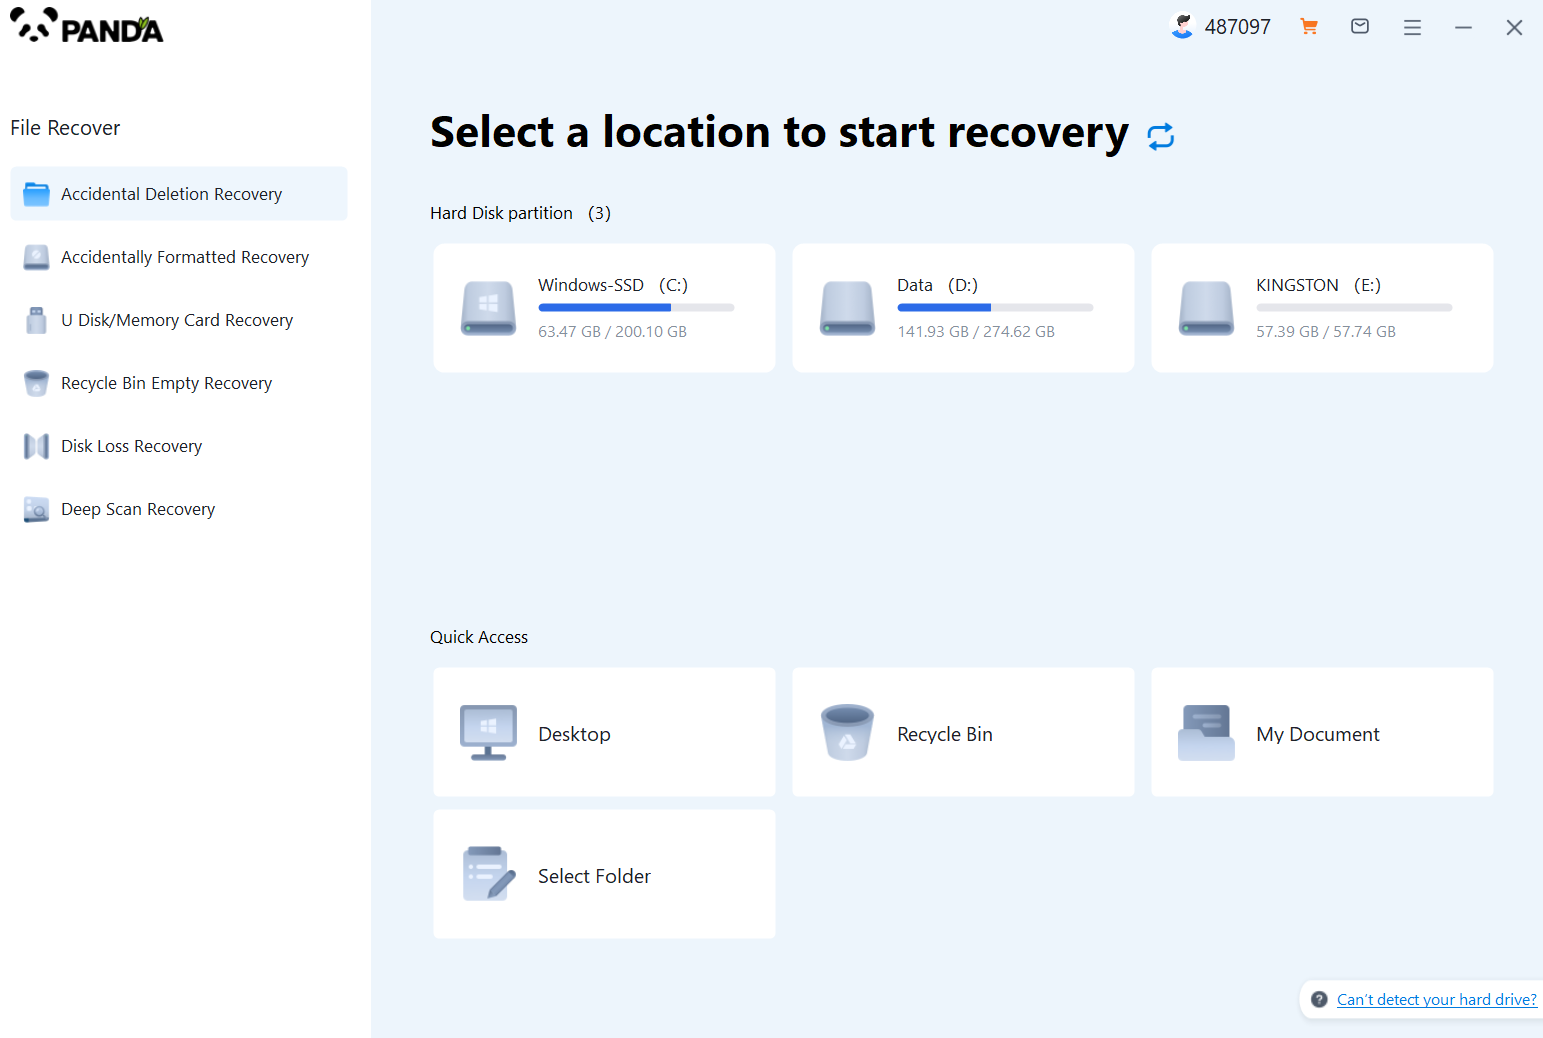
Step 1: Select the scenario mode

Choose the appropriate recovery mode according to the actual situation, if the document has been deleted for a long time, you can try "Deep Recovery".
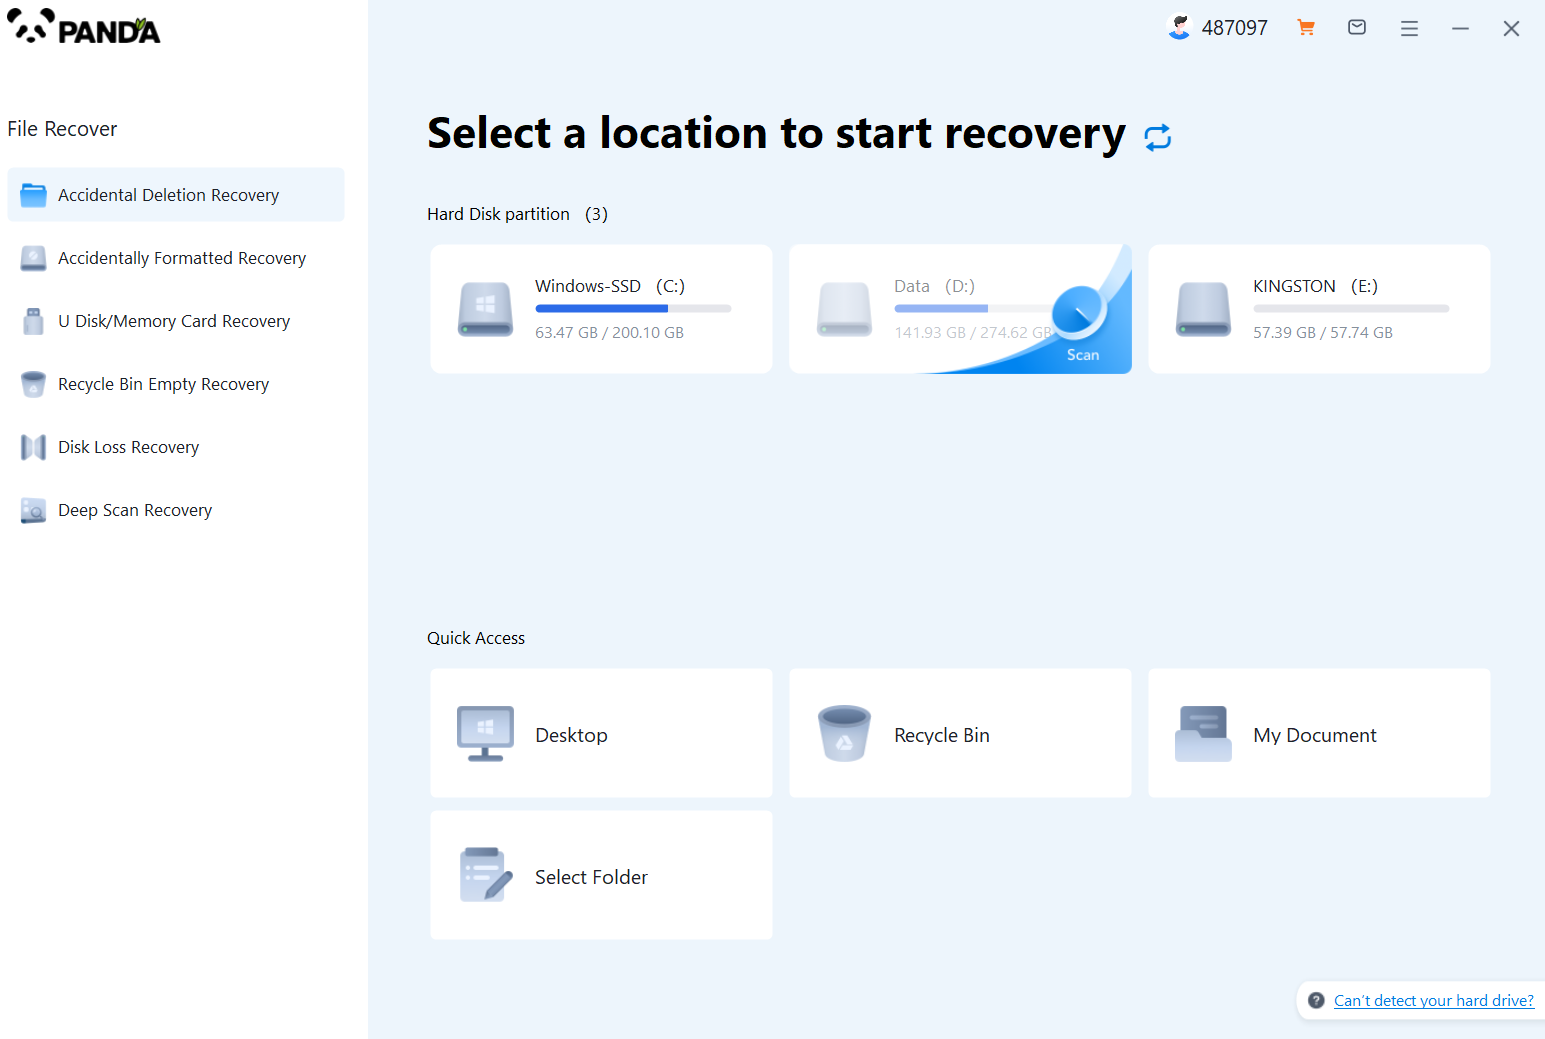
Step 2: Select a location to store your documents

Scan the disk where the document is stored, and try it a few more times if you make the wrong choice or don't remember.
Step 3: Find the documentation

You can search for documents based on their type, or search for them if you remember them.
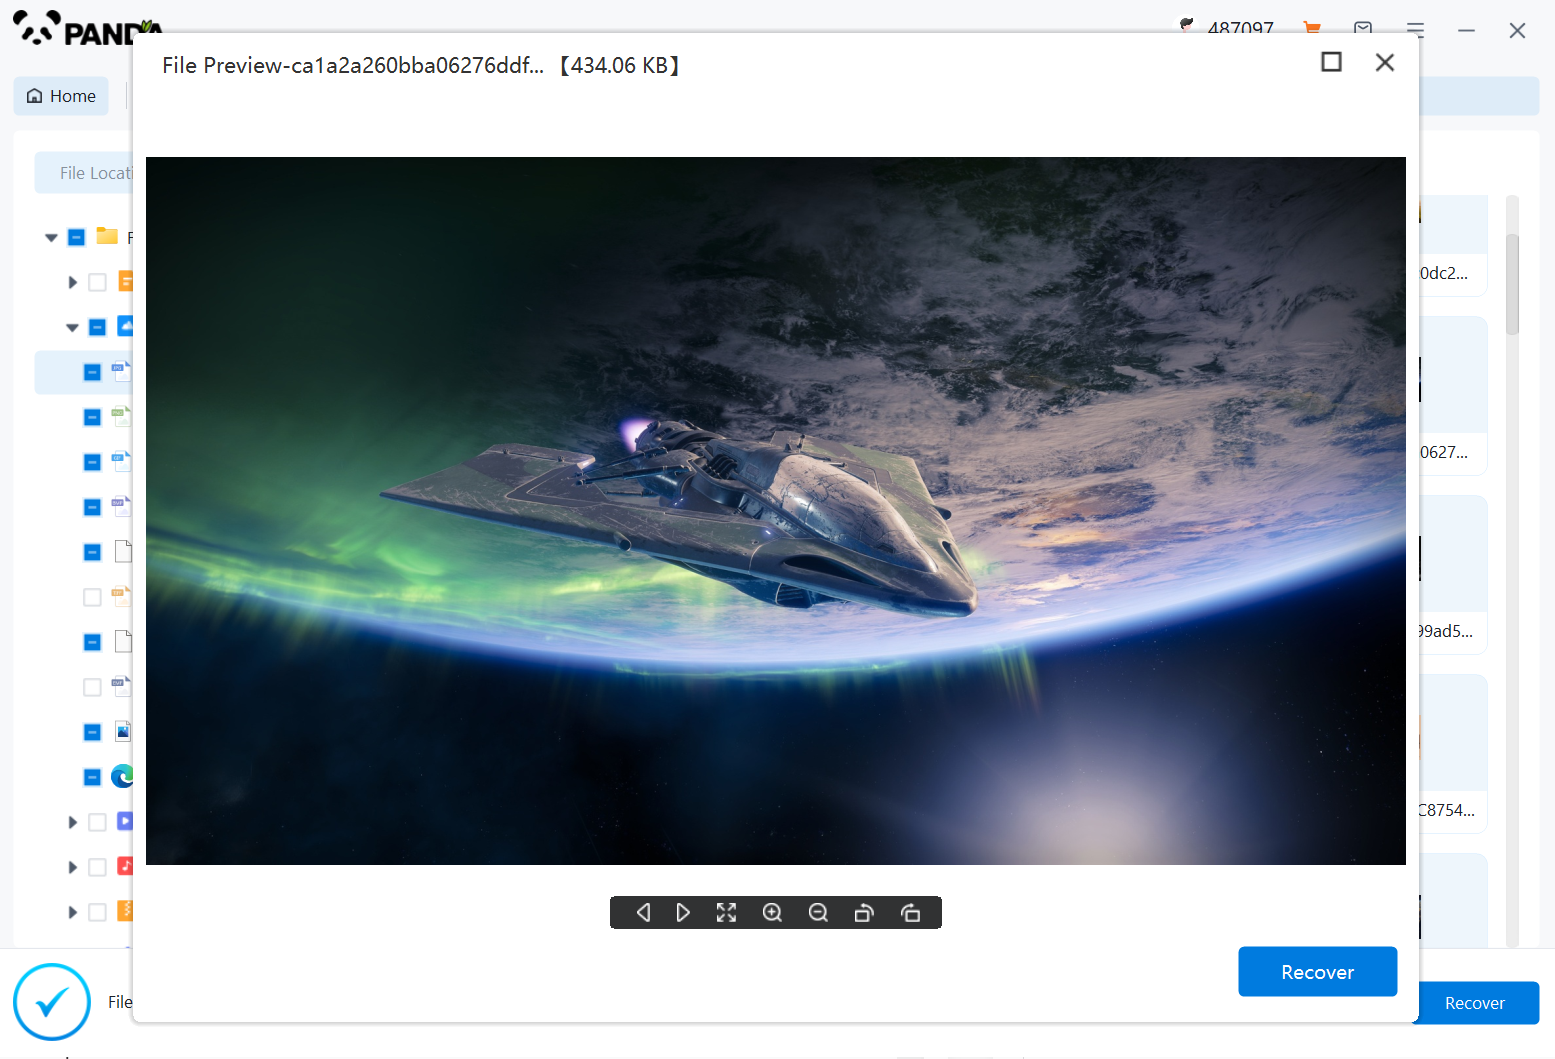
Step 4: Preview and recover documents

After finding the document, double-click to preview it to make sure it opens normally, and then click to restore.
4. Seek Professional Help
If you've tried the above methods and still can't recover your deleted pictures, it might be time to seek professional help. Data recovery services specialize in retrieving lost data from damaged or corrupted hard drives. These services can be expensive, but they offer a higher chance of success, especially for complex cases.
5. Final Thoughts
The key to successfully recovering deleted pictures is to act quickly and avoid using the device in question. By following the steps outlined above, you stand a good chance of retrieving your lost photographs. Remember, prevention is better than cure, so make sure to regularly back up your pictures to avoid heartache in the future.


