Retrieving lost files from a hard drive can be a stressful experience. Whether it’s due to accidental deletion, a corrupted file system, or a system crash, data loss can have significant consequences, especially if it involves important files or irreplaceable memories. However, there’s good news: even if you’ve lost access to your files, there are multiple methods to retrieve them.
From basic steps like checking the Recycle Bin to using specialized data recovery software and even enlisting professional help, we’ll cover everything you need to know to maximize your chances of successful data recovery.
Accidental Deletion: This is the most common reason for data loss. Whether you accidentally delete a file or mistakenly format your drive, the result is the same: your data is no longer accessible through normal means.
File System Corruption: A corrupted file system means that the operating system can no longer read the drive. This can happen due to improper shutdowns, power surges, or software crashes.
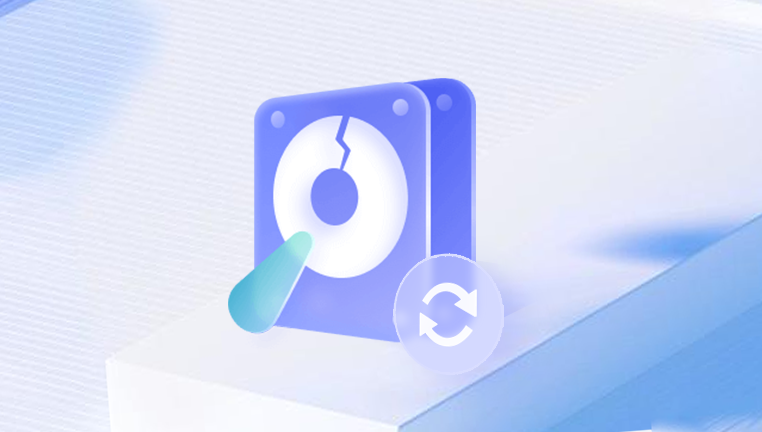
Mechanical Failure: Hard drives have moving parts, and like any mechanical device, they are prone to failure. Physical damage or wear and tear on the drive can lead to mechanical failure, which often makes data retrieval more challenging.
Logical Failure: Logical failures occur when the drive's software (file system, partition table, or boot sector) becomes damaged, but the physical parts of the hard drive remain intact. This is more common with hard drives that are still spinning but not functioning correctly.
Accidental Formatting: Sometimes, when trying to clean up or repurpose a drive, users will accidentally format it. While formatting a drive typically removes access to its data, the data itself may still exist on the disk until it is overwritten by new information.
Drive Damage or Destruction: Physical damage to the hard drive—such as from a drop, fire, or water damage—can lead to severe data loss. Recovery from such situations is more complicated and might require professional help.
Step-by-Step Guide to Retrieve Files from a Hard Drive
Step 1: Stop Using the Hard Drive Immediately
If you’ve experienced data loss, it’s critical to stop using the affected hard drive. Continued use can overwrite the deleted files, making recovery much more difficult. When files are deleted, they are not immediately removed from the drive. Instead, the space they occupy is marked as available for new data to overwrite. If you keep saving new files or programs to the drive, there's a higher chance that the old data will be overwritten and lost permanently.
Step 2: Check the Recycle Bin or Trash
The first place you should check is the Recycle Bin (on Windows) or the Trash (on Mac). When files are deleted in a standard manner, they are typically moved to these folders. To restore them, simply right-click on the file(s) in the Recycle Bin or Trash and choose "Restore." If the file was accidentally deleted and is still in the Recycle Bin, this simple step can save you a lot of trouble.
Step 3: Use File History or Backups
If you have been using a backup service or have set up File History on Windows or Time Machine on Mac, retrieving files can be as simple as restoring them from a backup.
Windows File History: Go to the folder where the file was stored before deletion. Right-click the folder and select "Restore previous versions." This will show you the available backups from which you can recover the file.
Time Machine on Mac: Open the folder that contained the file, then launch Time Machine. Browse through the backup timeline to find and restore the file.
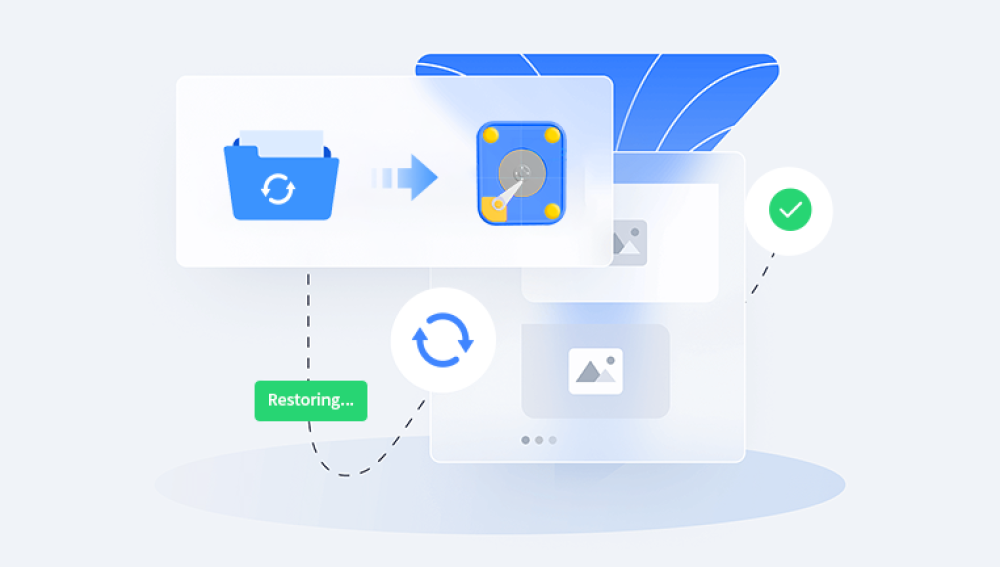
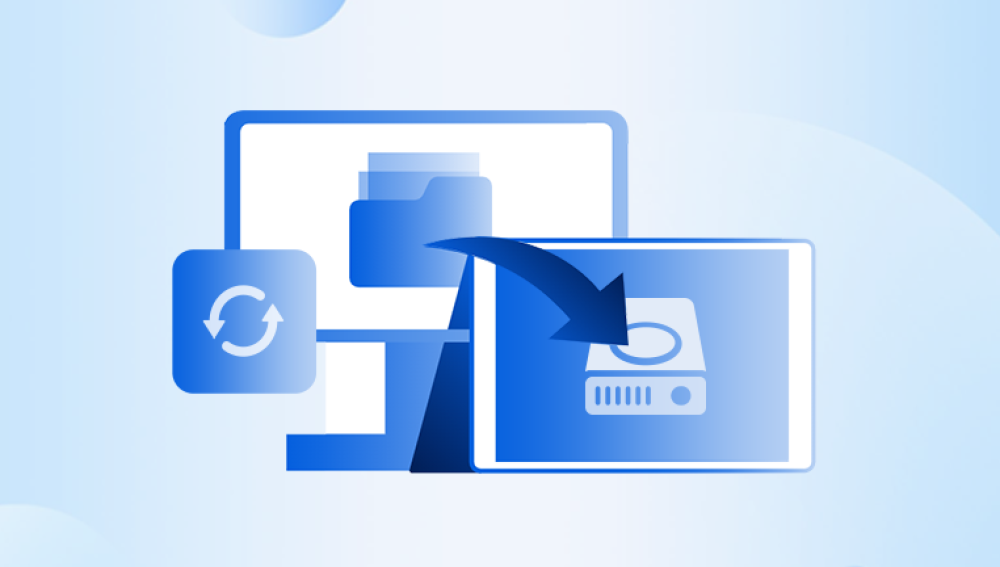
Step 4: Use Data Recovery Software
If the file isn’t in the Recycle Bin, and you don’t have a backup, the next step is to try data recovery software. These tools can scan the drive for traces of deleted files and attempt to restore them. There are many data recovery software options available, ranging from free to paid programs.
Popular data recovery software includes:
Drecov Data Recovery
Drecov Data Recovery is a powerful tool designed to help users recover lost or deleted files from various storage devices, including hard drives, USB drives, SD cards, and more. Whether you've accidentally deleted important files, encountered a system crash, or suffered from a corrupted drive, Drecov Data Recovery offers a comprehensive solution for retrieving lost data.
The software works by scanning the affected storage device for recoverable files and offering a simple, user-friendly interface to facilitate the recovery process. It can recover various file types, such as documents, photos, videos, and even archives, from both internal and external hard drives.
One of the standout features of Drecov Data Recovery is its ability to work on both NTFS and FAT-formatted drives, making it versatile for different types of storage media. Additionally, it supports data recovery from drives that have been formatted or partitioned, which is crucial in cases of accidental formatting.
To use Drecov Data Recovery, simply download and install the program on a separate drive (to avoid overwriting lost data), select the target device, and initiate a scan. The software will display a list of recoverable files, allowing you to select and restore the ones you need. It also offers preview functionality, so you can verify file integrity before recovering them.
How to Use Data Recovery Software:
Download and Install the Recovery Software: Install the software on a different drive (not the one from which you’re trying to recover data) to avoid overwriting files.
Scan the Affected Drive: Run the software and select the hard drive from which you want to recover data. Initiate a full scan or deep scan, which may take some time depending on the size of the drive.
Preview and Select Files: After the scan is complete, the software will show you a list of recoverable files. Many tools offer a preview feature that allows you to check the contents of files before deciding whether to recover them.
Save Recovered Files: Select the files you want to recover and save them to a different location (such as an external drive) to avoid overwriting other lost data.
Step 5: Recover Files Using the Command Line
For advanced users, the command line offers several tools for recovering files, especially in situations involving file system corruption. These methods are a bit more technical but can be effective for retrieving data from damaged drives.
Windows: The built-in chkdsk (check disk) utility can sometimes fix minor file system errors that might allow you to access lost files. Open Command Prompt as an administrator and type:
shell
CopyEdit
chkdsk X: /f
Replace “X” with the letter of your drive. If the drive is accessible, this command will check for errors and fix them.
Mac: You can use the fsck command to repair a damaged file system. Boot into single-user mode by restarting your Mac and holding Command + S. Then, run:
shell
CopyEdit
/sbin/fsck -fy
This will attempt to fix file system issues and may allow access to lost data.
Step 6: Using Professional Data Recovery Services
If your data is not recoverable using software, or if the drive has physical damage, it may be time to consider professional data recovery services. These services have specialized tools and clean rooms to recover data from physically damaged hard drives.
When to Seek Professional Help: If you hear unusual sounds (clicking, grinding) coming from your drive or if it’s physically damaged (e.g., dropped in water or subject to fire), professional data recovery may be your best option.
How Professional Services Work: When you send your hard drive to a professional recovery service, they will assess the extent of the damage and attempt to retrieve the data. The process typically involves disassembling the drive in a clean room to avoid further damage. Recovery success depends on the severity of the issue.
Cost: Professional data recovery can be expensive, ranging from hundreds to thousands of dollars depending on the complexity of the recovery process. Some services may offer a free evaluation, while others charge a fee upfront.
Step 7: Preventing Future Data Loss
Once you've successfully recovered your files, it's time to focus on preventing future data loss. Here are some tips:
Regular Backups: Always keep regular backups of your important data. Use cloud services, external hard drives, or network-attached storage (NAS) to keep a copy of your files.
Enable File History or Time Machine: These features automatically back up your files and allow you to restore previous versions.
Use RAID Systems: For critical data, consider using a RAID system, which offers redundancy and can protect against data loss due to drive failure.
Be Cautious When Deleting Files: Double-check the files you’re deleting, and be careful when formatting or performing other actions on your drive.
Keep Your System Updated: Keep your operating system and applications up to date to prevent file system corruption and reduce the likelihood of software bugs causing data loss.
Avoid Physical Damage: Handle your hard drives carefully and avoid exposing them to extreme temperatures, moisture, or physical impacts.
Data recovery from a hard drive is not always straightforward, but it is possible. Whether the issue is accidental deletion, file system corruption, or physical damage, there are multiple methods and tools at your disposal. Starting with simple solutions like checking the Recycle Bin or using file recovery software can often save the day. In more complex cases, professional data recovery services are available to assist.