Restoring your CyberPower PC from a USB drive can be an essential skill for ensuring that your system is always in top condition, especially in cases where the operating system becomes corrupted or you need to revert to a previous working state.
CyberPower PCs are popular for their custom-built systems that cater to gamers, professionals, and tech enthusiasts alike. Whether you use your CyberPower PC for gaming, video editing, or general productivity, system failures and software corruption can be frustrating. Having a recovery plan in place can help you restore your PC to a previous working state, minimizing downtime and preserving your valuable data. One of the most effective methods of restoration is through a USB recovery drive, which acts as a bootable tool for system recovery when your computer fails to start.
Restoring from a USB drive is especially useful if you don’t have a physical recovery disk or if the operating system’s recovery partition is corrupted. By using a USB drive, you can initiate a clean reinstallation or repair of Windows, depending on your needs. This guide will walk you through the step-by-step process, from creating the USB drive to performing the restoration on your CyberPower PC.

Step 1: Preparation What You’ll Need
Before beginning the restoration process, there are several prerequisites you should have in place. Here’s a list of what you’ll need:
A Working Computer: To create the bootable USB recovery drive, you’ll need another working PC with internet access.
USB Drive (8GB or Larger): A minimum of 8GB of free space is required to create the bootable drive. Ensure it’s empty or that you’ve backed up any important files, as the process will erase everything on the USB.
CyberPower PC with Recovery Partition: If you have a recovery partition on your CyberPower PC, it might make the process easier. However, if your partition is damaged, you can still use a bootable USB created from another computer.
Windows Installation Media (Optional): If you need to reinstall Windows, you’ll need the Windows installation media. This can be downloaded from Microsoft’s website.
Backup of Your Important Files (Recommended): Restoration processes can sometimes lead to data loss. Always back up your files to an external drive, cloud storage, or another location before starting.
Step 2: Creating a Bootable USB Recovery Drive
Once you’ve gathered the necessary tools and backup files, the next step is to create a bootable USB drive. This drive will be used to restore your CyberPower PC in case of system failure.
Option 1: Create a Recovery Drive with Windows
Connect the USB Drive to a Working PC: Plug the USB stick into a computer that’s working properly.
Download Windows Media Creation Tool: Visit Microsoft’s website and download the Windows Media Creation Tool.
Run the Tool: Open the Media Creation Tool and accept the license terms.
Choose “Create Installation Media for Another PC”: Select this option and click “Next.”
Select Language, Edition, and Architecture: Choose your desired options (make sure they match the version and architecture of your CyberPower PC).
Choose USB Flash Drive: When prompted to choose the media type, select “USB flash drive” and click “Next.”
Select Your USB Drive: Choose the correct USB drive from the list (make sure it has at least 8GB of available space).
Wait for the Process to Complete: The tool will download Windows and create the bootable USB. This can take some time, depending on your internet speed and the performance of the computer.
Option 2: Using CyberPower’s Built-in Recovery Media (If Available)
If your CyberPower PC has a pre-installed recovery partition, you can create a recovery USB drive directly from within the operating system.
Search for “Create a Recovery Drive”: In Windows, type this into the search bar and select it when it appears.
Select the Option to Backup System Files: When prompted, ensure that you check the option to include system files on the recovery drive. This will allow you to restore your system completely if needed.
Choose the USB Drive: Select your USB drive from the list and follow the on-screen instructions to create the recovery drive.
Finish and Eject the USB Drive: Once the process is completed, you’ll be prompted to label and safely eject the drive.
Step 3: Booting from the USB Recovery Drive
Now that you have a bootable USB recovery drive, it’s time to restore your CyberPower PC.
Insert the Bootable USB Drive into Your CyberPower PC: Plug the USB drive into the USB port of your CyberPower PC.
Power On the Computer and Enter the BIOS/UEFI:
Turn on the computer and immediately press the F2 or Delete key to enter the BIOS or UEFI settings. The exact key can vary, so refer to your user manual if needed.
Change Boot Order:
Inside the BIOS/UEFI menu, navigate to the Boot tab. You may need to use the arrow keys to select the USB drive as the primary boot device.
Save and exit the BIOS/UEFI settings. Your computer will restart.
Boot from USB: The computer should now boot from the USB recovery drive, launching either the Windows installation or the CyberPower recovery tool.
Step 4: Restoring from the USB Drive
Once the system has booted from the USB drive, you can start the process of restoring your system.
Option 1: Using Windows Recovery Options
Choose Your Language and Preferences: Select the language, time zone, and keyboard layout.
Select “Repair Your Computer”: Instead of installing Windows, select “Repair Your Computer” at the bottom left of the screen.
Troubleshoot: In the options menu, choose “Troubleshoot,” then select either System Restore, Startup Repair, or Reset This PC, depending on what type of restoration you want to perform:
System Restore: Restores the system to a previous restore point without affecting personal files.
Startup Repair: Attempts to fix boot problems and other startup issues.
Reset This PC: Reinstalls Windows, either keeping your files or performing a full clean install.
Follow the On-Screen Instructions: Select the desired option and follow the on-screen prompts to restore your system. If you choose to reinstall Windows, you will need to confirm that you want to proceed with a fresh installation.
Option 2: Using Drecov Data Recovery
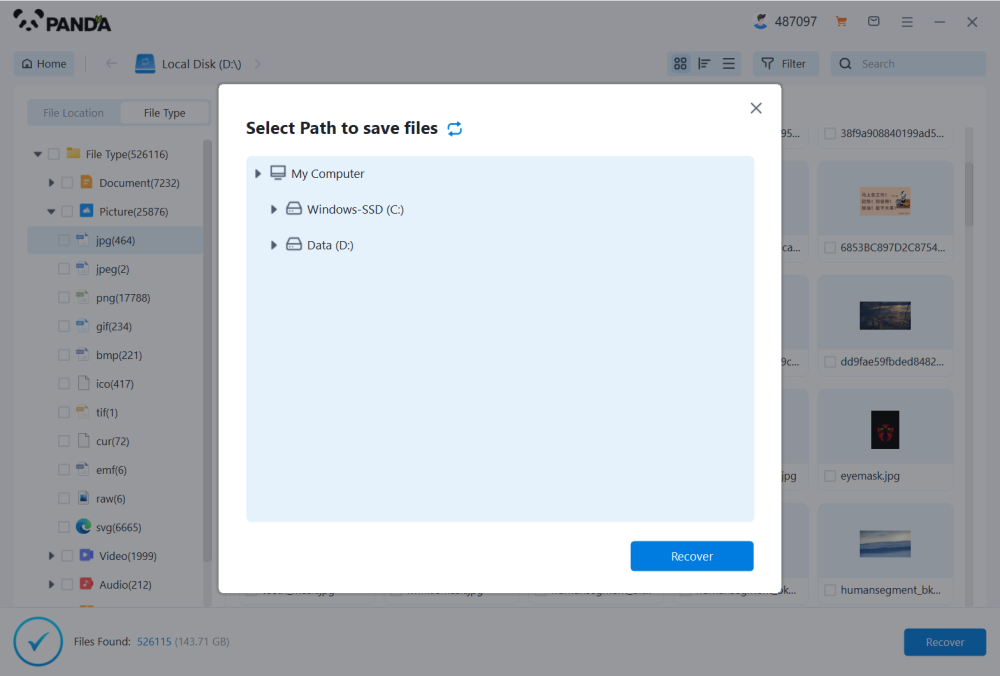
Drecov Data Recovery is a powerful and user-friendly software solution designed to help users recover lost, deleted, or corrupted files from a variety of storage devices, including hard drives, SSDs, USB drives, memory cards, and more. Whether you've accidentally deleted important documents, lost data due to a system crash, or encountered a damaged file system, Drecov Data Recovery offers an efficient way to retrieve your files without requiring extensive technical expertise.
With a straightforward interface, Drecov Data Recovery provides an intuitive recovery process. It supports a wide range of file formats, including images, videos, documents, and system files. The software features advanced scanning algorithms that can recover files from formatted drives, partitions, or devices with logical errors. Additionally, it allows users to preview recoverable files before restoring them, ensuring they retrieve exactly what they need.
Step 5: Finalizing the Restoration
After the restoration process completes, your CyberPower PC will either reboot into a fresh Windows installation or return to the last known working state.
Reboot the PC: Once the restoration is finished, the system will reboot. You may be prompted to remove the USB recovery drive.
Check Your System: Once Windows has loaded, check to ensure that everything is functioning properly. If you chose to reinstall Windows, you’ll need to go through the initial setup process, including signing into your Microsoft account and configuring your preferences.
Restore Your Files: If you backed up your files, now is the time to restore them. You can do this manually or by using Windows Backup if you had created one prior to the restoration.
Troubleshooting Common Problems
While the process is straightforward, you may encounter some issues along the way. Here are a few common problems and how to fix them:
USB Drive Not Detected: Make sure the USB drive is inserted into a working USB port. Try a different port if necessary, and check the BIOS/UEFI settings to ensure the USB is set as the primary boot device.
Corrupted Recovery Drive: If the USB drive is corrupted or not functioning properly, you may need to recreate the bootable USB drive from scratch.
Boot Loop After Restoration: If your PC gets stuck in a boot loop after the restoration, try running Startup Repair from the recovery options menu again.
Data Loss: If you opted for a full reset or clean installation of Windows, any data on the system drive may be lost. If this happens, you can attempt to recover lost files using third-party data recovery software like Drecov Data Recovery.


