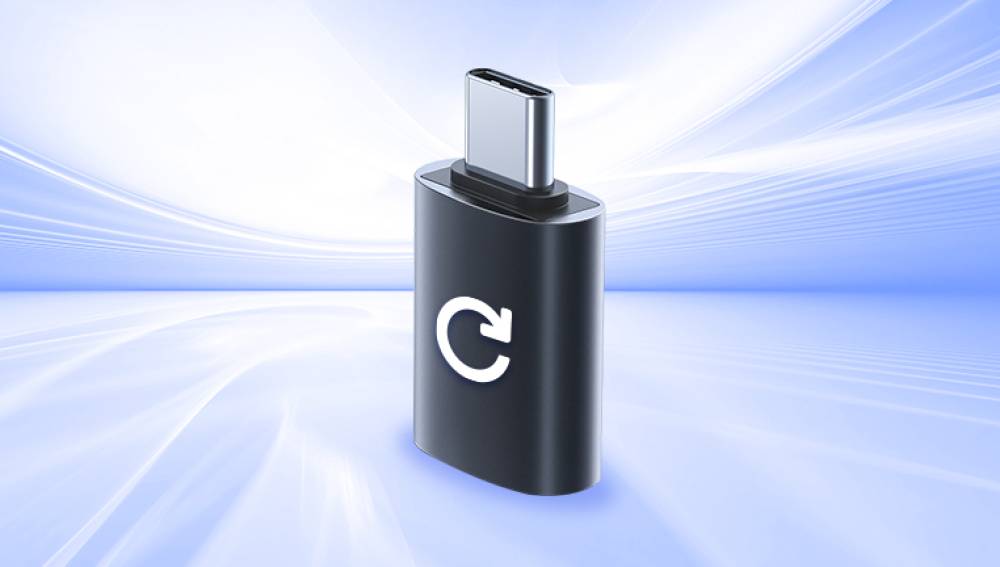
Their compact size, portability, and plug-and-play convenience make them perfect for students, professionals, photographers, and everyday users. Whether used to carry school assignments, business presentations, music, photos, or sensitive documents, USB flash drives are trusted as reliable, on-the-go storage devices.
But what happens when that trust is broken? A single accidental click, an unexpected virus, or a corrupted file system can instantly lead to the disappearance of important files. The panic that follows the realization of data loss is all too familiar. Fortunately, not all is lost. With the right techniques and tools, it’s often possible to recover deleted, lost, or corrupted files from a USB flash drive.

1. Accidental Deletion
The most common cause of data loss is user error—such as unintentionally deleting important files while cleaning up folders or clicking “Yes” on a deletion prompt without a second thought.
2. Formatting the USB Drive
Sometimes users format their USB drive to clear space or fix an error, forgetting that the drive still contains valuable data. Formatting essentially prepares the storage for new files, making previous data temporarily inaccessible, though often still recoverable.
3. File System Corruption
USB flash drives can become corrupted due to improper ejection, abrupt removal during file transfer, virus infection, or power failure. This can make the drive unreadable or display errors like "You need to format the disk before you can use it."
4. Virus or Malware Attack
USB drives used on multiple computers are vulnerable to viruses. Malicious software may delete or hide files, corrupt data, or render the drive inaccessible entirely.
5. Hardware Failure
Though less common, flash memory can degrade or the USB connector may get damaged. Physical issues usually require professional data recovery services.
6. Drive Not Recognized
Sometimes, your USB drive may not be detected at all by the computer, indicating logical issues (like driver failure) or physical damage.
What to Do Immediately After Data Loss
Once you realize data has been lost from your USB drive, the actions you take next will directly affect your chances of successful recovery.
Stop Using the Drive
Avoid copying new files to the USB drive, running software from it, or trying to format it. New data can overwrite the space where deleted files are still lingering, permanently erasing them.
Avoid Running Disk Cleanup Tools
Utilities that aim to clean or optimize storage may overwrite sectors, making recovery impossible.
Don’t Reformat (Unless You're Using Data Recovery Tools Afterward)
If your system prompts you to format the USB drive, don’t do it unless you’ve decided to proceed with a recovery software that can work after formatting.
Disconnect Safely
Remove the USB drive using the “Safely Remove Hardware” option. This prevents further damage or corruption.
Step-by-Step Guide to Recovering Files from a USB Flash Drive
Step 1: Connect the USB Flash Drive to Your Computer
Insert your USB drive into a reliable USB port. Make sure your system recognizes the drive. If it doesn’t appear, try a different port or computer.
Step 2: Install a Trusted Data Recovery Software
Drecov Data Recovery
Drecov Data Recovery is a powerful and intuitive software solution designed to help users retrieve lost or deleted files from USB flash drives. Whether your data was accidentally deleted, lost due to formatting, or became inaccessible because of corruption or virus attacks, Panda offers a reliable way to restore what’s important.
Recovering files from a USB flash drive with Drecov Data Recovery is simple. Once the software is installed on your computer, plug in the affected USB drive and launch the program. Panda will automatically detect the connected drive and prompt you to begin a scan. You can choose between a quick scan for recently deleted files or a deep scan for more extensive recovery, including files lost due to formatting or system errors.
One of the standout features of Drecov Data Recovery is its ability to preview recoverable files before restoration. This allows you to verify the content and quality of documents, photos, videos, or other data before selecting what to recover. The software supports a wide range of file types and is compatible with most USB drive brands and file systems, including FAT32, exFAT, and NTFS.
Step 3: Launch the Software and Select the USB Drive
Once the software is open, you’ll be prompted to choose the location to scan. Select your USB flash drive from the list of devices.
Step 4: Choose the Type of Scan (Quick or Deep)
Most recovery tools offer two scanning options:
Quick Scan: For recently deleted files and fast recovery.
Deep Scan: Thorough scan that searches for data traces even after formatting or corruption. Takes longer but finds more files.
Step 5: Let the Software Scan the USB Drive
Start the scan and let the program work. This can take a few minutes to over an hour depending on the drive size and scan type.
Step 6: Preview and Select Recoverable Files
Once the scan is complete, you’ll see a list of recoverable files. Many programs offer a preview feature—use this to ensure the files are intact.
Step 7: Recover the Files to a Different Location
Important: Always save recovered files to a different location, such as your computer’s hard drive. Saving them back to the same USB may overwrite other recoverable data.
Best USB Flash Drive Recovery Software (With Key Features)
Recuva
Lightweight and free
Easy-to-use interface
Supports FAT32. exFAT, NTFS
Ideal for beginners
Disk Drill
Cross-platform (Windows/macOS)
Offers extra tools like recovery vault and duplicate finder
Clean interface with file preview
Supports over 400 file formats
EaseUS Data Recovery Wizard
Professional-grade tool
Recovers deleted, formatted, or corrupted files
Offers 2GB free in trial version
User-friendly and highly effective
Stellar Data Recovery
Recovers lost partitions and files
Advanced scan filters
Allows selective recovery
Suitable for both home and business use
PhotoRec
Open-source and powerful
Runs in command-line environment
Works on Windows, Linux, macOS
Excellent for advanced users
Advanced Recovery Scenarios
Recovering Files from a Formatted USB Flash Drive
When you format a USB drive, the file system is reset, but the data remains on the sectors until overwritten. A deep scan with tools like EaseUS or Disk Drill can reconstruct data from formatted drives.
Recovering Files from a Corrupted USB Drive
If your drive is corrupted and unreadable:
Try assigning a new drive letter via Disk Management.
Use Command Prompt with commands like chkdsk /f X: (replace X with your drive letter).
If unsuccessful, proceed with data recovery software using a deep scan.
Recovering Files from a Drive That Doesn’t Appear
If your drive is not recognized:
Try Device Manager to update or reinstall drivers.
Use Disk Management to check if the drive appears without a letter.
If it doesn’t show at all, the issue may be physical—consult a data recovery professional.
USB Flash Drive Recovery on macOS
Mac users can also recover USB files using:
Disk Drill for Mac
EaseUS for Mac
PhotoRec with Terminal
macOS may require adjusting security permissions (System Preferences > Security & Privacy) to allow recovery software full disk access.
Recovering Specific File Types
Most modern tools allow you to filter or sort results by file type:
Documents: DOC, XLS, PDF, TXT
Media Files: JPG, PNG, MP4. MP3
Emails & Archives: PST, ZIP, RAR
Using filters reduces clutter and speeds up the recovery process.
Tips to Maximize Recovery Success
Act Fast: The sooner you attempt recovery, the better your chances.
Avoid New Writes: Don’t save anything new on the drive before recovery.
Use Deep Scan: For formatted, corrupted, or older deletions.
Keep Calm: Even if your files are gone from view, they may still be recoverable.
When to Seek Professional Help
Sometimes software isn’t enough especially if the flash drive is:
Physically damaged
Not detected at all
Clicking, heating up, or behaving abnormally
In these cases, professional data recovery labs can dismantle the drive and access data directly from the memory chip. Though expensive, it’s the best option for critical or irreplaceable data.
How to Prevent Future Data Loss
1. Backup Regularly
Always maintain copies of your data on other devices or in the cloud.
2. Eject Properly
Use the “Safely Remove Hardware” option before unplugging.
3. Scan for Viruses
Run frequent antivirus checks to prevent malicious file deletion.
4. Avoid Physical Damage
Store USB drives safely. Don’t bend, drop, or leave them in high-temperature areas.
5. Use Write Protection
Some USB drives have a physical switch to prevent accidental deletions. Consider using it for important drives.
6. Use Reliable Drives
Invest in quality USB brands with good reviews. Cheaper models may have a higher risk of failure.
Losing files from a USB flash drive can be stressful, especially when the lost data is important or irreplaceable. But with today’s powerful recovery tools, retrieving your data is often possible even in tough situations like formatting or corruption.
The key is to act quickly, avoid overwriting data, and use trustworthy software. Whether you’re restoring a few deleted documents or recovering an entire USB drive’s contents, following the right steps increases your chances of success significantly.
In some cases, when physical damage is involved, professional recovery services may be your best option. But for most users facing accidental deletion or logical errors, software-based solutions provide a fast, affordable, and effective route to recovering lost files.


