While formatting typically erases the file system and prepares the drive for new use, the actual data often remains on the disk until it is overwritten. This means that with the right approach and tools, you can recover lost files from a formatted hard drive successfully.
The ability to recover files from a formatted hard drive depends heavily on the type of format performed:
1. Quick Format
This is the default for most operating systems.
Only removes the file system table and directory entries.
Does not overwrite existing data.
Files are usually fully recoverable.

2. Full Format
Checks the disk for bad sectors.
Overwrites each sector with zeroes or new data.
Significantly lowers the chance of data recovery.
Before attempting recovery, determine whether the drive underwent a quick or full format. If you’re unsure, try recovery anyway—some tools can retrieve fragments even from full formats, though success may be limited.
Common Causes of Hard Drive Formatting
Understanding why the drive was formatted can help determine the right recovery strategy:
Accidental Format – Human error during setup or drive management.
Drive Initialization – Connecting a new or old drive to a different OS prompts a format.
File System Corruption – Errors force users to format to regain access.
Operating System Installation – Installing or reinstalling OS on the wrong partition.
Malware or Ransomware – Some attacks format drives to destroy data.
Step 1: Stop Using the Formatted Drive Immediately
As soon as you discover the data was lost due to formatting, stop using the drive. Writing new data—even installing recovery software—can overwrite recoverable files. If possible, remove the drive from the system and connect it to another computer as a secondary or external drive for recovery.
Step 2: Choose the Right Recovery Software
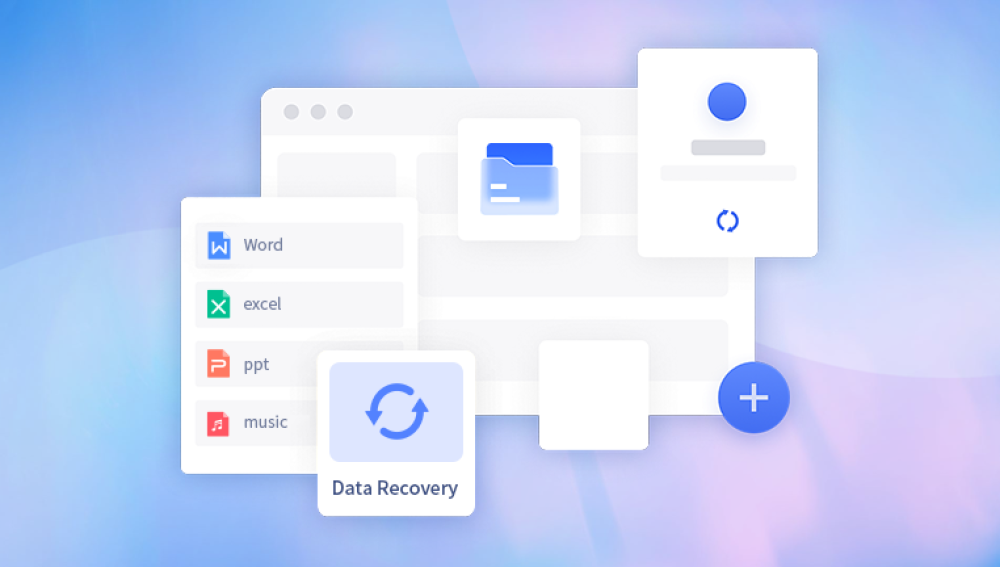
Drecov Data Recovery
Drecov Data Recovery is equipped with powerful algorithms that locate and recover files even after the file system has been erased. It supports all types of hard drives HDDs, SSDs, external USB drives, and more. As long as the data hasn't been overwritten, there's a strong chance your files can be restored.
Getting started is simple. First, install Drecov Data Recovery on a different drive (not the one that was formatted) to avoid overwriting lost data. Launch the program and select the formatted hard drive from the list. Then, choose a Deep Scan to thoroughly search for lost files. The software will identify recoverable files, which you can preview before selecting and saving them to a safe location.
Panda supports a wide range of file types and offers an intuitive interface that makes recovery easy for beginners and advanced users alike. Whether you lost personal photos or critical work documents, Drecov Data Recovery gives you the tools to get them back.
To improve your recovery chances, stop using the formatted drive immediately and start the recovery process as soon as possible. With Drecov Data Recovery, retrieving files from a formatted hard drive is fast, safe, and reliable.
Step 3: Prepare for Recovery
Follow these steps before launching the recovery process:
Use a separate computer if possible, or boot from a recovery USB.
Connect the formatted drive via SATA, IDE, or USB.
Install recovery software on a different drive (never the one you’re recovering from).
Close all unnecessary applications to prevent background write operations.
Step 4: Scan the Formatted Hard Drive
Once the software is installed and the formatted drive is connected:
General Recovery Process:
Launch the software.
Select the formatted drive as the target location.
Choose “Formatted Drive Recovery” or “Deep Scan” if available.
Allow the software to scan—this can take minutes to hours depending on the drive size.
Preview files if supported (especially for images, documents, videos).
Step 5: Recover and Save the Files
Once the scan is complete:
Filter the results by file type or modification date.
Select the files you need to recover.
Save them to a different storage device—preferably a separate internal/external drive or USB stick.
Avoid restoring to the same drive until you’re sure all files are recovered.
This ensures that you don’t overwrite additional data that could be recovered in a second scan.
Step 6: Recover Files from a System Drive (C:)
Recovering from a system drive (e.g., the Windows C: partition) is more challenging because:
The OS may have overwritten deleted files.
Boot files and updates run in the background.
Solutions:
Create a disk image of the system drive and scan the image file instead.
Use a bootable USB recovery disk that runs a lightweight OS and recovery tool.
Run recovery in Safe Mode if necessary.
Many recovery programs support disk imaging features, such as EaseUS, R-Studio, and Disk Drill.
Step 7: Recover from an External or Secondary Drive
Recovery is easier if the formatted drive is not your primary OS drive.
Connect the external or secondary drive to a working computer.
Use any recovery software without worrying about interference from system activity.
Deep scan the drive and save files to the local system.
This is ideal for recovering data from portable drives, backup HDDs, or drives moved from another computer.
Step 8: Advanced Recovery – Using Command Line Tools
Windows Command Prompt (CMD):
If you suspect minor corruption or want to check partition structure:
bash
CopyEdit
chkdsk E: /f
This command fixes errors but won’t recover deleted files. For file recovery, you can try Windows File Recovery Tool:
bash
CopyEdit
winfr E: D:\Recovery /regular /n *.docx
This recovers .docx files from E: (formatted drive) to D:\Recovery.
Linux Terminal:
Use testdisk and photorec for powerful command-line recovery on Linux:
Install with sudo apt install testdisk
Run with sudo photorec
These tools work across ext4. FAT32. NTFS, and more.
Step 9: Consider Professional Data Recovery Services
If:
Your drive was fully formatted.
The drive has physical damage (clicking, buzzing, overheating).
Recovery software fails to find data.
Then it’s time to consult a professional recovery service.
What to Expect:
Cleanroom diagnostics.
Safe imaging of failing disks.
File restoration from corrupted or overwritten sectors.
Secure handling of sensitive data.
Popular services include DriveSavers, Gillware, and Ontrack.
Step 10: Tips to Improve Recovery Success
Act fast: The longer you wait, the higher the risk of overwriting.
Avoid writing to the formatted drive entirely.
Don’t interrupt scans once started.
Create a disk image if you need to try multiple tools.
Use professional software with deep scanning and partition recovery features.
Step 11: Backup and Prevention Best Practices
To avoid future data loss due to formatting or accidents:
Backup Methods:
External HDD/SSD: Set up scheduled backups.
Cloud storage: Use services like Google Drive, OneDrive, or Dropbox.
System images: Windows Backup & Restore or Mac Time Machine.
Safe Usage Tips:
Label partitions clearly to avoid accidental formatting.
Review drive details before installing or reinstalling OS.
Enable version history or file recovery in backup tools.
Losing files from a formatted hard drive is stressful—but not hopeless. Most data can be retrieved if the drive was only quick formatted and not heavily used afterward. By choosing the right recovery software and following the right procedures, you can often restore deleted documents, photos, videos, and more.
For more complex cases, advanced tools like PhotoRec or R-Studio can dig deep into the drive to retrieve raw data. And when everything else fails, professional data recovery labs are equipped to recover data even from overwritten or damaged sectors.