USB drives have become an essential tool for storing, transferring, and backing up data. They are portable, convenient, and compatible with most devices. However, like all storage media, USB drives are vulnerable to corruption. Corrupted USB drives can prevent access to important files, causing frustration and potential data loss.
Improper Ejection – Removing the drive without safely ejecting it can interrupt data writing, leading to corruption.
File System Errors – Damage to the file system (e.g., FAT32. NTFS, exFAT) can make the drive unreadable.
Virus or Malware Infection – Malicious software can corrupt or hide files on the USB drive.
Physical Damage – Dropping or exposing the drive to water, heat, or magnetic interference may cause corruption.
Bad Sectors – Some areas of the USB storage may fail, preventing files stored there from being accessed.
Power Surges – Sudden electrical issues during data transfer can corrupt files.
Understanding the cause helps choose the right recovery approach. For instance, logical errors caused by a virus can often be repaired with software, while physical damage might require professional services.
Initial Steps Before Recovery
1. Stop Using the USB Drive
Continuing to write or save new files on the corrupted USB drive can overwrite recoverable data. Immediately remove the drive from any active processes.
2. Check for Drive Recognition
Plug the USB drive into your computer and check if it appears under File Explorer (Windows) or Finder (Mac). Sometimes the drive is recognized but files appear missing or inaccessible.
3. Try on Multiple Devices
Testing the USB drive on a different computer or USB port can help rule out port or system-related issues.
Method 1: Using File Explorer or Finder
If your USB drive is partially accessible, you may recover files without third-party software.
On Windows:
Plug in the USB drive.
Open File Explorer and locate the drive.
Right-click the drive and select Properties → Tools → Check under "Error Checking."
Allow Windows to scan and attempt to repair file system errors.
After repair, copy recovered files to a different drive immediately.
On Mac:
Open Disk Utility from Applications → Utilities.
Select the USB drive and click First Aid.
Disk Utility will scan for errors and attempt repairs.
Copy accessible files to another drive.
Note: This method is only effective if the corruption is minor. Severe corruption will require specialized software.
Method 2: Using Data Recovery Software
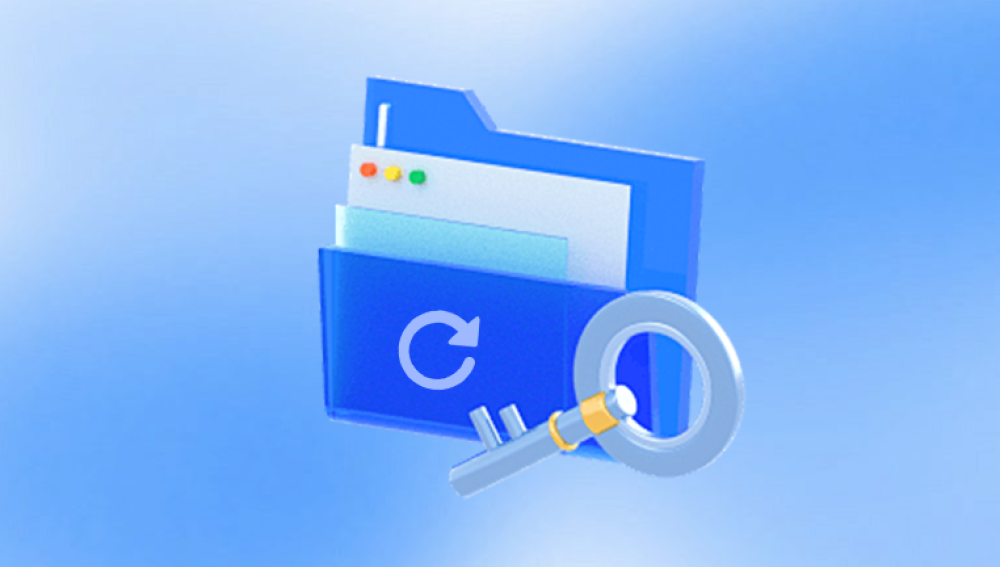
Panda Repair
To start, download and install Panda Repair on your computer, making sure not to install it on the corrupted USB drive itself to avoid overwriting data. Once installed, connect the affected USB drive to your computer and launch the software. Panda Repair automatically detects the drive and prepares it for scanning.
Next, select the types of files you want to recover. Panda Repair supports a variety of formats including Word documents, Excel spreadsheets, PDFs, images, videos, and more. After selecting the desired file types, run a deep scan. This scan thoroughly examines the USB drive, identifying corrupted sections and reconstructing the data wherever possible.
Once the scan is complete, Panda Repair allows you to preview recoverable files. This feature ensures that you only recover intact files, saving time and storage space. After reviewing the results, save the repaired files to a different storage location—never back them onto the corrupted USB drive to avoid further data loss.
Panda Repair combines an intuitive interface with powerful recovery algorithms, making it suitable for both beginners and professionals. By following this process, users can often restore files that seemed permanently lost, turning a potentially disastrous situation into a manageable one. With Panda Repair, a corrupted USB drive doesn’t have to mean lost data.
Method 3: Using Command Prompt (Windows)
If you prefer built-in Windows tools, the Command Prompt offers a way to recover files from corrupted USB drives.
Steps:
Open Command Prompt as Administrator.
Type the following command:
chkdsk X: /f
Replace X: with your USB drive letter.
Press Enter. Windows will attempt to fix file system errors.
After repair, check if the drive is accessible and copy files to a safe location.
Note: CHKDSK may not recover all files, but it can restore access to partially corrupted drives.
Method 4: Using TestDisk
TestDisk is a powerful free tool designed for data recovery from damaged drives. It works on multiple operating systems and is effective when file systems are severely damaged.
Steps:
Download and install TestDisk.
Launch TestDisk and select Create to log recovery sessions.
Choose the corrupted USB drive.
Select the Partition Table Type (usually Intel/PC for most drives).
Select Analyze → Quick Search to locate lost partitions.
Highlight recoverable files or partitions and copy them to another drive.
Tip: TestDisk is more advanced and may require careful following of prompts, but it’s highly effective for corrupted partitions.
Method 5: Using PhotoRec for Specific File Types
PhotoRec is bundled with TestDisk and excels at recovering media files. It ignores file system structures and searches raw data for recoverable files.
Steps:
Open PhotoRec.
Select the corrupted USB drive.
Choose the file system type (usually FAT/NTFS/exFAT).
Select the types of files to recover (photos, videos, documents).
Select a destination folder on a separate drive.
Start the recovery process.
Note: PhotoRec may recover files without original names or folders, so organization afterward may be required.
Method 6: Using Linux Live USB
Linux systems can sometimes access drives that Windows or Mac cannot. Booting from a Linux Live USB (e.g., Ubuntu) may allow you to recover files.
Steps:
Create a bootable Linux USB.
Boot your computer from the Linux USB.
Open File Manager and locate the corrupted drive.
Copy accessible files to another storage device.
Tip: Linux tools like ddrescue can create a disk image and attempt recovery from sectors Windows cannot read.
When to Seek Professional Help
If the USB drive suffers from physical damage, such as a broken connector, burnt circuits, or severe internal failure, software solutions may not work. In such cases, professional data recovery services are the safest option. Experts can:
Open drives in a cleanroom environment.
Replace damaged components.
Recover files using advanced forensic tools.
Professional recovery can be expensive, but it is often the only way to recover critical data from physically damaged drives.
Preventing Future USB Corruption
Prevention is always better than recovery. Follow these tips to avoid USB corruption:
Safely Eject the Drive – Always use “Safely Remove Hardware” or “Eject” before disconnecting.
Regular Backups – Keep multiple copies of important files on different drives or cloud storage.
Avoid Physical Damage – Handle USB drives carefully and store them safely.
Use Antivirus Software – Protect your USB drive from malware infections.
Format Drives Properly – Use a stable file system (FAT32. NTFS, or exFAT) and format if errors occur.
Recovering files from a corrupted USB drive requires careful handling, the right tools, and patience. Minor file system errors can often be fixed with built-in tools like CHKDSK or Disk Utility, while more severe corruption may require professional recovery software such as Drecov Data Recovery, TestDisk, or PhotoRec. Physical damage, however, typically necessitates professional intervention. By following these methods and preventive measures, you can maximize the chances of retrieving important data while minimizing the risk of permanent loss. USB corruption may be inconvenient, but with the right approach, most files are recoverable.