RAID (Redundant Array of Independent Disks) technology is widely used in servers and high - performance storage systems to provide data redundancy, improved performance, or both. However, despite its reliability features, RAID arrays are not immune to failures. When a RAID disk fails, it can lead to significant data loss, which can be disastrous for businesses and individuals.
RAID 0
RAID 0. also known as disk striping, does not provide data redundancy. It divides data across multiple disks, which improves read and write performance. However, if any one disk in the array fails, all data in the RAID 0 array is lost. For example, in a two - disk RAID 0 array, if disk 1 fails, the data chunks stored on it and the related parts of the files spread across disk 2 become inaccessible.
RAID 1
RAID 1 is disk mirroring. Data written to one disk is exactly replicated to another disk. This provides 100% data redundancy. If one disk fails, the system can continue to operate using the data on the mirrored disk. For instance, in a two - disk RAID 1 setup, if disk A fails, the system can seamlessly switch to disk B, which has an identical copy of all the data.
RAID 5
RAID 5 uses disk striping with parity. Parity information is distributed across all the disks in the array. It can tolerate the failure of a single disk. When a disk fails, the parity data is used to reconstruct the lost data. For example, in a three - disk RAID 5 array (disks A, B, and C), if disk B fails, the data on disk B can be reconstructed using the data on disks A and C and the parity information stored across the array.
RAID 6
RAID 6 is similar to RAID 5 but can tolerate the failure of two disks. It uses two independent sets of parity data distributed across the disks in the array. This makes it more resilient to disk failures but also more complex in terms of data reconstruction.
Common Failure Scenarios in RAID Arrays
Disk Failure
The most common failure in a RAID array is the physical failure of one or more disks. This can be due to mechanical issues such as head crashes, motor failures, or electrical problems within the disk drive. For example, a disk's read - write head may become misaligned over time, leading to an inability to read or write data correctly, and eventually, the disk may stop functioning altogether.
Controller Failure
The RAID controller manages the communication between the computer system and the RAID array. A controller failure can occur due to hardware malfunctions, firmware bugs, or power - related issues. When the controller fails, the system may be unable to access the RAID array, even if the disks themselves are in working order.
Configuration Errors
Incorrect RAID configuration can also lead to data access problems. This can happen during the initial setup of the RAID array, such as when the wrong RAID level is selected, or disk drives are not properly assigned to the array. Additionally, changes to the RAID configuration, like adding or removing disks without following the proper procedures, can cause data loss.
Software - related Issues
Operating system glitches, corrupt device drivers, or malware infections can interfere with the proper functioning of the RAID array. For example, a virus may corrupt the file system metadata on the RAID disks, making the data appear inaccessible.
Prerequisites for Data Recovery
Backup of the Array (if possible)
Before attempting any recovery operations, it is crucial to have a backup of the RAID array if one exists. This can serve as a fallback in case the recovery process fails or causes further data corruption. If a recent backup is available, it may be possible to restore the data from the backup instead of attempting complex recovery procedures on the failed array.
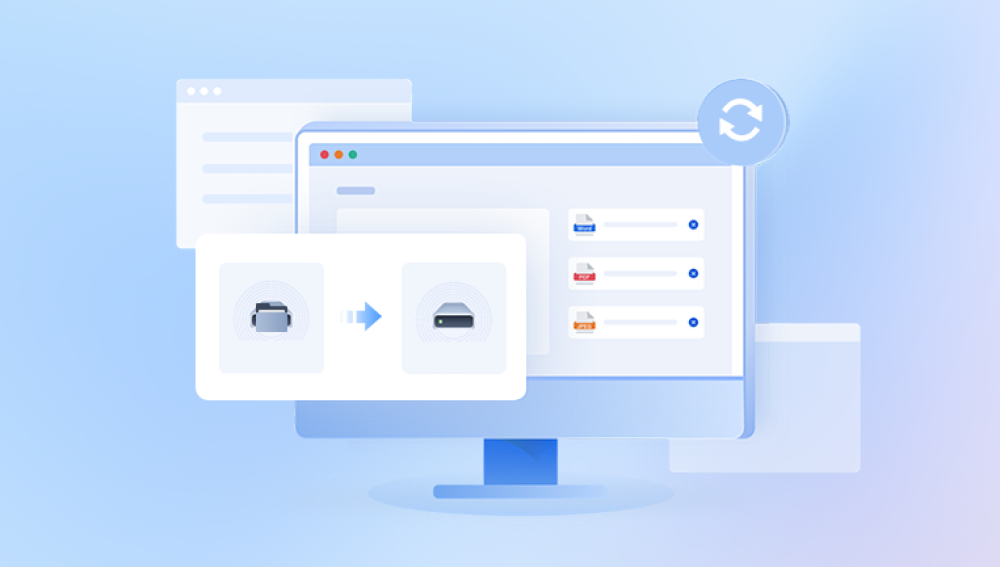
Appropriate Tools
Data Recovery Software: There are several specialized data recovery software available for RAID arrays. Some popular ones include R - Studio, Ontrack EasyRecovery, and Stellar Data Recovery. These tools are designed to analyze the RAID structure, identify the type of failure, and attempt to reconstruct the data.
Disk Imaging Tools: Tools like dd (on Linux systems) or Win32 Disk Imager (for Windows) can be used to create an exact copy of the failed disk or disks. This is important as it allows for non - destructive recovery attempts. Working on the disk image instead of the original disk reduces the risk of further damaging the data.
RAID Controller Information: Knowledge of the RAID controller model and its configuration settings is essential. This information helps in understanding the layout of the RAID array and can be used by data recovery software to correctly interpret the data on the disks.
Step - by - Step Process of Data Recovery from a RAID Disk
Step 1: Assess the RAID Array and Failure
Identify the RAID Level: Use the RAID controller's management software or the system BIOS to determine the RAID level of the array. This information is crucial as different RAID levels have different data recovery procedures. For example, recovering data from a RAID 1 array is relatively simpler compared to a RAID 5 or RAID 6 array due to the nature of data redundancy in each level.
Determine the Number and Identity of Failed Disks: Check the status indicators on the disk drives (if available) and the RAID controller's status reports to identify which disks have failed. In some cases, multiple disks may have failed simultaneously, which complicates the recovery process.
Check for Other Symptoms: Look for other signs of failure such as unusual noises from the disk drives, error messages in the system logs, or problems with the RAID controller's communication with the system. These symptoms can provide clues about the root cause of the failure.
Step 2: Create Disk Images (if necessary)
Select the Appropriate Disk Imaging Tool: As mentioned earlier, choose a disk imaging tool based on your operating system. For Linux users, dd is a powerful command - line tool that can create an image of a disk. The syntax for creating an image of a disk (e.g., /dev/sda) to a file (e.g., sda_image.img) is dd if=/dev/sda of=sda_image.img.
Verify the Integrity of the Image: After creating the disk image, it is important to verify its integrity. Some disk imaging tools provide options to calculate checksums (such as MD5 or SHA - 1) for the image file. Comparing the calculated checksum with a pre - calculated value (if available) or recalculating it later during the recovery process can ensure that the image has been created correctly and has not been corrupted.
Step 3: Analyze the RAID Structure
Use Data Recovery Software: Launch the selected data recovery software and select the option to analyze a RAID array. The software will attempt to detect the RAID level, the number of disks in the array, and the disk order. Some advanced data recovery tools can also analyze the parity information (in the case of RAID 5 and RAID 6) to reconstruct the data.
Manually Define RAID Parameters (if required): In some cases, the data recovery software may not be able to automatically detect all the RAID parameters correctly. For example, if the disk order has been changed due to a hardware replacement or if there are non - standard RAID configurations, you may need to manually define parameters such as the disk order, block size, and parity information. This requires a good understanding of the RAID array's original configuration.
Step 4: Reconstruct the Data
Let the Software Perform Reconstruction: Once the RAID structure has been analyzed, the data recovery software will start the process of reconstructing the data. In the case of a RAID 1 array with a single disk failure, the software will copy the data from the remaining good disk. For RAID 5 and RAID 6 arrays, the software will use the parity information and the data on the remaining good disks to rebuild the data on the failed disk(s).
Monitor the Reconstruction Process: Keep an eye on the progress of the data reconstruction process. The software will usually provide an estimate of the time remaining and may display any errors or warnings that occur during the process. If errors are encountered, such as bad sectors on the disks, the software may attempt to work around them by using error - correction techniques or skipping the affected areas.
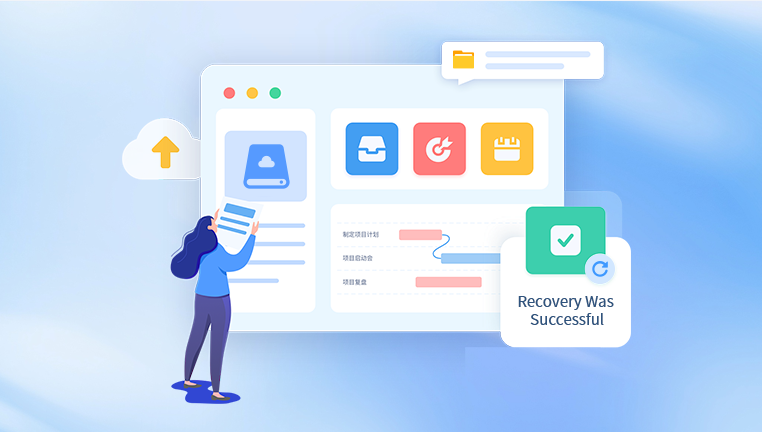
Step 5: Verify and Recover the Data
Check the Recovered Data: After the reconstruction process is complete, verify the integrity of the recovered data. This can be done by opening sample files, checking file sizes, and comparing the recovered data with known good copies (if available). For example, if you are recovering a database stored on the RAID array, try to connect to the recovered database and perform basic queries to ensure that the data is accurate.
Save the Recovered Data: Once you are satisfied with the integrity of the recovered data, save it to a new storage location. It is recommended to use a different storage device (such as an external hard drive or a network - attached storage device) to avoid overwriting the original data or having the recovered data affected by any further issues with the RAID array.
Special Considerations
Degraded RAID Arrays
A degraded RAID array is one where one or more disks have failed, but the array is still operational (in the case of RAID levels that support redundancy, like RAID 1. 5. and 6). While it may be tempting to continue using a degraded array, it is extremely risky. The remaining disks are under increased stress, and a second disk failure can lead to complete data loss. As soon as a disk failure is detected in a degraded RAID array, steps should be taken to recover the data and replace the failed disk.
Encrypted RAID Arrays
If the RAID array is encrypted, data recovery becomes more complex. In addition to the normal data recovery steps, the encryption key is required to decrypt the recovered data. Losing the encryption key can render the recovered data useless. In some cases, if the encryption is implemented at the hardware level (such as with some enterprise - class RAID controllers), the key may be stored securely within the controller. However, if the controller fails or is misconfigured, retrieving the key can be a challenge.
Third - Party Data Recovery Services
If the data recovery process seems too complex or if you are not confident in your ability to recover the data successfully, it may be advisable to seek the services of a professional data recovery company. These companies have specialized equipment, experienced technicians, and access to advanced data recovery techniques. However, they can be expensive, and it is important to choose a reputable company with a proven track record of successful data recovery.